Get to Know Snagit
Snagit lets you quickly capture your screen and camera, add additional context, and share images, GIFs, or videos across your preferred platforms.
Snagit lets you quickly capture your screen and camera, add additional context, and share images, GIFs, or videos across your preferred platforms.
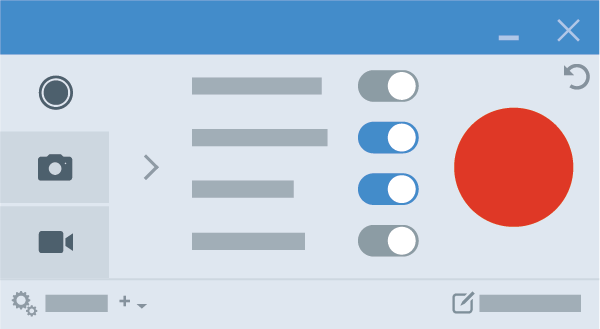
One of the most common uses of Snagit is to simply take and share a screenshot, but Snagit can do so much more. Let’s start with a quick tour of Snagit’s two main parts: the Capture Window and the Snagit Editor.

The Capture Window is where you select how you would like to record your screen. Choose from:
Use the crosshairs to select a window, fullscreen capture, or click and drag to select a region of your screen.
Once you have captured your image or video, it opens in the Snagit Editor.
Explore the many tools available:
To learn more about all the tools available in Snagit, see the Tools tutorials.
Now you’re ready to share with one of Snagit’s many sharing options.
A quick way to share your image is to click the Copy All button, then paste it in a message, document, or other communication tool.
To gather feedback or start a discussion, click the Share Link button. Snagit quickly uploads your image or video to Screencast and copies a link to your clipboard to share with anyone anywhere.
Click the Share dropdown to send captures directly from Snagit to frequently used share destinations.
Or simply click and drag the image into another application to share it.
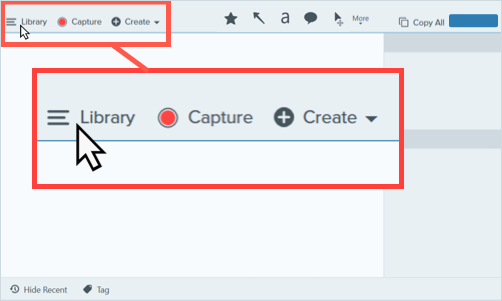
Visit the Snagit Library to access your entire capture history.
You can search, filter, organize, and share captures from the Library. See Introduction to Snagit Library.
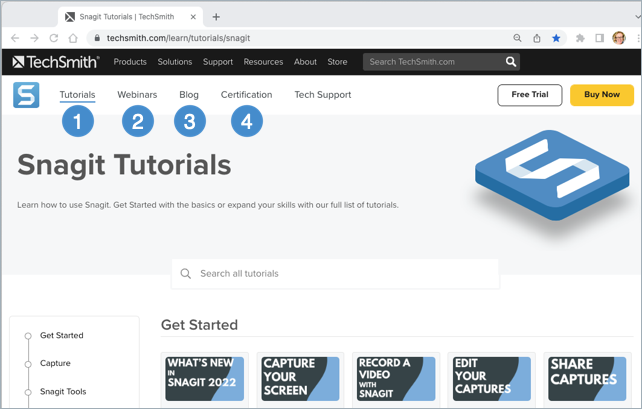
There are many resources available to learn more about Snagit. Access them at https://www.techsmith.com/learn/tutorials/snagit/.