Add Markers & Video Table of Contents
Add markers to indicate points on the timeline or to create an interactive table of contents for navigation for your viewers.
Add markers to indicate points on the timeline or to create an interactive table of contents for navigation for your viewers.
Markers indicate points on the timeline or within media. 
Use markers to:
| Option | Description |
|---|---|
| Add a marker while recording | Press Ctrl+M (Windows) or Shift+Ctrl+Option+Command+M (Mac) while recording. |
| Add a timeline marker | Timeline markers always maintain their original location on the timeline and are not impacted by timeline edits.
|
| Add a media marker | Media markers are attached to the media. If you move the media on the timeline, the marker moves with the media.
|
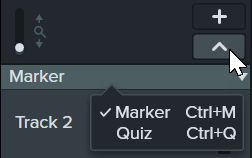
| Show / hide marker view | When the Marker view is shown, Camtasia displays the Marker track and the marker names on the timeline. Show the Marker view to edit markers. Press Ctrl+M. |
| Next marker | Ctrl+] |
| Previous marker | Ctrl+[ |
| Timeline select to previous marker | Press Ctrl+Shift+[ to make a timeline selection between the playhead and the previous marker. |
| Timeline select to next marker | Press Ctrl+Shift+] to make a timeline selection between the playhead and the next marker. |
| Change marker name | Note: If you include a table of contents when you export a video, the marker names appear as the table of contents entries within the video.
|
| Turn a timeline marker into a media marker |
|
| Turn a media marker into a timeline marker |
|
| Move the location of a marker | Click and drag the marker to the desired position. |
| Delete a marker |
|
| Delete all markers | Select Modify > Markers > Remove all Markers. |
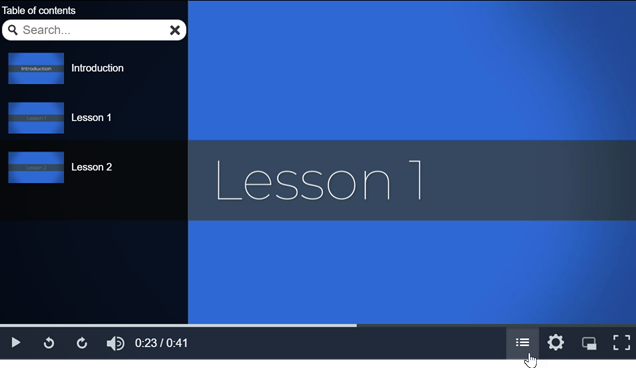
Add markers on the timeline as navigation points in your video table of contents. The marker names appear in the table of contents in the video.

Note: The TechSmith Smart Player is required for table of contents, closed captions, search, quizzing, and hotspots in a video. To include the TechSmith Smart Player, export the video to Local File or Screencast.
Export to one of the following locations:
Export video to one of the following locations:
To view the video table of contents, viewers must click the Table of Contents button on the video controller. 
Unleash the world’s most powerful screen recorder and video editor.
* Already a Camtasia user? Learn how to update to the latest version.