After recording, you can change the cursor in any Camtasia recording file (TREC). Change the cursor to:
- Maintain a consistent cursor throughout your entire recording to reduce visual distractions.
- Emphasize cursor movement with a custom cursor.
- Match the operating system cursors when creating recordings for multiple platforms.
- Replace the cursor with any of Camtasia’s professionally-designed cursors for a fun theme or to add emphasis.
Replace the Current Cursor
Note: You can only change or edit the cursor in the Camtasia Recording file format (TREC). For videos recorded outside of Camtasia, the cursor is burned into the recording file and cannot be edited.
- Click to select a Camtasia Recording file (TREC) on the timeline.
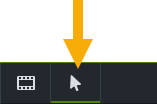
- Click the Properties button.
- In the Properties panel, select the Cursor Properties tab.
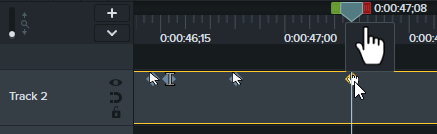
- The cursor images appear on the selected TREC file on the timeline.
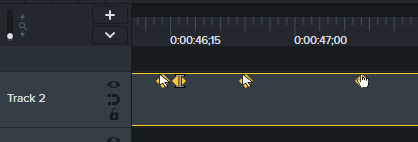
Drag the playhead to the cursor image to replace. Drag the Zoom slider to the right to zoom in on the timeline to make it easier to view the cursor images.
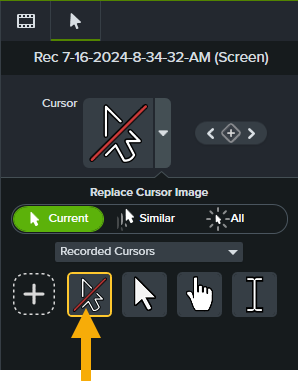
- On the Cursor Properties tab, click the Cursor dropdown.
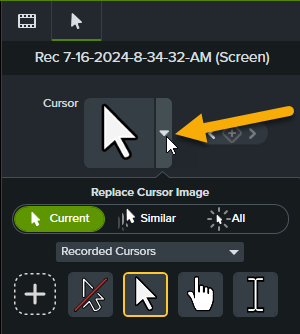
- Select one of the following options:
- Current: Replace only the current cursor at the playhead.
- Similar: Replace all cursors in the selected TREC file for this cursor type.
- All: Replace all cursors in the selected TREC file.
- Select a cursor type from the dropdown and then select the desired cursor.

Tip: Hide the Cursor for a Section in the Recording.
Select the No Cursor option as the cursor image to hide the cursor for part of the recording.
Add a Custom Cursor
You can import and image file to use as a custom cursor.
- Click to select a Camtasia Recording file (TREC) on the timeline.
- Click the Properties button.
- In the Properties panel, select the Cursor Properties tab.
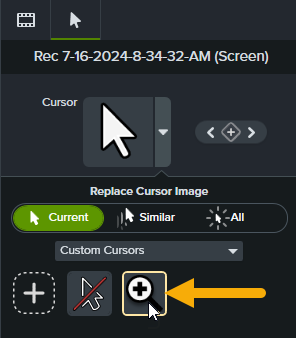
- On the Cursor Properties tab, click the Cursor dropdown.
- Click the Import button to add a custom cursor.

- The Open dialog appears. Select a BMP, JPEG, PNG, or TIF image file format to use as the custom cursor image and click Open.
- Edit the custom cursor properties and click the Save Cursor Edits button.
Camtasia adds the imported cursor to the list of Custom Cursors. Follow the steps for Replace the Current Cursor to use the custom cursor in a TREC recording.
Get Camtasia
Unleash the world’s most powerful screen recorder and video editor.
All Camtasia Tutorials