Have you ever filmed a video on your smartphone, an action camera, or a DSLR camera, only to realize it was recorded crookedly when you edited it? Are you trying to edit a piece of content that’s slightly skewed? Worry not!
Camtasia has the perfect solution for you with numerous tools, including an anchor point for rotation, the ability to fine-tune rotation via the X, Y, and Z rotation editor, and for animated effects, the tilt and custom animations!
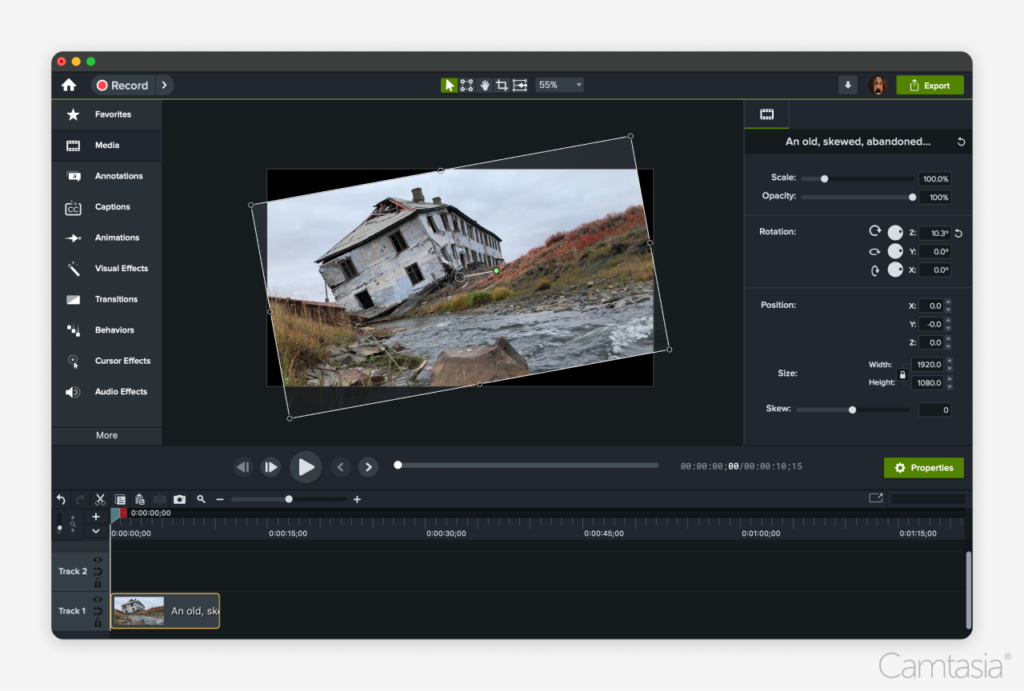
Easily tilt or rotate your video, then move directly into editing your content with Camtasia’s full-screen recording and video editing suite.
This guide is intended to walk you through tilting your video with Camtasia, so feel free to start up Camtasia or download our free trial today and follow along!
If you don’t have any content on hand to follow along with, then feel free to browse Camtasia’s assets as there are hundreds of thousands of pieces of content available!
The easiest way to edit videos
Stop wasting time and discover how Camtasia Editor makes creating incredible videos easier than ever.
Free Download
Why do we want to tilt our video?
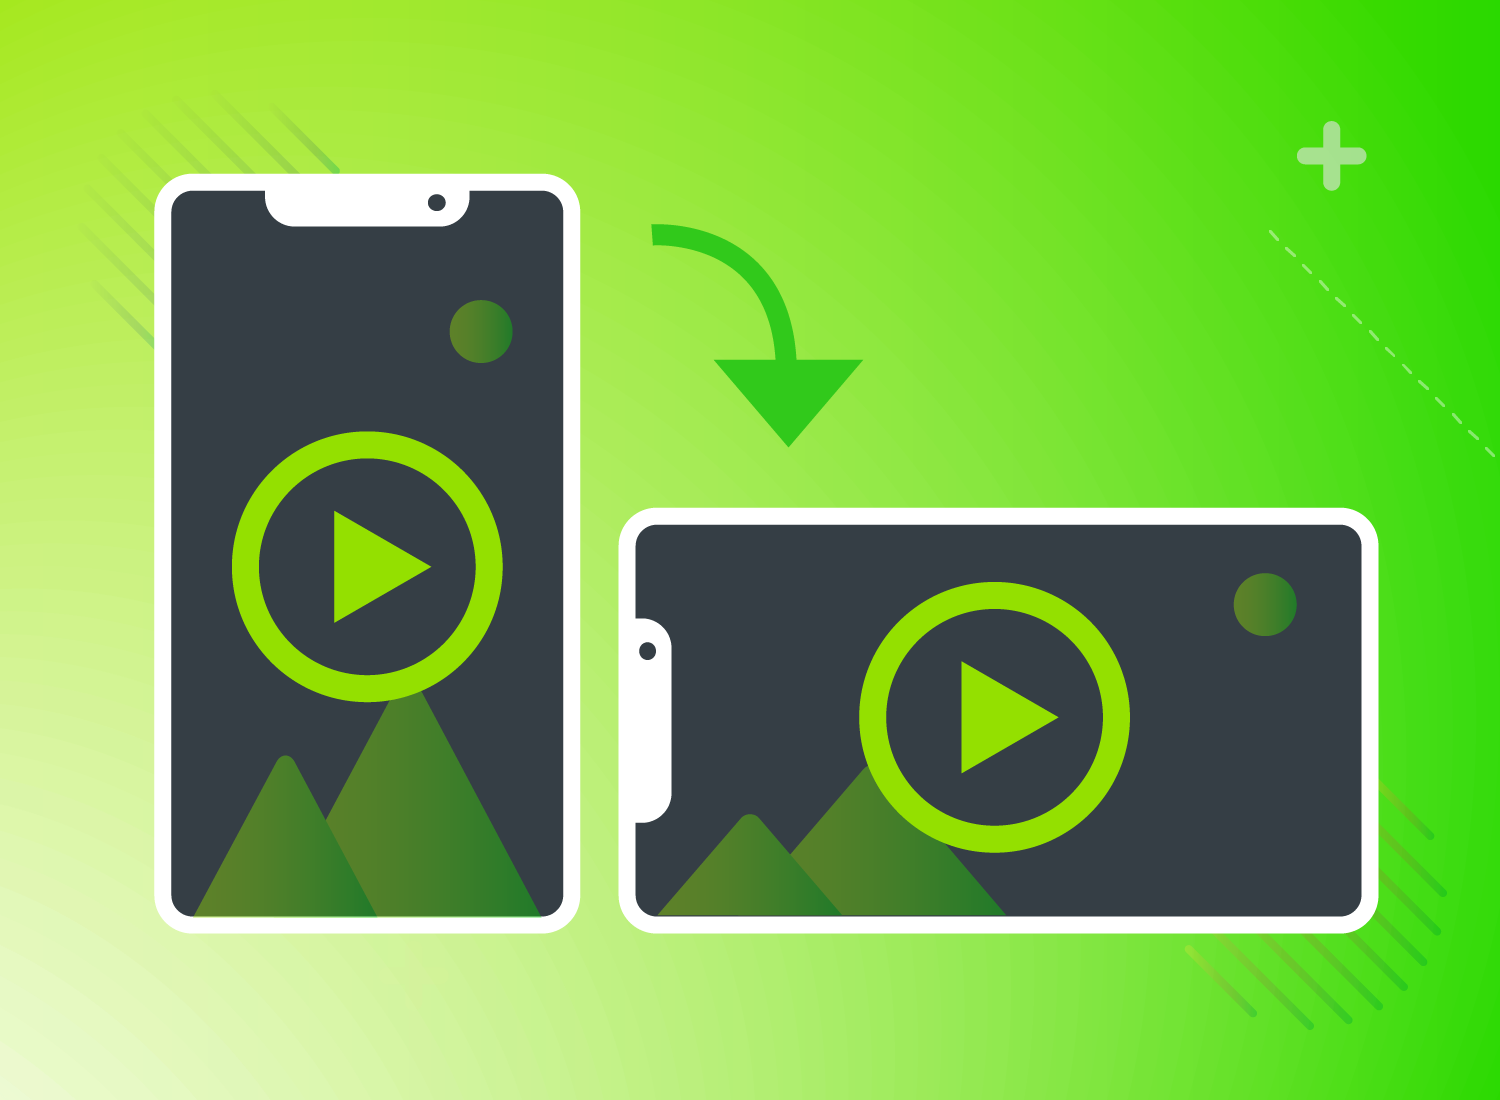
The most common use case will be to fix slightly skewed or off-center recordings.
Tilting can be quickly achieved by using Camtasia’s rotation anchor.
Once you have your media on the timeline, there will be an anchor point on screen that will allow you to rotate your media, whether video, image, or annotation.
Another reason for tilting or skewing your media is to make room for additional media in the project. Perhaps you want to add a piece of media but don’t know where to fit it on screen.
Simple! Select one or multiple pieces of media on the timeline, and you can rotate them all by clicking and dragging one of the central anchor points. This will allow you to tilt them to the desired angle directly in the preview window.
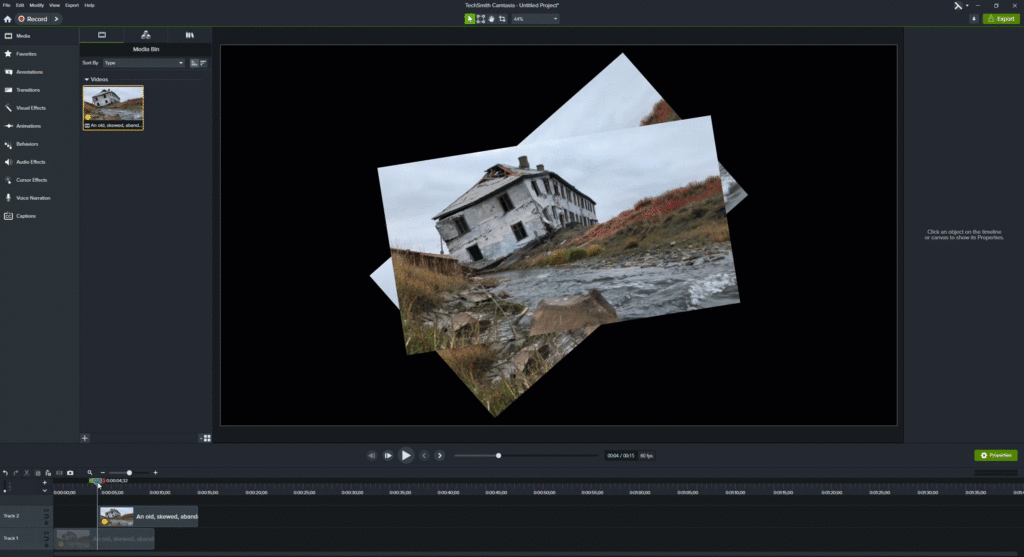
Taking the time to skew or rotate your media can also add a dramatic flair to otherwise static media.
Take, for example, a recorded PowerPoint presentation. Rather than seeing a simple, flat presentation, you can alter the perspective by adding a Tilt animation as found in the Animations tab. This will help make the content more interesting and, in turn, more engaging.
In that same respect, and in addition to making content more interesting to look at, it also allows you to fine-tune the position of media in your project.
Using the rotate tool in the properties manager, you can enter the precise angle at which you want your content to be, not only on the X and Y axes but also within the Z axis.
The granular control over positioning, rotation, and skew enables you to create precise angles while opening up space on the canvas for more content.
How do I tilt my video?
To tilt your video in Camtasia, first open your project and add your media to the timeline.
Next, look at the center of the clip in the media bin, and you’ll notice two small anchors (circles) in the center of the clip; the anchor that changes your mouse cursor to a circular image on the right is the anchor we’ll be focusing on.
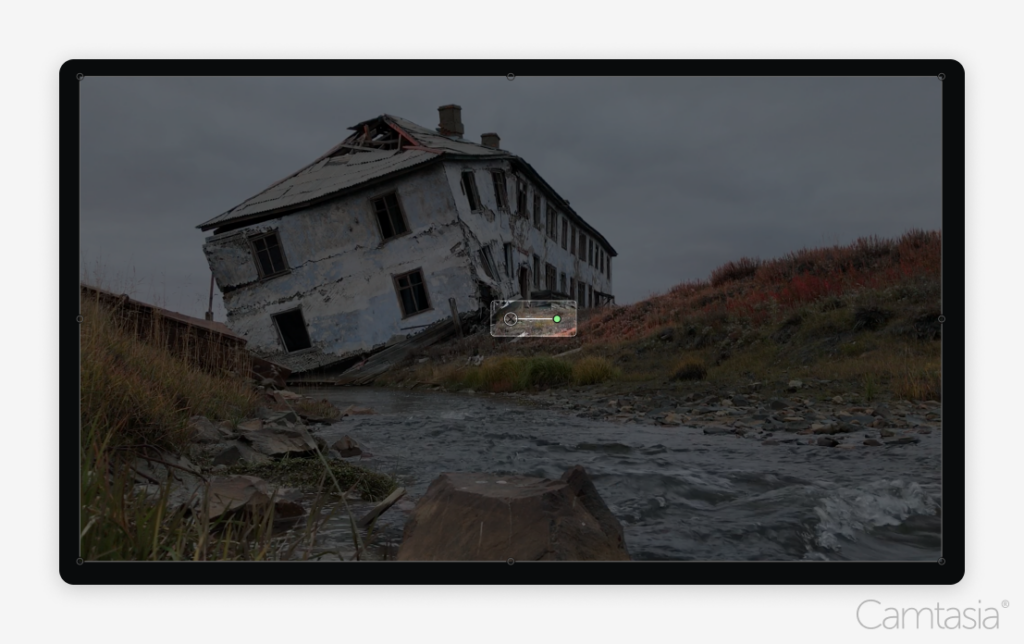
Once you have your click on the timeline and you see that anchor, left-click-and-drag the smaller of the two anchors and your media will rotate!
As soon as you get to the angle you’re looking for, release the mouse button, and you’re set to add callouts, drop shadows, animations, or other effects to the clip on the timeline. You can even adjust the skew to add a new focal point using the rotation properties panel in the right-hand side of the editor.
This method is excellent for fine-tuning your tilting and is especially useful when trying to match multiple clips on the timeline.
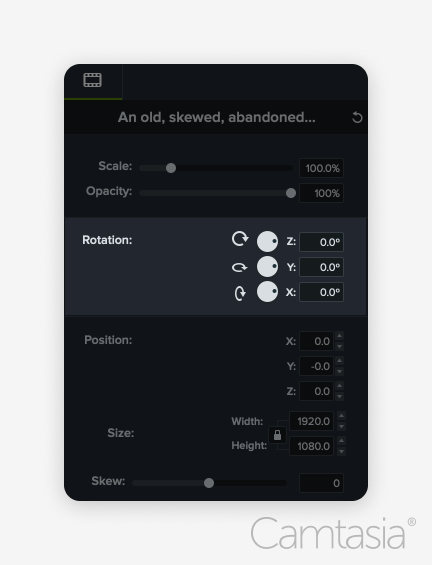
Camtasia also makes life simple for users in the form of the Tilt Left and Tilt Right animations, both found in the Animations tab of the editor. These animations are shortcuts designed to help smoothly animate your content to a left or right tilt, depending on your particular needs.
By simplifying the animation process, Camtasia cuts out significant time manually adding custom animations, setting properties, and then applying those across multiple clips.
You can even apply the tilt animations to multiple clips at once by first selecting all of the media on the timeline that you want to apply the tilt to, then right-clicking on the Tilt animation and choosing, “Add to selected media.”
Why use Camtasia to tilt my video?
Camtasia offers many different options that empower you to do much more than just tilt your video. From the aforementioned Tilt Left and Tilt Right animations to the more hands-on rotation properties panel found in the left-hand pane of the editor, Camtasia has it all.
Need to capture additional content for your project?
Camtasia’s screen recorder is a world-class recorder, and as long as you have your project open, Camtasia can record and import directly to it! From there, you can apply your tilt properties to the new recording so it fits in seamlessly with the original content.
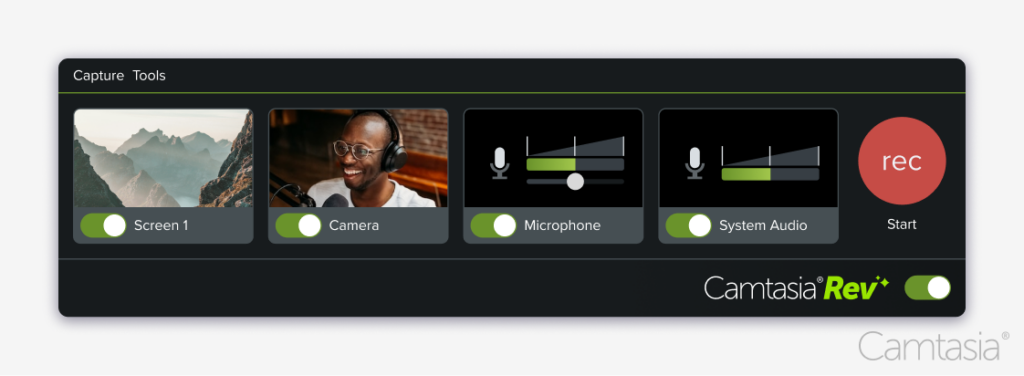
Want to add an element of interactivity to your video as you intend on sharing your media to Screencast?
Camtasia can do that! With its unique hotspot functionality, you can add live links and calls-to-action directly within your finalized video to help drive traffic or raise awareness of your site/content.
I’m done editing, now what?
Now that you’ve tilted your video and utilized the full suite of video editing tools available in Camtasia—adding interactive hotspots, visual effects, intros, outros, and other pertinent edits to the project—what’s next?
With your project complete, all that’s left is to export it. Camtasia’s new exporter offers numerous options, including uploading directly to Screencast or YouTube, or producing a local MP4 file. Camtasia has you covered.
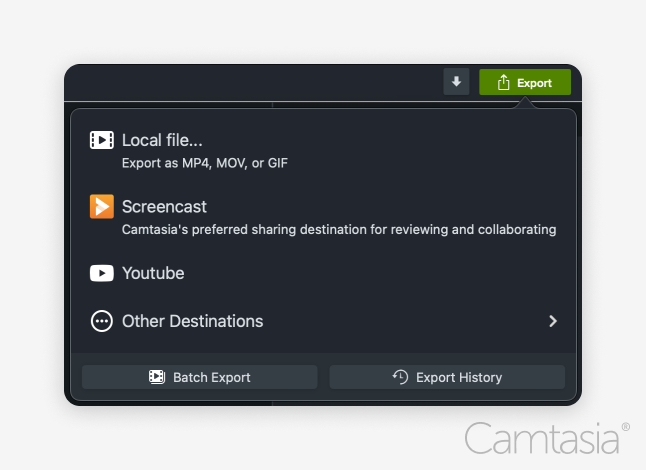
Is your project incredibly short and a video isn’t necessary? No worries—Camtasia also allows you to export high-quality GIFs!
The easiest way to edit videos
Stop wasting time and discover how Camtasia Editor makes creating incredible videos easier than ever.
Free Download


Share