

Capturing high-quality audio directly from your computer is easier than you think! Whether saving a podcast, trying to record desktop audio, or capturing sound from a video, knowing how to record system audio is a handy skill.
This guide will show you how to easily record the audio from your computer, highlighting both built-in tools and popular apps like Camtasia. We’ll also cover tips to ensure the best sound quality and explain how to save and manage your audio files. Remember, when recording audio, sound quality is essential.
How to record sound on a PC with Windows Sound Recorder
Step 1: Open the Sound Recorder app
The built-in Sound Recorder app is the simplest way to record Windows. To find it, go to the “Start Menu”, type “Sound Recorder” into the search box, and select the app. This is a quick tool for basic recordings. Additional apps like Camtasia can be utilized if you are looking for more advanced options.
Step 2: Set your recording device
Before starting, it’s essential to ensure you have selected the correct recording device. Open your sound settings, click the “Recording” tab, and choose the appropriate device. This could be your system’s microphone if you’re recording your voice or your speakers for internal audio. It’s extremely frustrating to find out after recording that your computer used the wrong audio device. Save yourself time and grief by always double-checking before you click the red button.
Tip: “Stereo Mix” is also an option for some audio cards. This allows you to capture exactly what is being outputted by your computer’s sound card and can result in clearer recordings. In the Control Panel, open Sound Settings. Show Disabled Devices to make this option visible to enable.
Step 3: Start recording
After setting your device, hit the “Record” button to start recording. The app will instantly begin capturing sound.
Step 4: Stop recording
When you’ve finished, press the “Stop” button to end the recording.
Step 5: Save the file
Once done, save the audio file in a location of your choice and click the audio file to preview it. If you want more control over the sound, you can open the audio file and play it back or edit it using an audio program like Audacity or Camtasia.
Recording system audio with Camtasia
Camtasia overview
Suppose you’re looking for a more advanced option to capture sound on a PC. In that case, Camtasia is a robust all-in-one video and audio recording program, perfect for capturing system audio directly from your computer. It’s beneficial for professionals who need to create tutorials, presentations, or demonstrations with both video and sound.
Step 1: Open Camtasia and set up audio recording
After launching Camtasia, go to the “Recording Options”. Under the audio section, select “Record System” Audio to capture sounds played through your speakers.
Step 2: Start recording
Click the “Record” button, and Camtasia will start capturing audio and video on your screen if needed.
Step 3: Stop recording and save the file
When you’re done, click “Stop Recording”. Camtasia automatically saves the audio in a high-quality format, making it easy to edit or export the file as needed.
Crystal-clear screen recording
Why settle for blurry screen content? Camtasia’s screen recorder captures everything at up to 4K!
Get Camtasia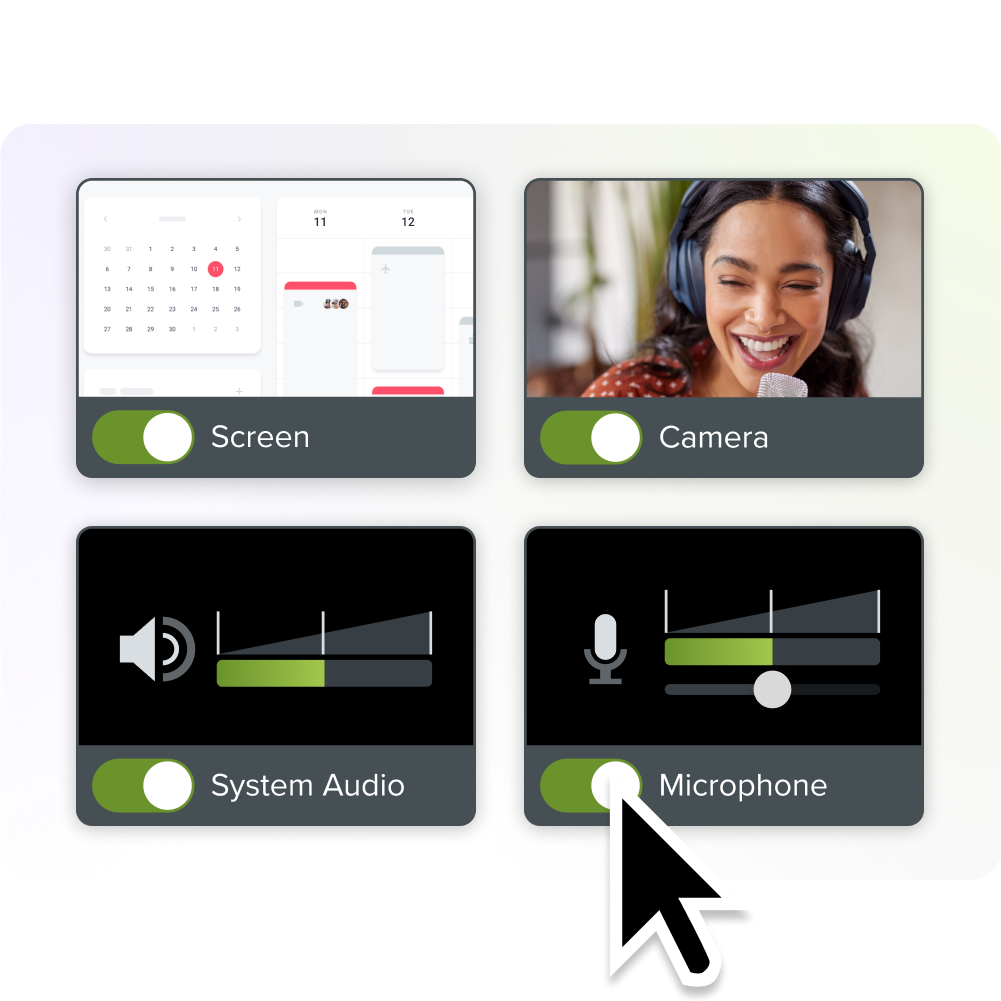
How to record system audio on Windows with WASAPI
Step 1: Use Windows WASAPI
If you prefer to use a free tool like Audacity, you can record system audio using WASAPI (Windows Audio Session API). WASAPI captures high-quality sound directly from your system without external noise from a microphone.
Step 2: Configure audio settings
Go to the “Recording tab“ and select WASAPI as the input source for your recording software. This will capture the internal audio, ensuring you get clear sound from whatever is playing on your computer.
Step 3: Record and save the audio
After configuring your settings, hit the “Record” button. Once you’ve captured what you need, stop the recording and save the audio file for later use.
Tips to improve sound quality when recording computer audio
Check your recording device
Always ensure your chosen recording device is set correctly in your sound settings. If you’re recording system audio, ensure your computer’s internal sound source is selected rather than an external microphone.
Adjust volume levels
Make sure your volume levels are correctly set before you begin recording. If the audio is too loud, it could become distorted, too low, and difficult to hear.
Test your setup
Before capturing your final content, perform a quick test recording to check the audio quality. This will help identify potential issues, ensuring the final recording is crisp and clear.
Additional tools for recording audio on Windows
Snagit for quick captures
Snagit is a versatile tool for quickly capturing audio. While primarily a screen capture tool, it can also record videos that capture computer audio, making it a great option if you need to grab media for a presentation or guide quickly.
Annotate and edit screenshots with Snagit
Professional mark-up tools and powerful features make it easy to create helpful images.
Try it Free
Dedicated audio recording programs
Tools like Audacity and Camtasia are ideal for more advanced audio editing and features. They allow you to enhance captured audio by removing background noise, adjusting volume levels, and splitting files into segments.
Conclusion: Start recording audio from your computer today
Recording audio from your computer is easy, using built-in tools like the Sound Recorder app or more advanced software like Camtasia and Snagit. You can create high-quality recordings for podcasts, tutorials, or presentations with the proper setup. Ready to take your audio recording to the next level? Try Camtasia or Snagit today to create professional-quality recordings with ease.
Share