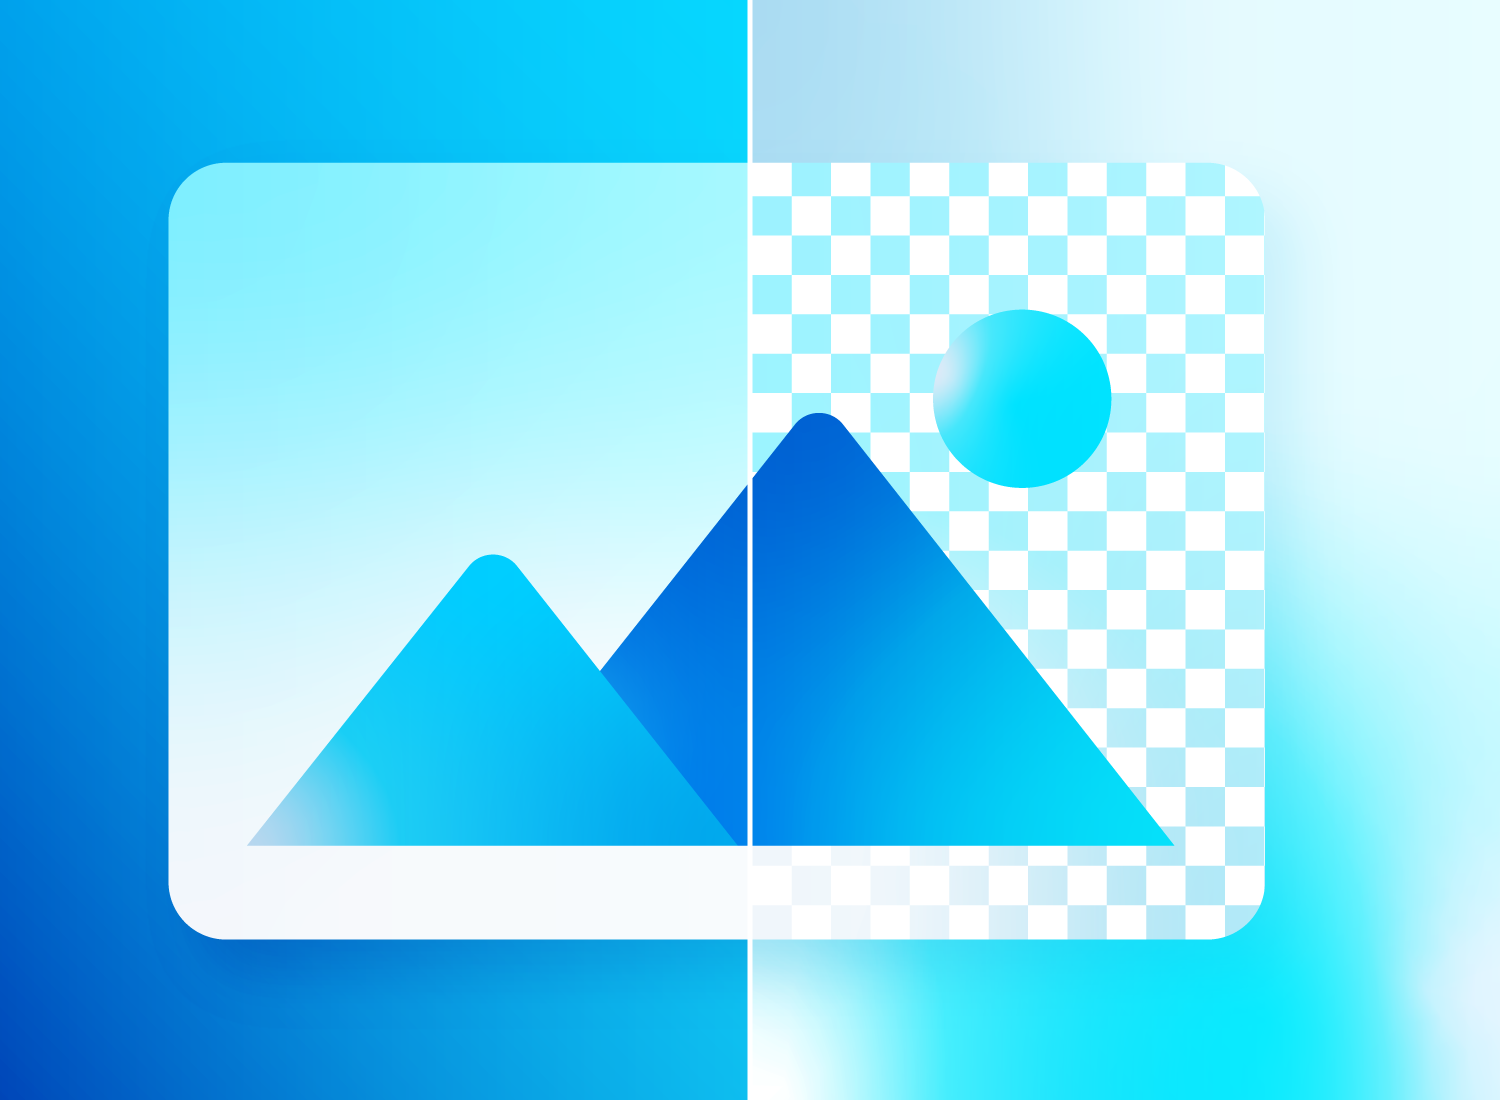
Picture this: you’re working on a presentation, but you need your pictures to have a transparent background. Now that’s a problem. You need to remove the background from those images!
Sound familiar?
We’ve all been there! And we know how frustrating it is when you have a clear idea of how you want your presentation to look but can’t figure out how to delete the background from an image.
If only there was a handy background removal tool for you.
Annotate and edit screenshots with Snagit
Professional mark-up tools and powerful features make it easy to create helpful images.
Try it Free
Fortunately, learning how to make an image transparent isn’t as tricky as it sounds. By using a handy tool like TechSmith’s Snagit, there’s an easy way to make backgrounds disappear without convoluted design tools.
In fact, Snagit makes it easy to remove the background from pictures in just a few clicks, so you don’t need to be a graphic designer to reach your goals!
How to make a picture’s background transparent with Snagit
Step 1: Insert the image into the Snagit editor
Start by taking a screenshot with Snagit, or uploading an image from the File menu. Images that have white or solid color backgrounds or high-contrast backgrounds usually work best.

Step 2: Next, click the Fill button on the toolbar and choose Transparent
To add the Transparent Fill option to your Quick Styles for the first time, it’s pretty simple. All you need to do is click the Fill Color option in the Tool Properties and select Transparent Fill.

Then, click on the background of your picture and Snagit will automatically remove the pesky background for you. No fancy editing tools required!

Step 3: Adjust your tolerance as needed
If you find that the Fill tool is removing too much, or not enough, of your background then you might need to play around with the tolerance settings.
Adjusting the tolerance is easy with the slider. If you’ve got a complicated background with lots of colors and shades, it might be a little trickier.
For example, if you have an image with lots of similar shades and gradients in the background you may end up with some bleeding around the parts of the image you want to keep.

When adjusting the fill tolerance, keep in mind that 1% is the most strict setting, and 100% means it will pretty much wash out your entire image.
Meanwhile, adjusting the opacity will dictate how transparent you want your fill to be. The more opaque, the less transparent it will be. In other words, to erase the background from your image completely, go with 0%.
Pro tip: You can also add a new background color!
Step 4: Click the background areas you want to remove
If you’re editing a screenshot or a PNG image, any background you remove will become transparent by default. However, if you’re working with a different file format, like a JPG, you’ll need to adjust your background color in the Snagit editor, or it will default to a white background rather than transparent.
To do this, simply click Image > Canvas Color (on Windows) or Image > Change Canvas Color… (on Mac).

Step 5: Save your image as a PNG
Once you’ve finished making the transparent background on your image, make sure you export it as a PNG file.
Each file format is different so it’s worth taking the time to understand image file formats, but PNG is one of the few formats that supports transparent pixels.
And that’s all there is to it! You now know how to use a simple background eraser tool to remove image colors from the background of a picture in just a few steps. This is a great skill to ensure a seamless look for your process documents, social media marketing materials, and presentations.
The best snipping tool for Windows and Mac
Don’t let clumsy built-in tools hold you back. Take and edit screenshots with Snagit!
Get Snagit


Share