

Harnessing the power of chroma key — the fancy term for ‘green screen’ — is probably easier than you think.
Creating high-quality green screen videos doesn’t call for a lavish set, special effects, or an extensive technical crew. You need a smartphone or webcam, some fabric, the right video editing software, and a sprinkle of technical know-how.
How does a green screen backdrop work?
Green screens blend two images or video streams based on color hues. So, why green? Green is the least likely solid color to match a person’s skin tone or clothes!
Here’s how it works: your subject stands in front of a green backdrop, and then you use editing software to replace every pixel of that specific green color with another image or video.
Green screens provide a shortcut to create complex visual scenes without expensive and time-consuming sets. They are the most accessible way to bring creative visions to life.
The easiest way to edit videos
Stop wasting time and discover how Camtasia Editor makes creating incredible videos easier than ever.
Free Download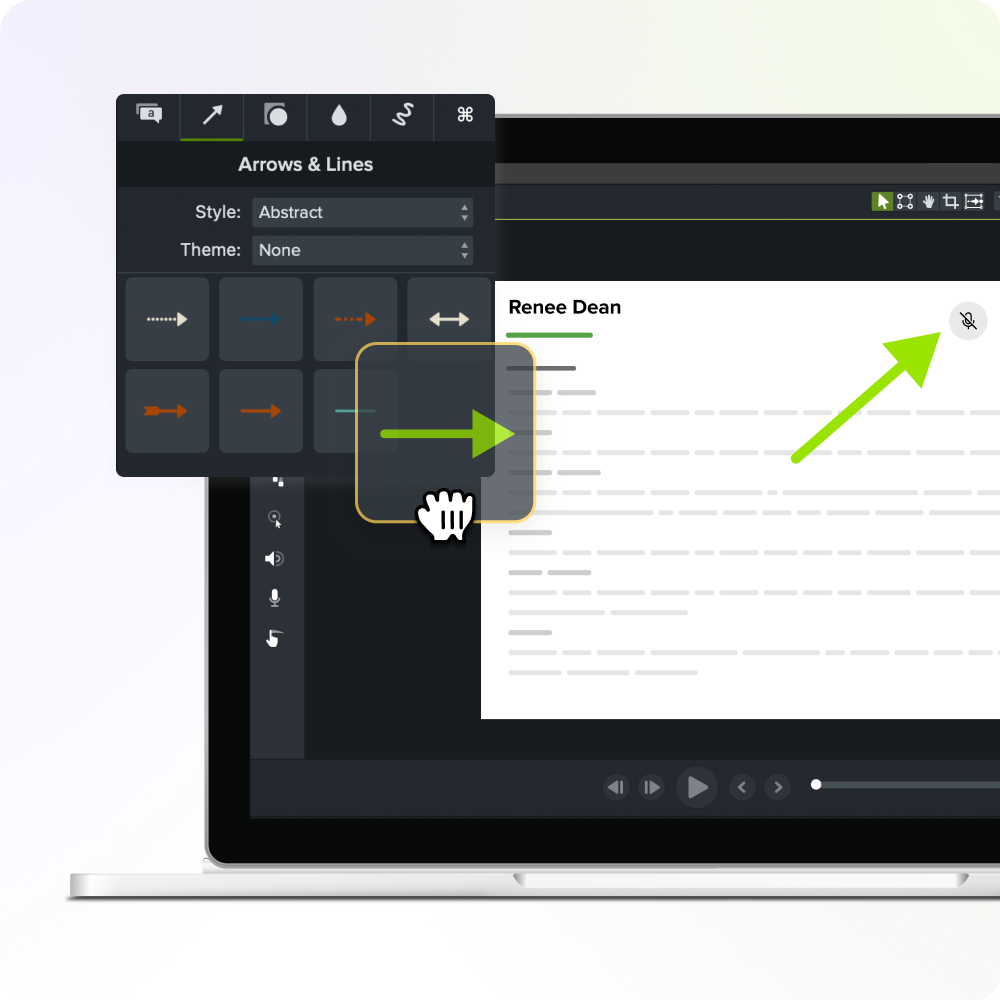
How to set up your green screen background
If you want to know how to make a green screen background, you’ll first need to get a few things together.
- A green piece of cloth/fabric
- Camera equipment
- Lighting
- Video editing software
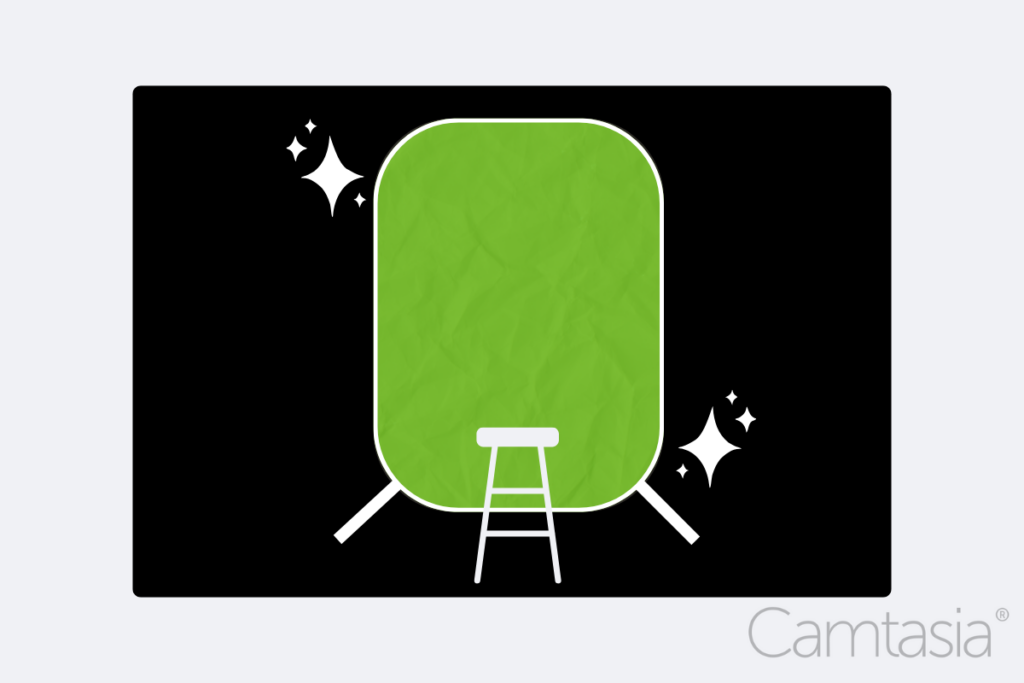
Step 1: Get a backdrop
To make a cheap DIY green screen, you’ll need to get a bright green muslin cloth – the brighter the better! Get a shade that distinctly contrasts your skin tone (and clothes), ensuring you don’t blend into the background.
You may be thinking: “Should I use a green screen or blue screen?” Either works, but you have to be careful around blue screens if your eyes or clothes are blue.
If you’re looking for more of a hassle-free setup, you might consider buying a collapsible green screen panel. At just 5′ x 7′, these screens are pretty compact, making them perfect for on-the-go shoots.
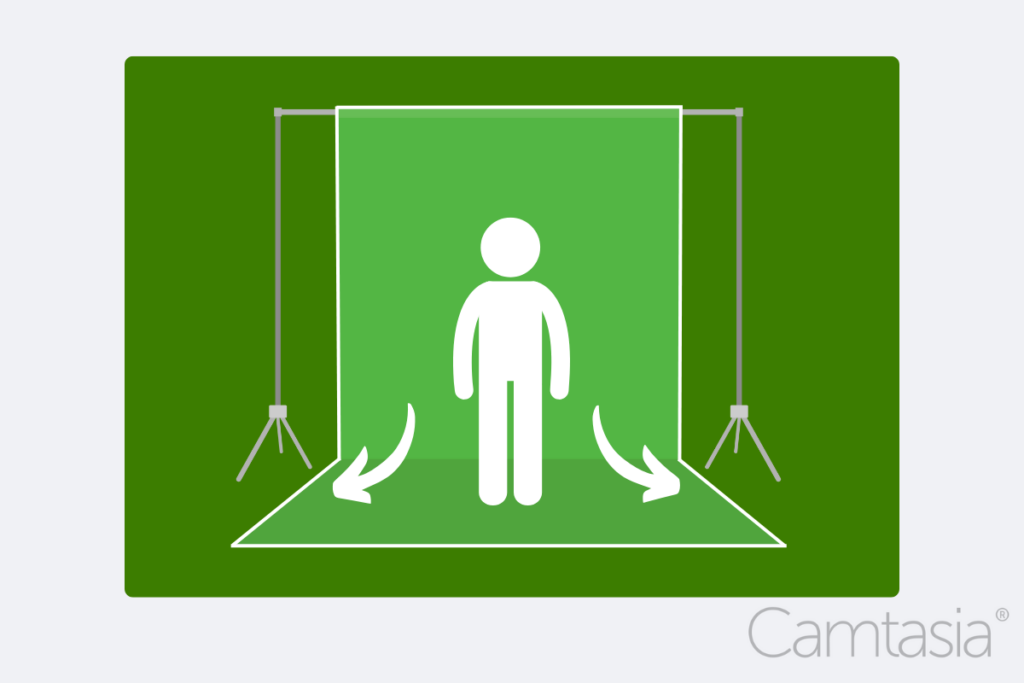
You’ll need to stand as close to the screen as possible, without casting a shadow on it. You’ll also need to keep your limbs within the screen’s boundaries. Extending arms or hands beyond the backdrop may result in them abruptly cutting off in the final video.
Step 2: Get some stands ready
Stands are essential pieces of kit for hanging green screens and positioning lights.
Finding the right stand for you and your project is likely to hinge on several factors, such as the weight of your equipment, the space available, and your budget.
If you’re trying to keep costs to a minimum, photography tripods are as versatile as they are affordable. They usually come with 1/4-inch screw tips, which are handy for mounting lights, clamps, or supporting backdrops.
For more expansive screens, you might need to invest in a backdrop stand. These typically come with two tripod-like stands and a telescopic crossbar for hanging fabric screens. These might not be the most sturdy pieces of kit, but provided you’re not filming in the middle of a storm (and with a green screen, you don’t need to!) they should do the job.
Of course, if you’ve got the budget then there’s no harm in going all-out for some heavy-duty C-stands. Although expensive, these stands feature three independent, 120-degree rotatable legs for superior stability. Just one of these stands can support the weight of a telescopic arm on its own, making them perfect for when you need big, heavy lights to light up your green screen.
Stardom awaits!
Camtasia is the perfect way to create exciting content for YouTube, TikTok, Instagram, and more!
Free Download
Step 3: Pick your camera
Next, you’ll want to pick a camera or webcam that shoots HD-quality video (720p or higher) at a decent frame rate (24 fps or above). Make sure your camera saves files in a format that your editing software can import.
Camtasia makes it easy to import and edit videos in almost every file format.
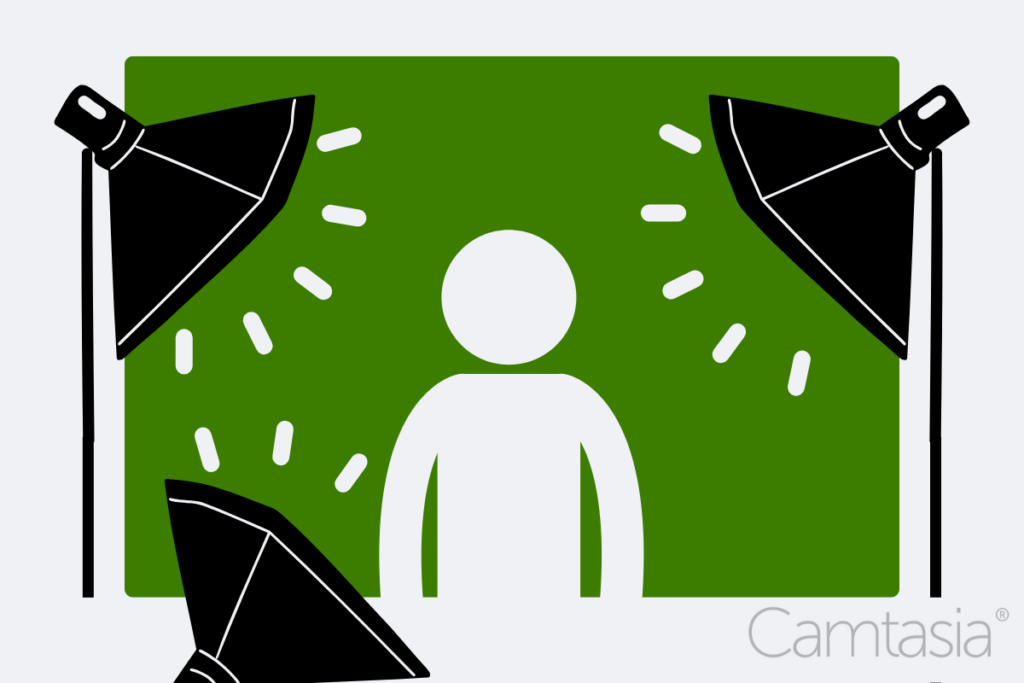
Step 4: Set up your lighting
Shadows can be the enemy of great green screens, so you want to be sure your background is as well-lit as possible. You should also use a flat green background, as the flatter the green screen is, the easier it will be to remove or replace when you’re editing.
Additionally, wrinkles can be a concern since they create shadows and odd variations in the lighting. Smooth out any kinks in the fabric and adjust before you start filming.
While perfecting your lighting may take a little trial and error, it’s well worth the results.
If needed, the Remove a Color effect in Camtasia is quite forgiving of background shadows. You might need to spend a few minutes tweaking the settings, but it shouldn’t take long to get right.
Step 5: Get the right software
In Camtasia, you can use the Remove a Color effect to easily remove your green screen in just a few clicks. But that’s not all, with Camtasia, you can change the speed of your video, add music, and create a wide range of other advanced visual effects.
The best green screen alternative
What if you don’t have a green screen? No worries, with Camtasia you can use the Background removal effect to yield similar results. Simply record your video with your normal background and use the editor to insert a different one.
You can customize your background from pre-loaded options or upload your own. The possibilities are endless and you’ll have a perfectly edited background in minutes.
Tips to make the most of your green screen
The key to creating professional-looking green screen effects isn’t just about having high-end equipment, it’s about how you use them.
In this section, we’ll explore some top tips for ensuring you get the most out of your green screen setup. Whether you’re a seasoned videographer or just starting out, these expert insights will help you elevate your projects and make your videos come alive.
Avoid reflective and green surfaces
When working with a green screen, avoid using reflective or green surfaces within your shooting area. This includes clothing, props, and even shiny jewelry or glasses. Why? Reflective items can mirror the green screen’s color, leading the editing software to confuse them with the backdrop, causing parts of your subject to ‘disappear’ in post-production.
Consider a coved green screen
A coved green screen acts as both the wall behind your subject and the ground beneath them. It provides a green background that seamlessly extends from wall to floor in a smooth curved transition. This design eliminates shadows and visible edges, ensuring a more effective chroma key effect.
While a flat green screen will be perfectly fine for a wide range of projects, a coved setup is particularly useful when shooting
Keep the video camera stable
Keeping the camera steady is an important part of any shoot and working with a green screen is no different — in fact, it’s probably even more important!
Unintentional movements can disturb the alignment between your subject and the green screen, which can lead to a jarring visual experience for your viewers. For this reason, investing in a solid and reliable tripod is essential as it will provide a stable base for your camera, ensuring consistent framing while eliminating shaky, unfocused footage.
Check your ISO settings
Your camera’s ISO settings play a vital role when working with a green screen. ISO determines the camera sensor’s sensitivity to light, and manipulating it correctly can significantly impact the quality of your footage.
A high ISO setting allows for shooting in low-light conditions but can introduce ‘noise’ or graininess into your footage. When working with a green screen, this noise can complicate the chroma key process and lead to unclear edges around your subject.
To counter this, you should try using as low an ISO setting as possible. You’ll need more light, but you’ll end up with a much crisper image, which will help ensure a smoother green screen effect.
The easiest way to edit videos
Stop wasting time and discover how Camtasia Editor makes creating incredible videos easier than ever.
Free Download
Share