Screenshots are a handy way to capture and share information quickly, whether illustrating a technical process, sharing visual updates, or protecting essential data. These visuals can make boring content more engaging, which makes people more likely to engage with your content.
In fact, in a TechSmith study respondents reported that visual communication via video and images helped others retain information and made their communications more effective.
Screenshots often need editing for clarity, emphasis, or security. Editing a screenshot can improve its readability, hide sensitive information, or highlight key details. With powerful tools like Snagit, the process is quick and efficient!
In this guide, we’ll walk you through the steps to edit a screenshot, ensuring your images are polished and professional.
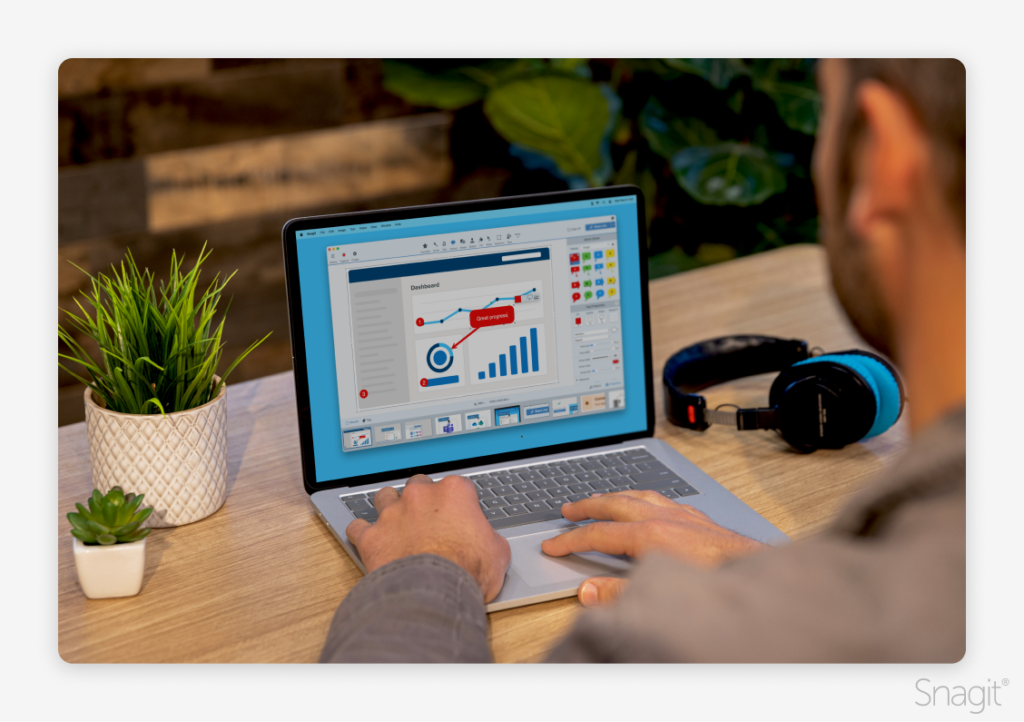
How to edit a screenshot
Editing a screenshot is crucial for various reasons.
Sometimes, a screenshot might contain irrelevant or sensitive information that needs to be cropped out or blurred. Other times, drawing attention to specific areas might require adding text, arrows, or highlights. Effective screenshot editing can make instructions more precise, presentations more concise, and protect personal data from being exposed.
Annotate and edit screenshots with Snagit
Professional mark-up tools and powerful features make it easy to create helpful images.
Try it Free
1. Capture your screenshot
The first step in editing a screenshot is, of course, to capture it. Built-in tools like Mac’s Screenshot tool or Windows’s Snipping Tool with print screen offer basic functions like capturing a specific portion of the screen.
For more advanced capture and editing features, Snagit is an excellent choice. Snagit allows users to capture scrolling areas, select multiple areas, or take consecutive screenshots with keyboard shortcuts—all while keeping them organized in a library.
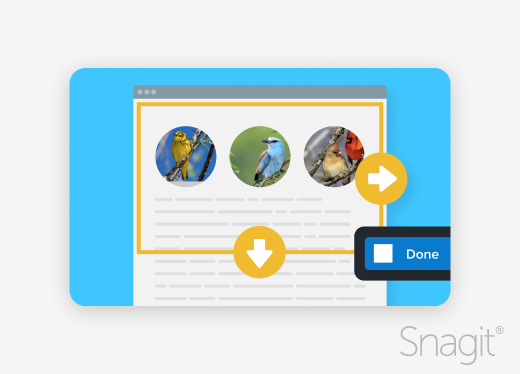
A benefit of using Snagit is its versatility. If you’re capturing a long webpage or an extended menu, Snagit can capture it in one seamless image. It simplifies gathering multiple screenshots and is an excellent tool for professionals who frequently work with visual content.
2. Open your screenshot in an editor
After capturing your screenshot, you are ready to start editing. The next step is to upload the screenshot into an editor for adjustments. This step is streamlined if you’re using Snagit, as the screenshot automatically opens in Snagit’s editor. For other editing tools, you can double-click to start your editing application, drag and drop your screenshot into the editor window, or use the upload button to bring the image in.
Most screenshot editors allow users to access cropping and resizing quickly. Some have more advanced tools like annotations or blurring sensitive information.
3. Basic edits that make a difference
Cropping and resizing screenshots
One of the most common edits made to a screenshot is cropping. Cropping removes unnecessary areas, allowing you to focus the viewer’s attention on the critical part of the image. In most image editors, you can use a cropping tool by selecting it, clicking the edges of the image, and dragging it to your desired size.
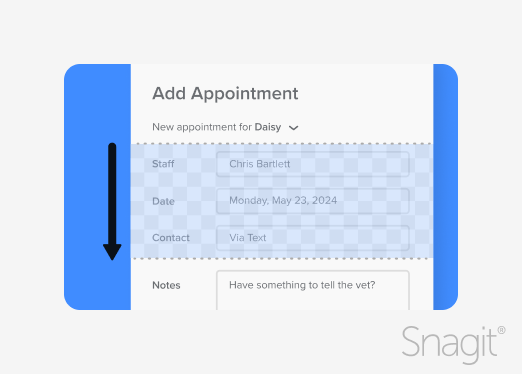
Most cropping tools edit the edges of the content only. Cut-out tools, a feature of Snagit, allow you to remove specific sections inside an image—automatically creating a smooth transition with effects like torn edges. Another Snagit feature, Smart Move, automatically detects and enables users to move UI elements within screenshots, maximizing fast editing.
Resizing is needed to fit a particular format, such as a presentation slide or a web page layout. With Snagit’s tools, resizing is as simple as selecting your desired image dimensions.
Rotating screenshots for better presentation
Sometimes, the orientation of your screenshot might need adjustment. Rotating ensures your text is easy to read. In Snagit, rotating an image is as easy as selecting the rotate tool and choosing your desired angle.
Adding text and shapes to highlight critical information
Annotations are a powerful way to highlight important areas or add clarity to your screenshots. When sharing a screenshot to explain a technical process, use text boxes to label sections or arrows to draw attention. These annotations make it easier for viewers to understand points or follow instructions.
In Snagit, add text or shapes like arrows by selecting the tool and dragging it to the desired location. Snagit also provides a Step Tool to add sequential numbers automatically.
For a polished look, create shared themes by modifying professionally designed templates to align with your brand guidelines. Stamps, emoticons, and templates are often available in integrated asset libraries. These are all features of Snagit.
Protect sensitive information
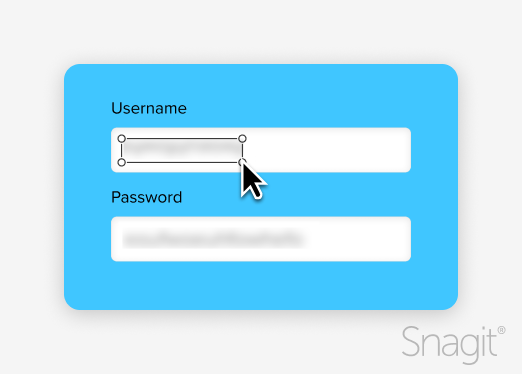
Hiding sensitive information is crucial, especially when sharing screenshots publicly or with external parties. Obscuring or permanently removing information is essential to prevent unauthorized disclosure and protect against identity theft. The General Data Protection Regulation (GDPR) mandates related data security measures.
Snagit’s blur tool makes it easy to hide:
- email addresses
- credit card numbers
- social security numbers
- phone numbers
- other private information
Select the blur tool from the editing menu, and simply click and drag to cover the sensitive area with the blur effect. This ensures your data remains private while providing the information you need to share. To complete the redaction process, save the file in PNG or another format.
Snagit can also remove text by transforming detailed screenshots into simplified graphics through simplified user interface (SUI) generation. It also provides Text Recognition (OCR) to allow for the text to be extracted.
In addition to the Snagit desktop app, TechSmith provides a free online tool to blur screenshots.
4. Save and share your edited screenshot
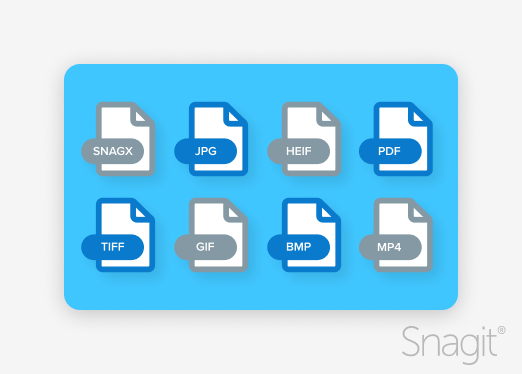
Saving in the correct format
After editing your screenshot, the final steps are to save and share it. Most editors offer the option to save in various formats like PNG or JPEG. PNG is often preferred for higher-quality images, while JPEG is useful when file size is a concern. Choose the format that best suits your purpose while ensuring that image quality is preserved.
Snagit also supports batch processing, enabling format conversion to be applied to multiple images simultaneously.
Sharing your screenshot
Sharing your screenshot is often as important as editing it. With Snagit, the sharing process is straightforward. Once the edits are complete, you can directly export your screenshot to email, cloud storage services like Google Drive, or even social media platforms. Your image can be distributed to your intended audience with just a few clicks.
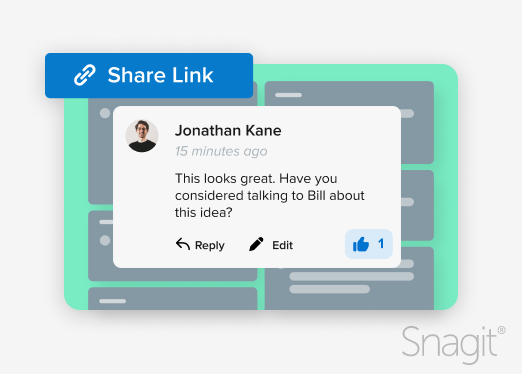
Save time with Snagit’s optional functionality, which allows collaborative sharing, annotating, and discussion of screenshots online.
Snagit: The best tool to edit screenshots
Editing a screenshot is an essential skill that enhances communication, whether you’re documenting technical issues, highlighting important details, or protecting sensitive data. Tools like Snagit make this process quick and efficient, allowing users to capture, edit, and share screenshots– in minutes.
Ensure your screenshots are clear, informative, and secure by following the steps outlined in this guide—capturing, cropping, resizing, adding annotations, and finally, saving and sharing. For more impact, use Snagit to create a screen recording, animated gif, or video from images.
Whether new to editing or looking to streamline your process, try Snagit and experience how easy it is to edit a screenshot and share your work! Download a fully-functioning free trial on the TechSmith website to get started today.
Annotate and edit screenshots with Snagit
Professional mark-up tools and powerful features make it easy to create helpful images.
Try it Free


Share