Screenshots are great, but sometimes they include information you don’t want shared.
Or maybe you frequently handle confidential information that you don’t want to accidentally share in your screenshots. Blurring the text and other private data in your screenshots will give you peace of mind sharing screen captures with your customers and colleagues.
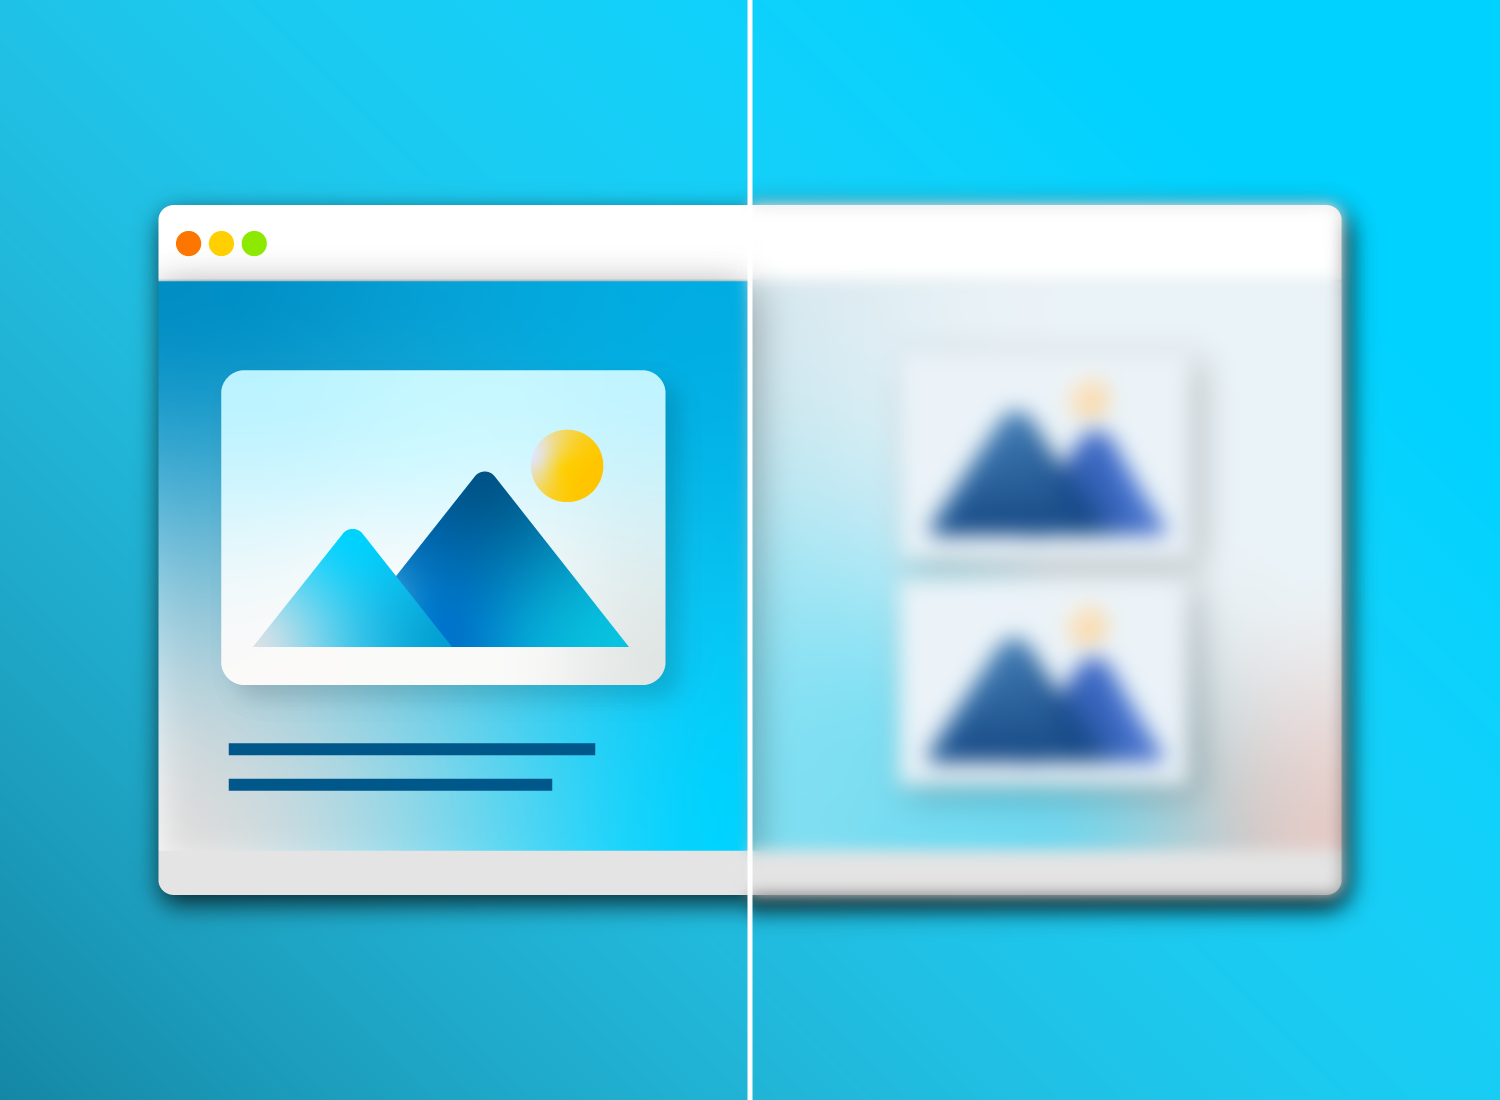
In this post, I’ll show you how to blur an image or screenshot and give you 5 creative and practical ways you can use the blur tool to maintain privacy and clarity in your screenshots.
Annotate and edit screenshots with Snagit
Professional mark-up tools and powerful features make it easy to create helpful images.
Try it Free
How to blur text in a screenshot
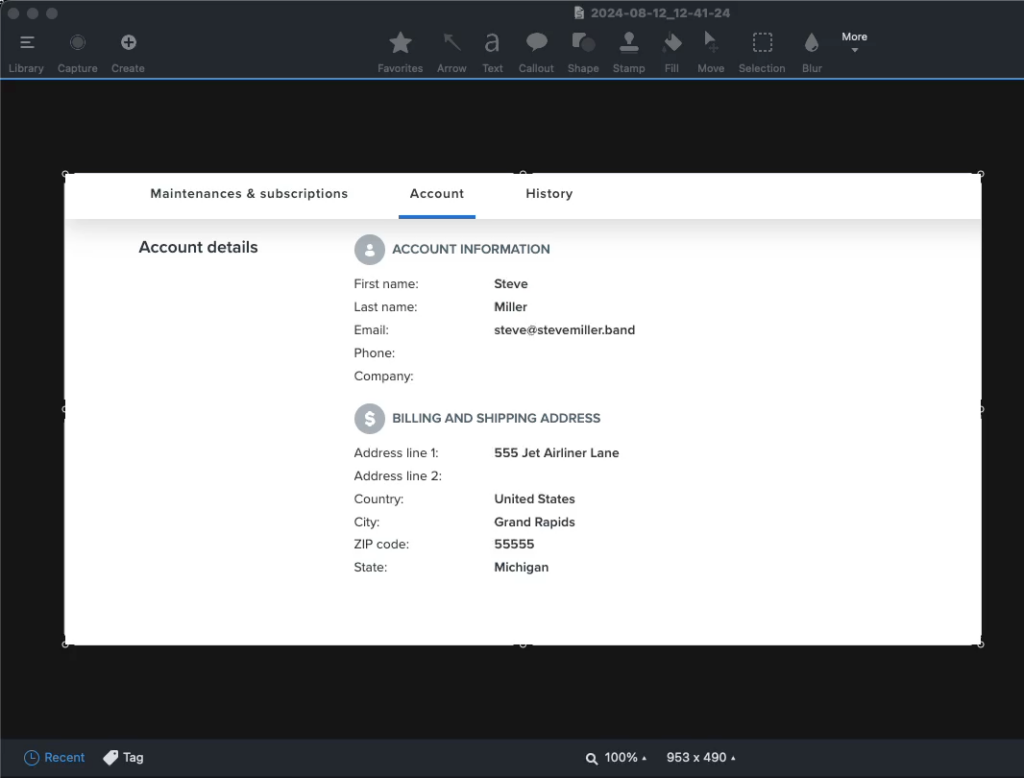
Step 1: Take a screenshot
First, take a screenshot or open an image with Snagit on your Windows or Mac computer.
Step 2: Select the Blur tool
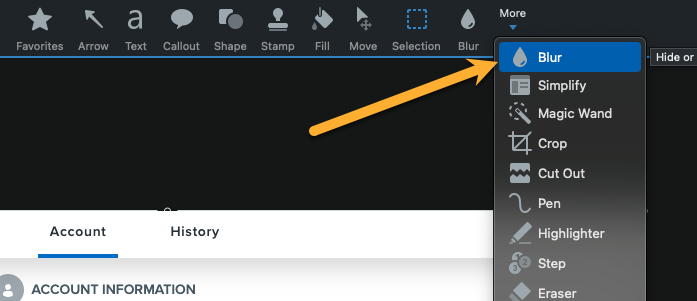
With your image open, select the Blur tool from the drop-down menu.
Step 3: Move your mouse over the text you want to blur
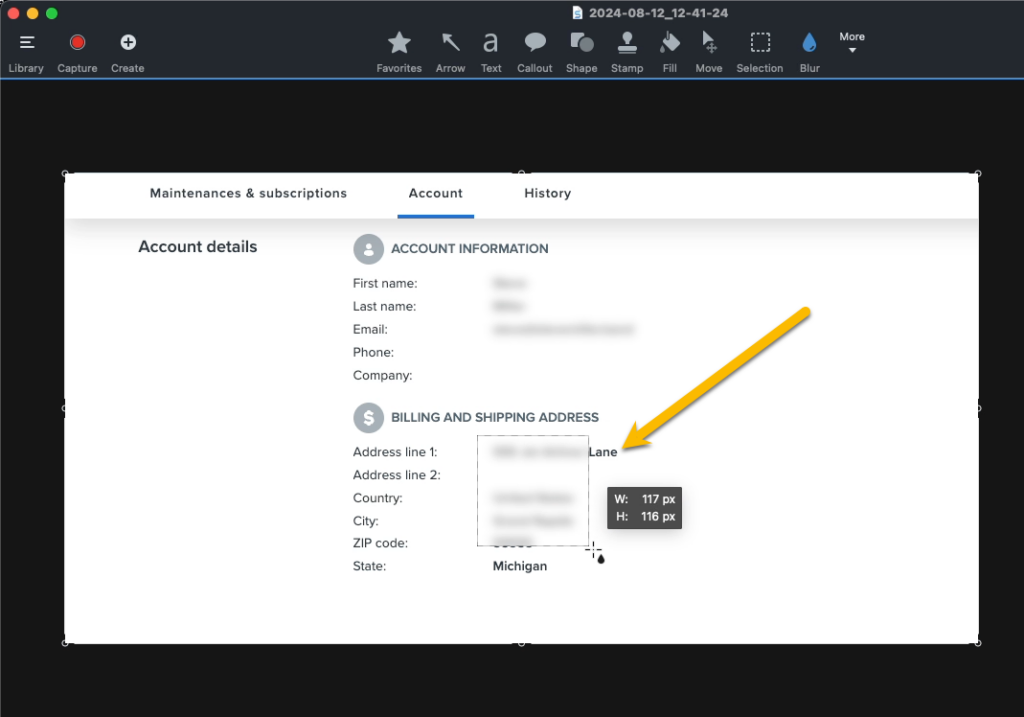
Click and drag over the areas you want to blur.
Step 4: Adjust the blur intensity or style
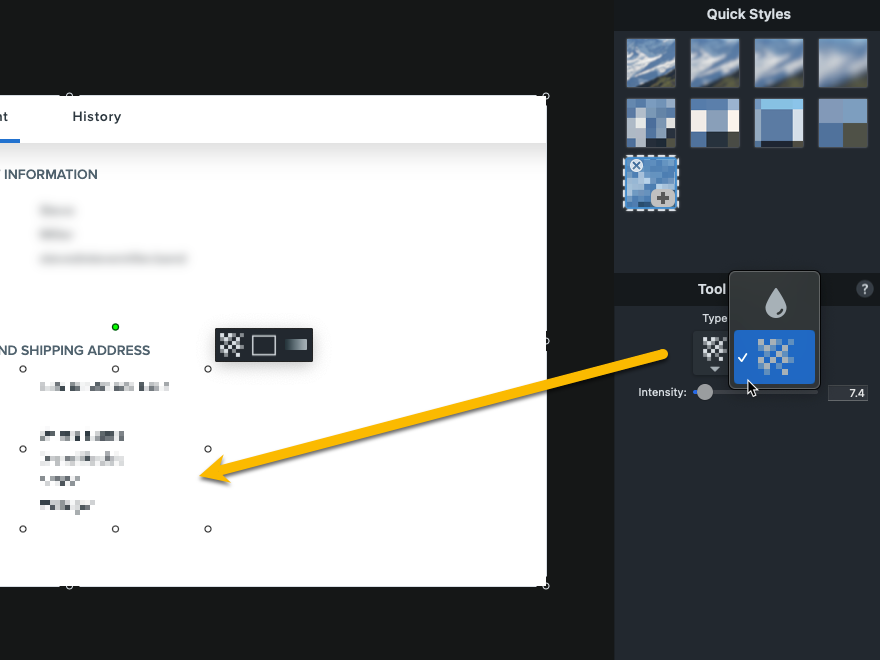
To change the intensity or type of blur, select the blur, then change the option in the Properties panel.
Step 5: Save or share your image
When you’re done with the image, click the Share Link button, choose an app to share from the drop-down menu, or drag it directly from the tray.
Snagit is mistake-friendly, so if you blur the wrong thing, just select it and delete. But don’t worry, anyone you share the image with won’t be able to do that.
That’s it!
Snagit makes blurring sensitive information that easy.
“Another great feature that I frequently use is the ability to blur out sensitive information. As someone who deals with confidential data regularly, this feature has been a game-changer for me. I no longer have to worry about accidentally sharing sensitive information in my screenshots, as I can easily add a blur effect to any area I want to protect. This has given me peace of mind and saved me a lot of time and hassle.”
5 ways we use the blur tool to maintain privacy
As workplace norms keep changing, teams are learning how to effectively share information across multiple time zones and locations. And TechSmith is no different. Here are 5 ways we’re using the blur tool to enhance our remote commutation with team members and customers.
1. Remove personal information from a screenshot
Our tech support team does awesome work every day, providing chat, email, and phone help to our users. This work requires them to take a lot of screenshots. Often, the screen grabs include email and other account information.
Our agents use Snagit’s blur tool to hide the text and remove personal information, like their email address, from a screenshot.
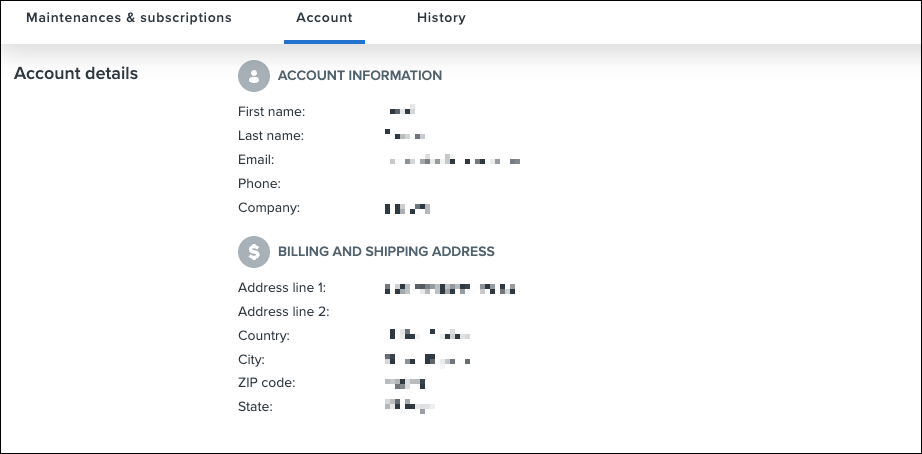
In the screenshot above, one of our techs needed to show a user where to find their billing information on Screencast.com. He was able to blur out his name, email address and contact information without the capture losing any of its context or meaning. Pretty sweet.
 Recommnded Reading: Snagit vs Snipping Tool: 5 Reasons You Need To Switch
2. Screenshots of user feedback
One of the most important parts of our software-building process is listening to our users.
We run beta tests, communicate with user groups, and conduct surveys, among many other input-gathering strategies. While planning new features, we make sure everyone working on our software has heard the voice of our users.
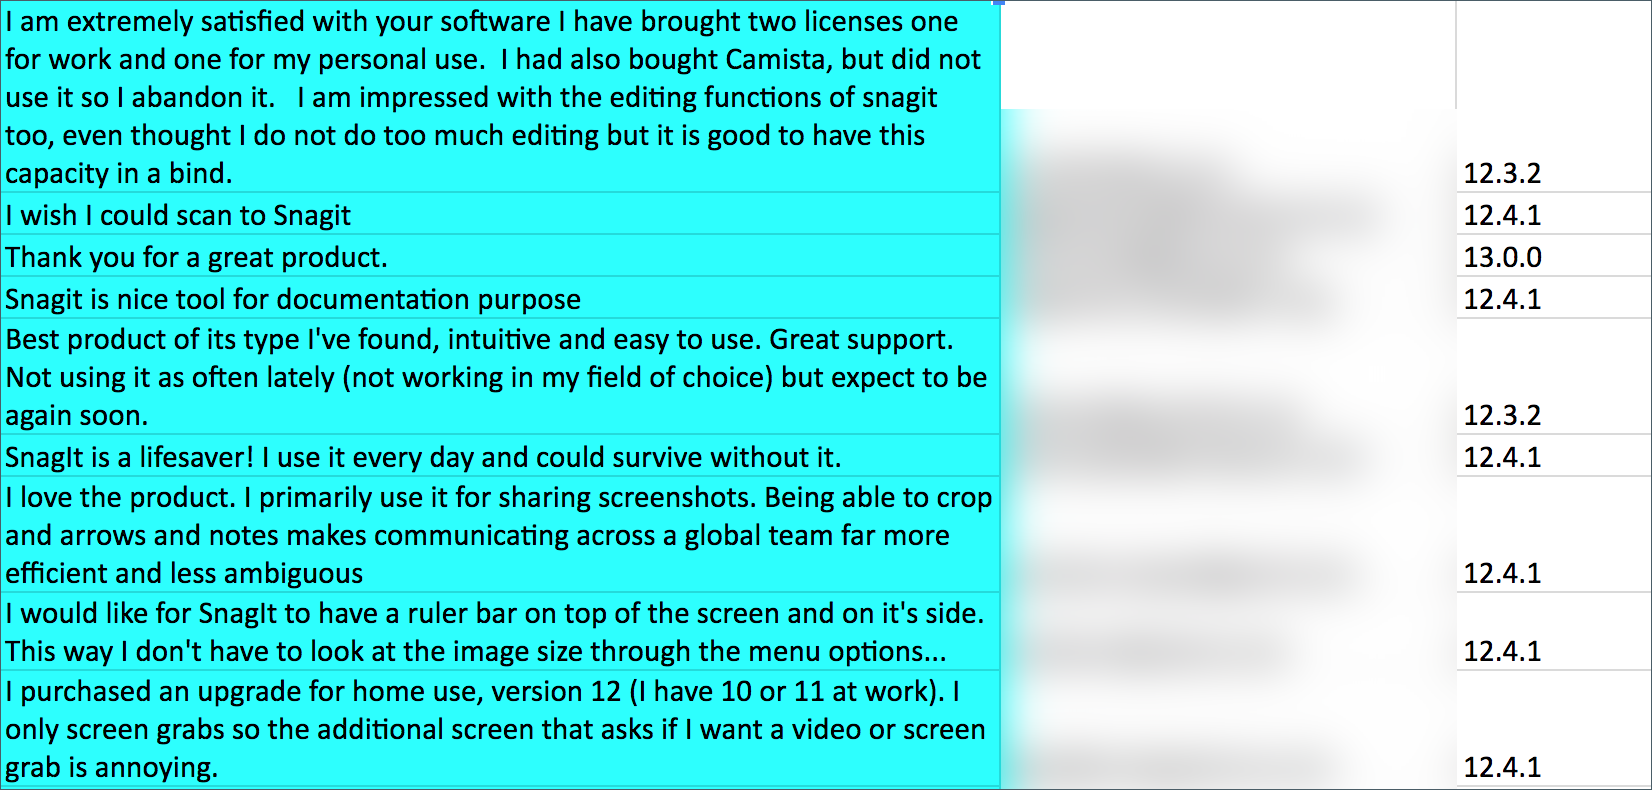
To do this, we create resources and share them throughout the team. The names or information of individual users, often collected in surveys, is not necessary to include. So, we usually blur it out.
The screenshot below is from a spreadsheet containing user feedback with the ‘email address’ column blurred out.
3. Remove unnecessary information
Sometimes the reason for blurring isn’t about hiding identifying or sensitive information.
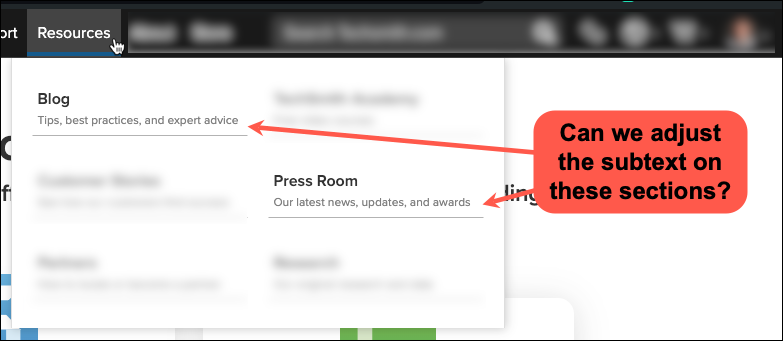
Instead, there is irrelevant or unnecessary content that you want to de-emphasize. This is a tactic one of our marketing team uses to direct the focus for example screenshots.
They can grab an image to include with feedback and then blur out the parts that could distract from the subject. In the screenshot below, he blurred text that was not pertinent to what he was explaining.
And it draws the attention directly where he needs it.
4. Use blur to highlight
I’ve talked about how blur tools can hide information. But blurring also can be used to emphasize a particular part of a video or screenshot.
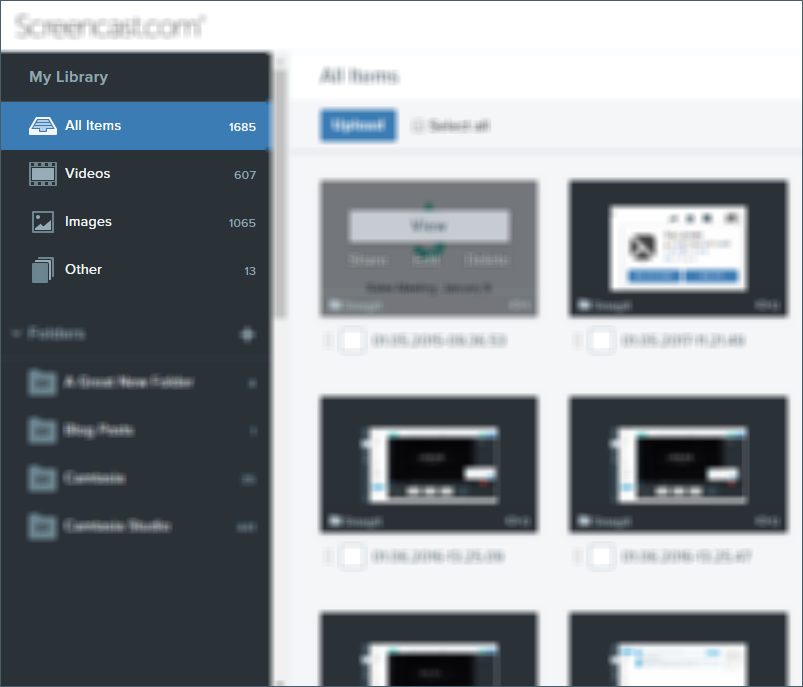
By blurring out the unimportant parts of any image, you can draw a viewer’s eye to a particular section of an image or video. This technique is useful when you still want to maintain context in your screenshot.
In this example, I’ve blurred the rest of the interface in order to draw attention to the menu in the upper left.
5. Progressive reveal
When explaining a complicated interface or diagram, some people like to use blur to do a progressive reveal of portions of an image. This is a great tactic in slide decks and presentations.
It also works well in step-by-step processes. By blurring parts of the image, you can be sure the people you’re presenting to know exactly what part of the interface or image you are talking about.
Below is a GIF I created to show how a progressive reveal can be done with a screenshot.

There are tons more ways to edit and enhance your images and screenshots. Download Snagit to start capturing images and try out the blur tool for yourself!
3 other creative ways to keep your screenshots secure and maintain viewer focus
While blurring an image can be useful, the process isn’t always your most secure option. To completely redact the information in your screenshot you’ll want to use a solid box to cover that text or data.
Here are three ways you can elevate your screenshots beyond the blur tool.
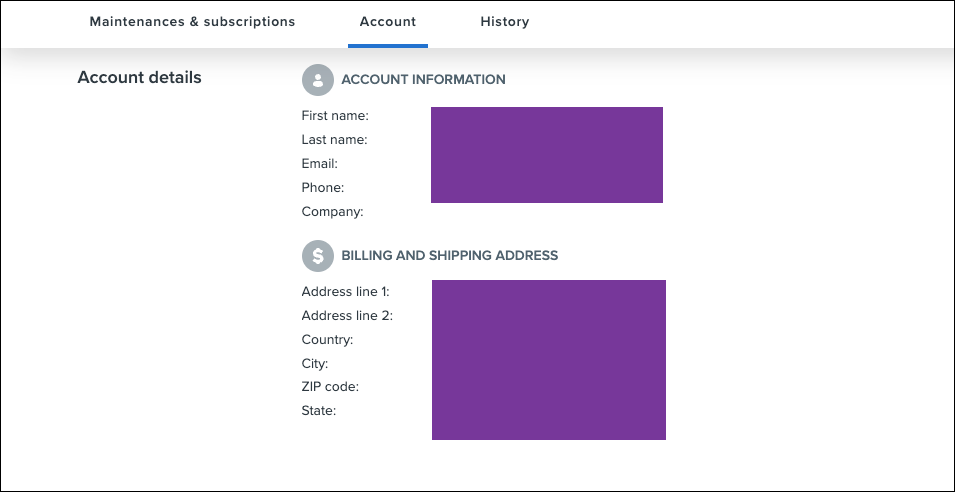
Tip #1: Use a shape
The Shape tool in Snagit lets you easily block elements of an image or screenshot. You can control the size, shape and color. And the Shape tool gives you more options to add your own branding and styling to your screenshots.
Tip #2: Simplify
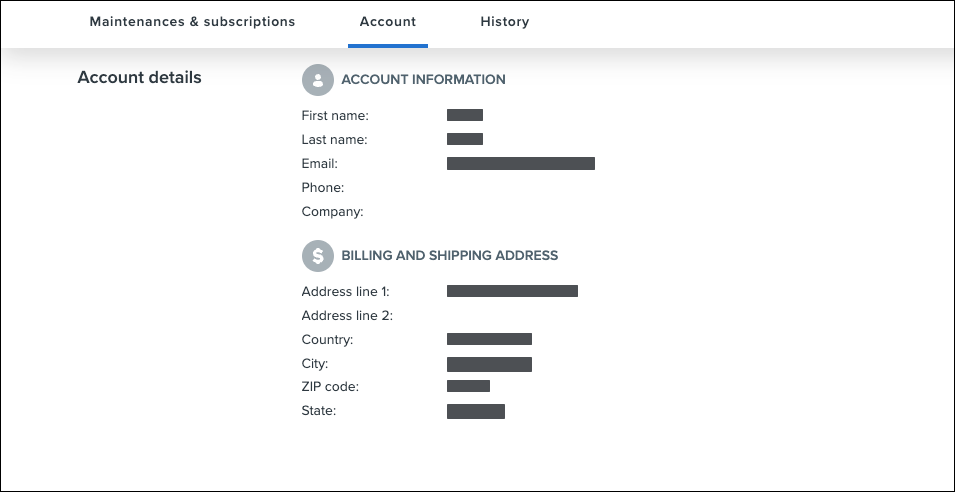
The Simplify tool is great if you want to cover up information or focus a viewer’s attention without losing any of the original look and feel of the interface.
Like the Shape tool, you can also adjust the color to maintain a professional look for your screenshots. You can manually adjust where to simplify or the Auto-Simplify feature can simplify everything with a single click.
Tip #3: Delete
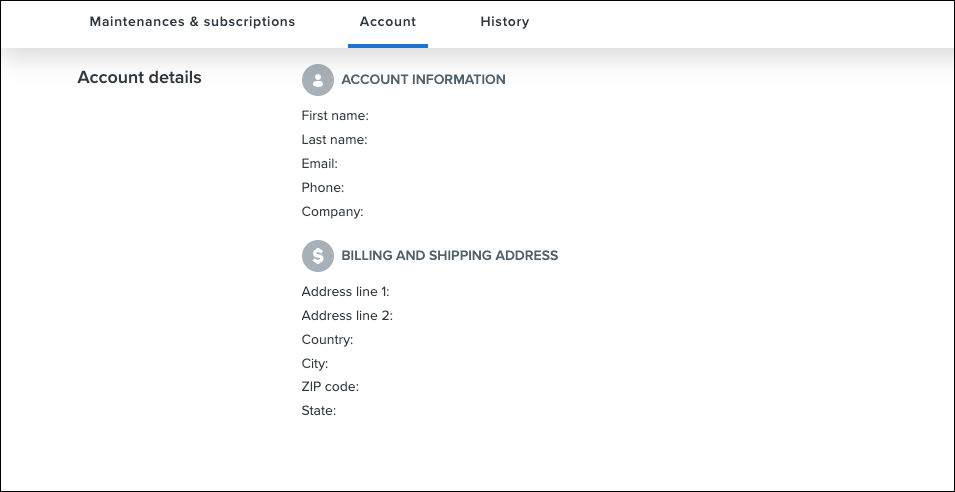
Sometimes you simply need to remove the information completely. In this case, Snagit makes it easy to select and delete any part of a screenshot. You can fill the deleted area with transparency or automatically fill the area based on the content surrounding the selection.
In the example below, the deleted area automatically matched the white background color.
The best snipping tool for Windows and Mac
Don’t let clumsy built-in tools hold you back. Take and edit screenshots with Snagit!
Get Snagit


Share