Whether you’re brand new to video editing or an experienced editor, trimming video is a critical part of the video editing process and a key skill for anyone creating content. Why trim your video? Trimming removes unnecessary elements and adds polish and professionalism to your video. It also helps drive engagement by keeping your content concise. This is especially important if you’re trimming and cutting your video to optimize for specific social media platforms.
Step-by-step guide: How to trim a video using Camtasia
Camtasia is a powerful video editor with easy-to-use trimming features, making it a great place to start when you’re looking to cut videos. If you don’t already have Camtasia, download a free trial of Camtasia here.
Step 1: Import your video clip and drag to timeline
- Open Camtasia and start a new project.
- Click the Media tab.
- Click Import Media.
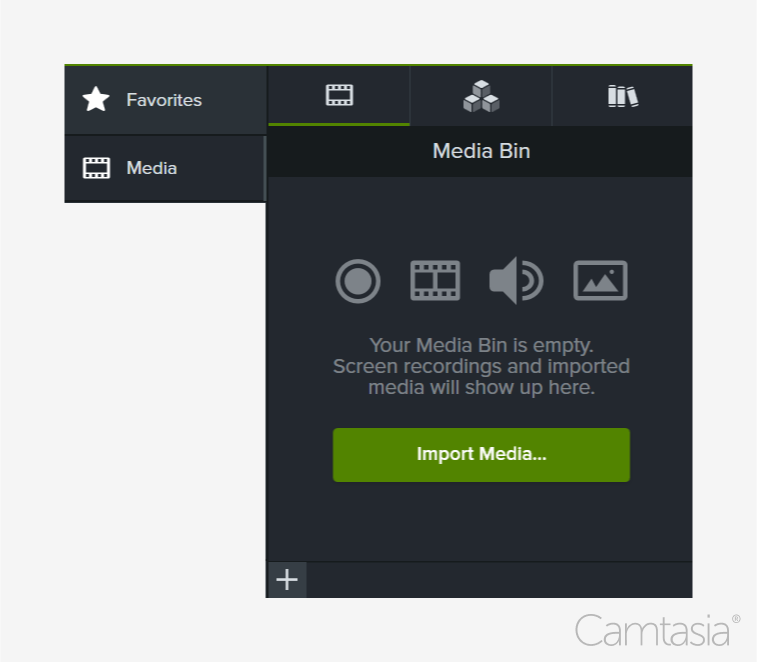
- Click to select the media to import. Control+click (Windows) or Command+click (Mac) to select multiple files.
- Click Open (Windows) or Import (Mac).
- The imported media appears in the Media Bin.
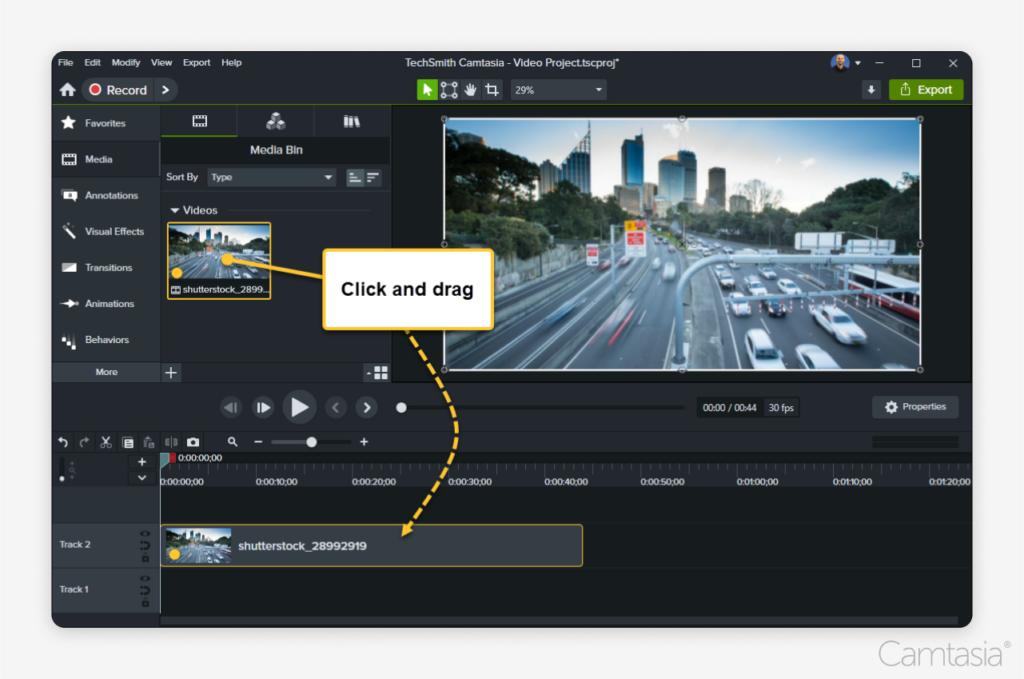
- Adding media to your video is just a simple drag and drop from the media bin to the desired location on the timeline or canvas.
Step 2: Trim the beginning or end of the video
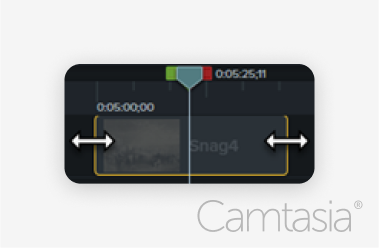
- To trim the beginning or trim the end of a video, click to select a clip on the timeline.
- Hover the cursor over the beginning or end of the clip
- Drag the edge of the clip in to trim. Trimming can help you quickly shorten or remove an unwanted part of a video.
Step 3: Trim sections from the middle (cut and split)
What if what you need to remove isn’t at the edge of the clip? Camtasia has two options – you can cut the video or you can split the video. A cut removes a selection from the timeline and adds it to the clipboard. You can cut a single clip or cut across multiple clips. A split allows you to divide a clip into separate clips and make space for transitions, title slides, or graphics between clips.
To cut sections of a clip on the timeline:
- Click the lock
button to lock tracks on the timeline that contain media you do not want to cut.
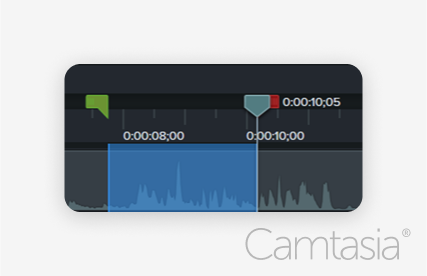
- Click and drag the green or red handles on the playhead to make a selection. For a more precise video edit, drag the Zoom slider to zoom in on the timeline content.
- Click the cut
button (scissors icon). The selection is removed, and the remaining media is stitched together.
- To paste the selection on the timeline, move the playhead to a new location and click the paste
button.
To split a video clip:
- Drag the playhead to the location to split.
- Click the split
button or press S on the keyboard.
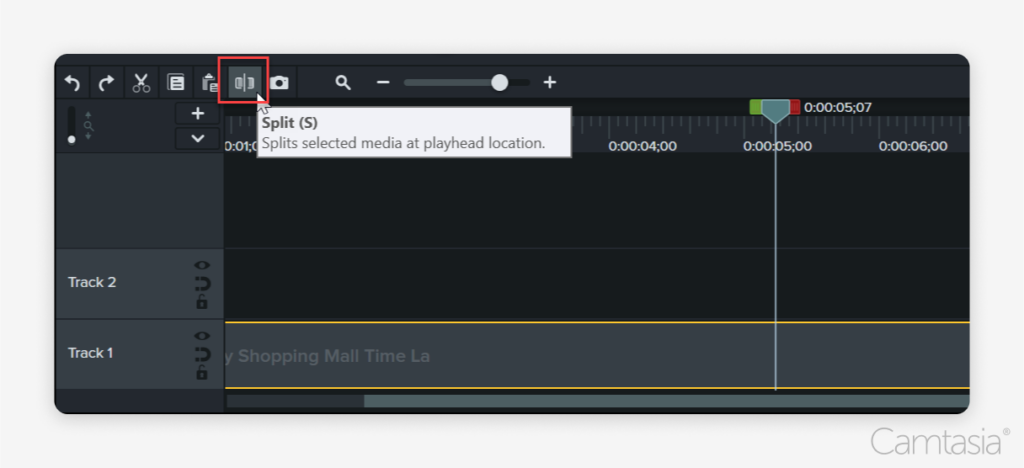
All unlocked media on the timeline splits into separate clips.
To split selected media, click to select media before splitting. Hold Shift+click to select multiple media.
For a more in-depth overview of trimming and cutting, along with other key edits, please check out our Camtasia “Explore the Timeline” video.
The easiest way to edit videos
Stop wasting time and discover how Camtasia Editor makes creating incredible videos easier than ever.
Free Download
Alternative: How to trim a video using Snagit
Using Snagit for quick trims
While Camtasia is great for in-depth editing, sometimes you just need to quickly trim a portion of the video. Snagit is a great alternative, especially when you’re cutting screen recordings or demo videos. Snagit has an easy-to-use interface that allows you to quickly trim unwanted parts of your video before sharing. If you don’t already have Snagit, download a free trial of Snagit here. Here is how you can trim your video in just a few steps with Snagit:
- Record or open a video in Snagit.
- Drag the Start selection handle on the timeline to the location to start the cut.
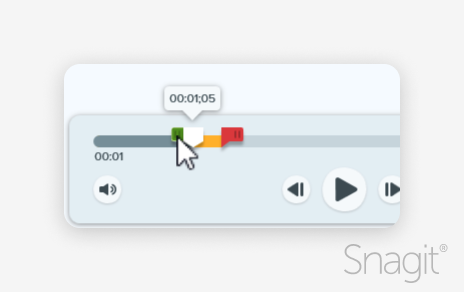
- Drag the End selection handle on the timeline to the location to end the cut.
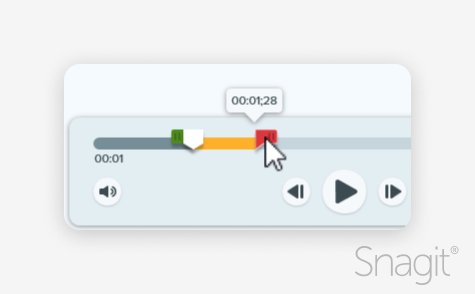
- To review the segment to be cut out, drag the playhead across the timeline.
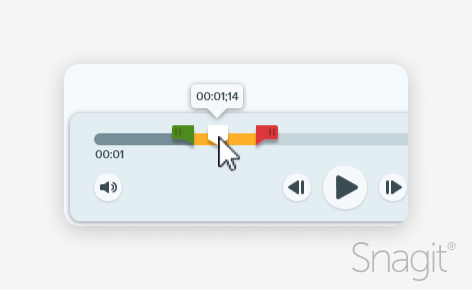
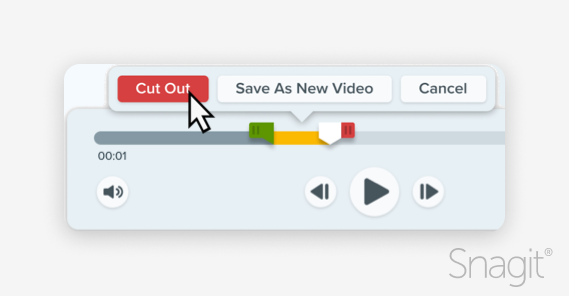
- Click the Cut Out button.
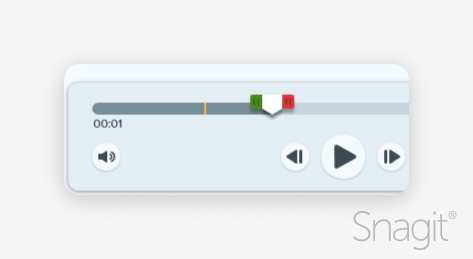
- A yellow line on the timeline indicates where the segment was cut out.
Conclusion
Learning to trim your video is a great way to begin your video editing journey. Snagit makes basic cuts and trims quick and easy. While Camtasia allows you to start with simple cuts and splits, it offers much more than just trimming. With Camtasia, you can add additional editing features like annotations, music, animations, and on-screen text. Both Camtasia and Snagit are excellent tools to help make your videos more professional and concise. Ready to get started?
Record your screen with Snagit
Snagit makes it easy to share quick updates and how-to’s by capturing exactly what’s happening on your screen.
Get Snagit
Frequently asked questions
Camtasia supports a variety of video file formats, including MP4, MOV, and AVI, making it versatile for different projects. Learn more about all supported media formats in Camtasia.
Both Camtasia and Snagit allow users to undo trims or revert to the original version if needed, making editing non-destructive.


Share