We’ve all been there: the moment you hit “Send” on an email and instantly realize you’ve made a mistake and need to recall the email in Outlook. Maybe you sent it to the wrong person, forgot an attachment, or spotted a typo.
Fortunately, if you’re an Outlook user, you may have the option to recall that email and save yourself from potential embarrassment or professional mishaps. But how exactly does the recall function work in Outlook, and what are the limitations?
In this blog post, we’ll guide you through the steps to successfully recall an email in Outlook and offer some tips to ensure you’ll never need to do it again!

What is email recall?
Email recall is a feature available in Microsoft Outlook that allows you to retrieve an email you’ve already sent before the recipient opens it. It can be a life-saving feature in many situations, especially if you’ve made a mistake in a professional email and need to rectify it.
You’re not alone. Actually, miscommunication happens quite often. According to a TechSmith survey, 67% of the respondents experience misunderstandings due to unclear communication at least some of the time. Unclear communication is everywhere, so let’s learn how to improve it.
Limitation of email recall
While email recall sounds like a dream come true (it is), it does have its limitations:
- Both sender and receiver must be using Microsoft Exchange or Microsoft 365.
- The recipient’s mailbox must be open.
- If the recipient already opened the email, you cannot recall it. You can only delete unread copies of your email.
- The feature does not work if the email is sent to a public folder or an address outside the organization’s Exchange server.
That’s about it, now, let’s look at how you can recall a message in Outlook!
How to recall an email
Let’s go through how to email recall in Outlook step by step.
Open the sent items folder
First, navigate to your “Sent Items” folder in Outlook and find the original email you want to recall.
Open the email
Open the email either in the reading pane. Or, you can open the email in its own window rather than just previewing it in the reading pane. The latter is the process outlined in the following images.
Access the recall function
In the toolbar above your email, click on the three dots. Then, select “Recall message.”

When prompted, click the “OK” button. Outlook will attempt to recall the email.

Wait for the recall to process
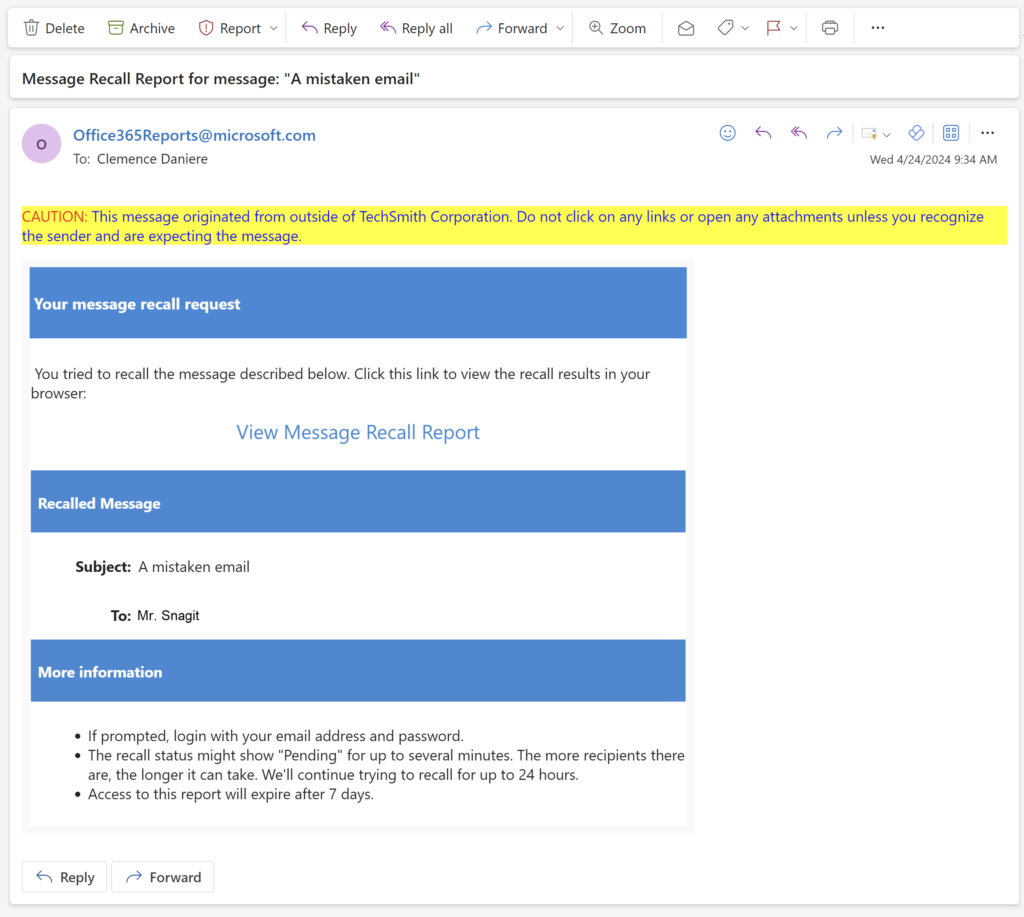
You will receive a message indicating whether the recalling of your original message was successful or not with each attempt.

That’s it!
Stop repeat questions
Create clear videos and guides with Snagit so you only have to explain tasks once.
Try it Free
Tips for successful email recall–and how to avoid it
Even if you follow the steps correctly, the recall may be rejected because of the limitations mentioned at the beginning of this guide. However, there are some tips you can keep in mind that will increase the likelihood of a successful recall.
Act quickly
The sooner you attempt to recall your message, the better chances it will work. After all, you need to do it before the recipient has had a chance to open the message.
Consider your organization’s settings
Some organizations may have settings that affect this feature. For example, some IT departments disable the recall function entirely. Check with IT to understand if recall is a possibility for you.
Use delayed sending
If you often find yourself in situations where you need to recall an email, consider using the delayed sending feature. This gives you a buffer period after clicking “Send” during which you can review your email etiquette and grammar. After all, knowing how to write an email isn’t always easy.
How Snagit can avoid email recall
You can’t avoid emails, those are here to stay, but you can avoid the need to recall them. People use email recall for a variety of reasons, one of the main ones being typos and accidentally including incorrect or sensitive information.
Visual communication to the rescue
Instead of typing out long, wordy emails with high chances for typos, try to send a video message or screenshot instead. After all, research shows that people prefer receiving emails with an image or video instead of text alone.
With Snagit’s easy-to-use screen recording functionality you can capture and edit your screen recordings without worrying about errors.

Just capture the information you want to share in a screenshot or recording and edit out any unwanted parts like sensitive information or visual noise with easy-to-use features.
With the Blur Tool, you can blur out unwanted information, and with the Selection Tool, you can completely delete, move, or edit areas of your screenshot. These features, along with many others, ensure that your screenshots always turn out.

For screen recordings, you can edit out footage and even stitch together a few clips to make a video everyone will want to watch!
Share with ease
You may need to recall an email because you forgot to attach a crucial document. With Snagit, you no longer have to worry about that. Ever.
Snagit’s integration with Screencast makes it easy to share your screenshots and recordings with anyone. Just click the Share Link button and a unique link will be automatically copied to your clipboard. Then, paste it into the messaging platform of your choice.
You can include this link in emails instead of worrying about forgotten attachments! Never worry about sending large videos through email again.
You can also upload pre-existing screenshots and videos to Screencast so all of your media is just one link away.
Visual communication is a convenient and easy way to share information, plus you’ll never accidentally forget an attachment.
Speed up your screenshot workflows
Stop wasting your time with built-in snipping tools, and try Snagit!
Learn More
What if recall fails?
If the recall doesn’t work, there are a few actions you can take.
Send a follow-up email
Sometimes, a quick follow-up email with an apology for the mistake is all you need to do. Just provide the correct information, missing context, or forgotten attachments in your follow-up. Everyone makes mistakes after all.
Learn from the mistake
Use this experience as a learning opportunity. Take a moment to review why the error occurred in the first place and consider implementing measures to prevent similar from happening in the future.
Use visual communication instead
One measure that can reduce errors is visual communication. Instead of agonizing over every word, use visuals like screenshots to get your message across faster and more effectively. Screenshots and quick videos make a huge difference in communication practices. Try it out sometime!
We all make mistakes. Don’t let one mistaken email get to your head and affect the future of your email communication.
Take measures to rectify your mistake, like email recall, and some to prevent any future mishaps, like implementing visual communication.


Share