

In today’s ever-changing business environment, understanding and optimizing workflows is key. Process mapping can give you an edge, and simplifying this task with a tool like Snagit has never been easier.
Process mapping refers to techniques used to visually communicate workflows and act on them. By making the workflows visible and understandable, they can also be more easily improved. This will help you improve efficiency, communicate more clearly, and enhance decision-making. There are many process mapping software and tools available, and using TechSmith’s Snagit will make your outcome with any of these more complete and impactful.
What is process mapping?
Generally, we’re talking about business processes: order fulfillment, employee recruiting and onboarding, product development, project management, and IT support are just a few of the examples you may be considering.
One of the main benefits of using process mapping in businesses is to increase effectiveness. This can come about in many ways, including:
- Improving efficiencies by identifying bottlenecks and improving them.
- Enhancing communication by providing clarity within and between team members and departments.
- Supporting change management by identifying and sharing best practices.
- Standardizing processes.
- Simplifying onboarding.
- Meeting requirements for compliance and audits.
- Risk identification and management.
When you take the time to identify and analyze the steps and make these processes visible, you create a better shared understanding of what’s happening.
At a high level, consider these five steps when process mapping:
Step 1: Identify the process and set boundaries – Figuring out what you’re trying to map and how detailed you want to be.
Step 2: Gather information – You need to understand who is involved, what steps are being taken, and in what order.
Step 3: Create the visual map – The graphics that represent the steps
Step 4: Analyze and revise – Getting feedback and revising the map is important to make sure it’s correct and addresses any changes you want to make.
Step 5: Implement – You need to share the updated process with stakeholders and implement any changes identified. Be sure to take in feedback after this point and consider revising when appropriate.
Common challenges in process mapping
Process mapping involves overcoming several hurdles. It can be difficult to set boundaries and maintain the right level of detail. Also, process mapping tools use specific language or shorthand that only daily users understand.
Modern work has lots of complex processes, and it’s rarely accomplished by a single person. Understanding the handoffs and communication mechanisms can be daunting for people attempting to try and map out processes that they aren’t familiar with.
Processes can change often as better approaches are identified. You’ll want to use process mapping tools that allow you to easily update your maps so they best reflect what you’re trying to accomplish. Consider adding periodic check-ins to keep your process maps current.
How to use Snagit to help process mapping
You rarely create a brand-new process while creating a process map. It’s important to engage those that are experienced in doing the work. Collecting how things get done from these subject matter experts (SMEs) may seem daunting, but Snagit offers you some simple ways to make that happen.
Record the screen while doing the process
What’s great about this approach is that there’s no real preparation needed. Have the person familiar with the process record their screen and voice. They can do this by installing Snagit, or you can join a Zoom or Teams meeting and record their screen sharing. Make sure to ask them to “talk you through it out loud.”

Here’s a simple example of this process flow for “filing a bug” workflow
- First, I go to the project website.
- Check to see if someone has already filed the issue.
- Create a new issue.
- I fill in the required fields.
- Then I upload a screenshot that shows the problem.
- Finally, we go over open issues at our next standup.
You may need to do multiple walk-throughs. For instance, in the above example, more details are needed if there was already an issue.
Record your screen with Snagit
Snagit makes it easy to share quick updates and how-to’s by capturing exactly what’s happening on your screen.
Get Snagit
Capture screenshots of the workflow
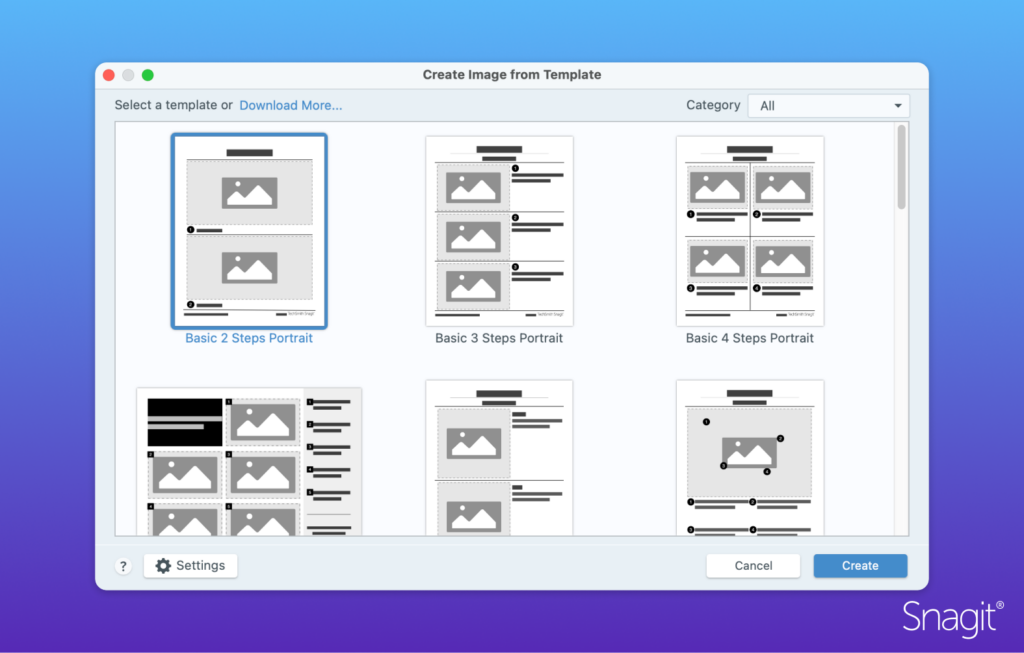
For more well-understood or concise workflows, you may want to use screenshots instead. Capture the full screen as you go through each of the steps. You can add arrows, text, callouts, or step counters directly to the images. This adds focus and clarity and makes the process easier for people to understand. To keep all the images together, you can select the screenshots and combine them into a template as a visual guide. This will combine the images into a single document for sharing.
Understanding the processes with Screencast
After you’ve collected the information about how the processes are performed, have multiple people look at your detailed process map to review and annotate it. Uploading these recordings or images to Screencast, a video and image hosting site by TechSmith with easy review tools, is just a simple click in Snagit. Once the images are uploaded, you and others can collaborate via the Conversation tools to highlight important or missed information.

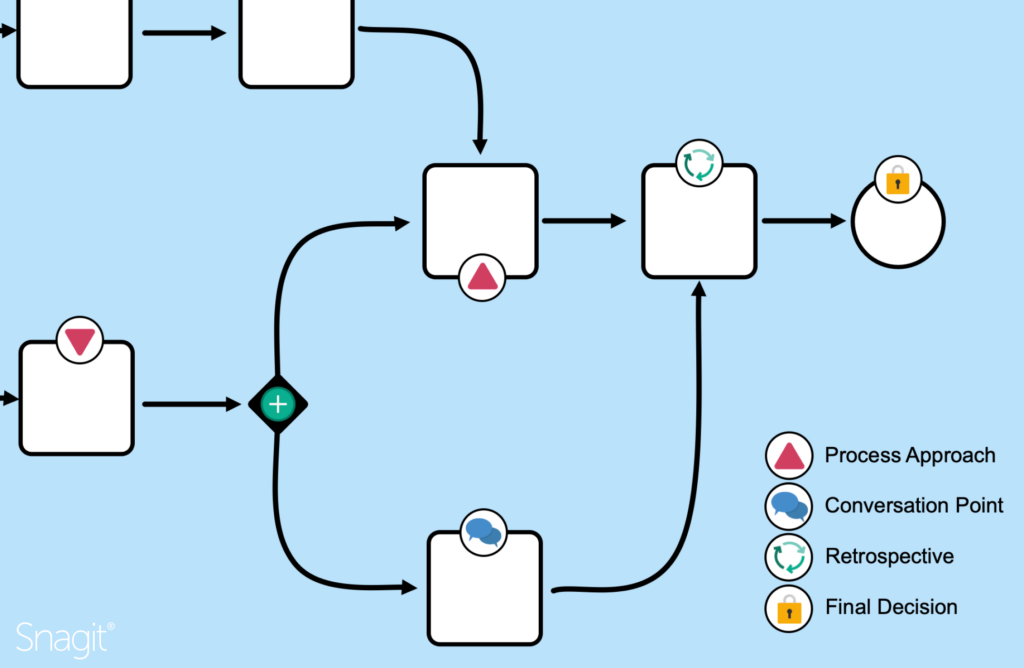
Creating your map
Armed with a better shared understanding of the process, you’re now able to create the appropriate map. The visual map is the part that most people think of when they consider process mapping. These maps can take many forms. Some are loosely defined, and others have much more strict layouts and meanings. Ensure those using the map can understand what you’re showing by including any process map symbols with the processing map.
Types of process maps
- Flowcharts – Simple, general purpose.
- Value Stream Maps – Focus on efficiency and waste reduction; good at visualizing flows from raw materials to finished products.
- Business Process Mapping and Notation (BPMN) – Very detailed and structured visualization.
TIP: Keep your audience in mind and use the right level of detail
You can use free drawing tools or more complete solutions like Lucidchart to create and organize your process maps. After creating your maps, it’s important to do another round of feedback and ensure they fully capture the process. This is also a great time to engage others in possible improvements now that the steps have been laid out.
Getting feedback and iterating
After you’ve created your map, it’s important to obtain feedback to verify its accuracy and ensure it is understood. You can share these images on Screencast and gather feedback to help you clarify and refine the maps.
Try showing the maps to someone who is only somewhat familiar with the role and work. This can help you understand complicated processes and give insight into whether it’s worth breaking the maps down further. You may also find that some processes are over-described and visually confusing. Fresh eyes can be very helpful.
Snagit and Screencast are key tools for any process mapping
Using Snagit and Screencast can help with both the creation and upkeep of any process mapping exercise. They enable seamless communication while keeping feedback accessible for later review or for involving additional participants.
Ready to streamline your process mapping? Download Snagit today and experience a faster way to improve your workflows.
The best snipping tool for Windows and Mac
Don’t let clumsy built-in tools hold you back. Take and edit screenshots with Snagit!
Get Snagit
Share