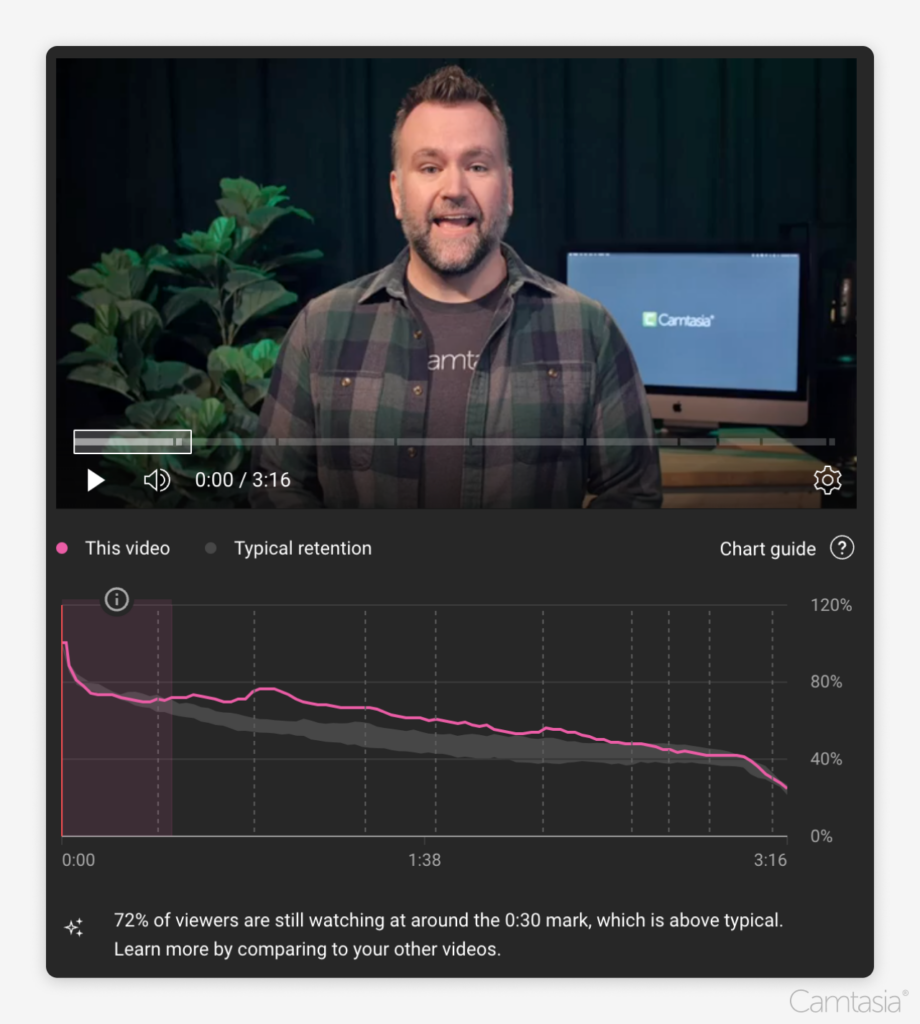


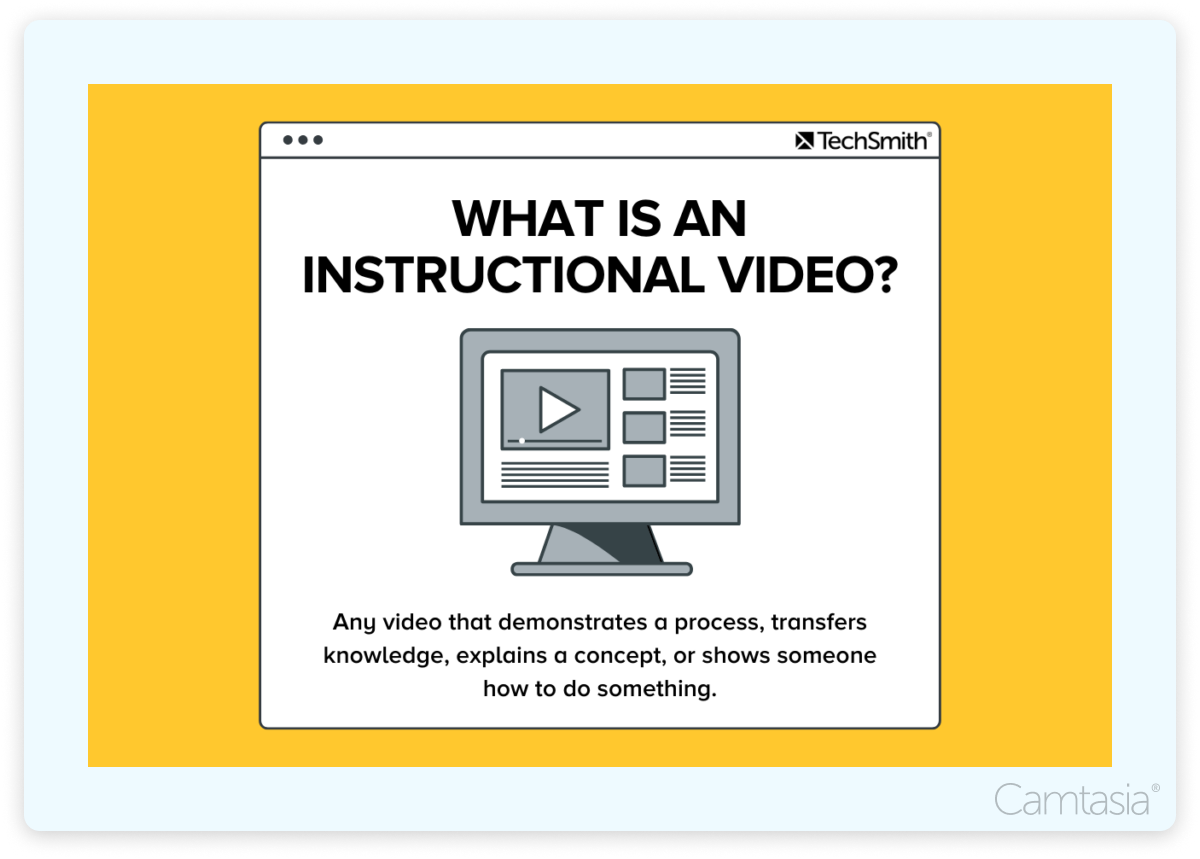
Instructional videos are a powerful tool for anyone looking to teach colleagues, employees, and students. Whether you’re an employer, an educator, or a content creator, videos are an effective way to engage your audience and deliver information in a way that’s easy to follow along and understand.
After all, this TechSmith survey found that 98% of people who use video at work say it improves the effectiveness of their message.
Instructional videos are also a great way to help grow your business. By providing educational content to potential customers, businesses can establish themselves as industry leaders and earn the trust of their audience. Moreover, having video content on your website can increase traffic to your site and boost social media engagement.
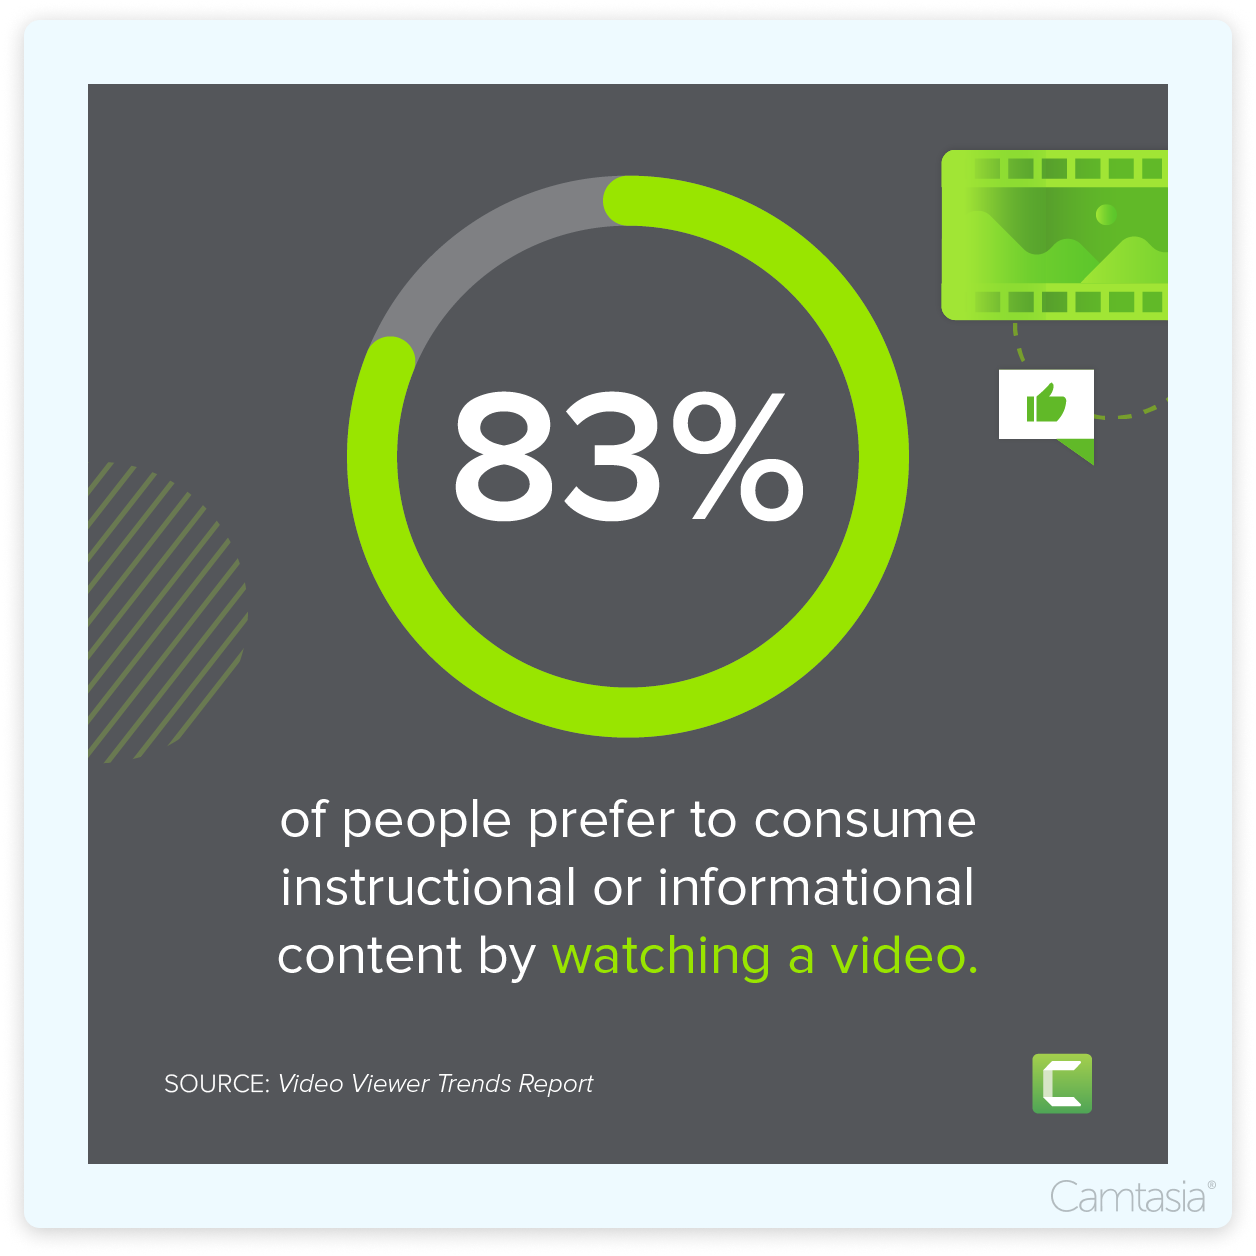
With such a wide range of uses and benefits, it’s no wonder that video content is the number one way people prefer to share knowledge and learn new skills.
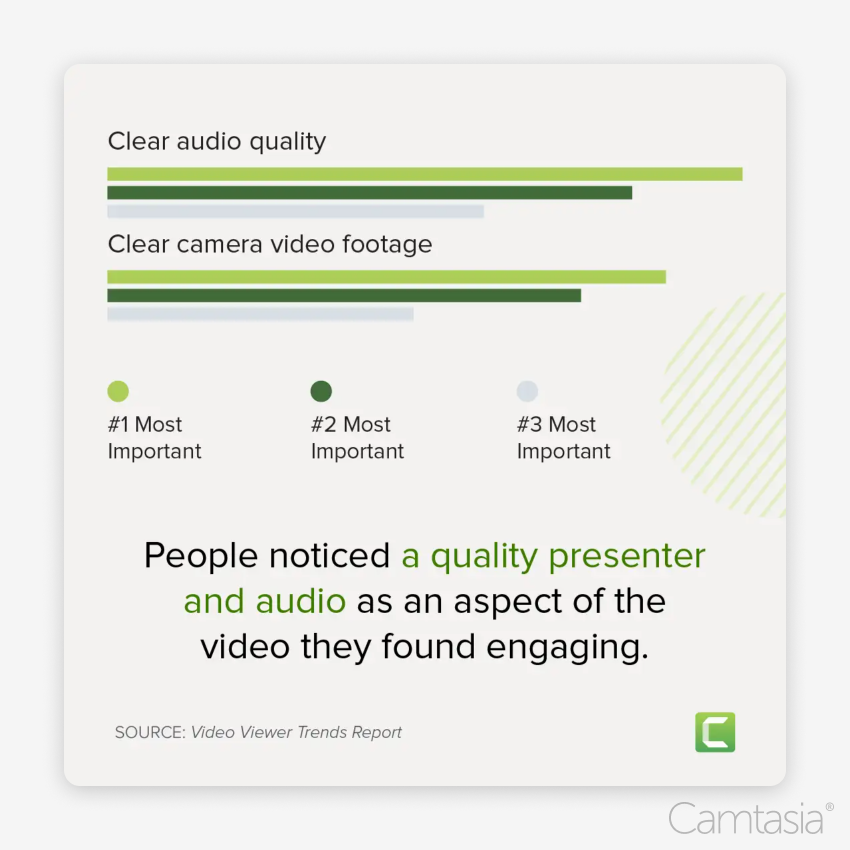
- 83% of people prefer watching videos to accessing instructional or informational content via text or audio.
- More than half of online shoppers use video to help make purchase decisions.
- 38% of respondents would prefer their coworkers share instructions and information through more videos
- More than 70% of YouTube viewers turn to the platform for help solving problems.
In this guide, we’ll discuss why video is important, what makes a good instructional video, and show you how to create different types of helpful videos — from explainer videos to video demonstrations — in ways that will captivate your audience.
What is an instructional video?
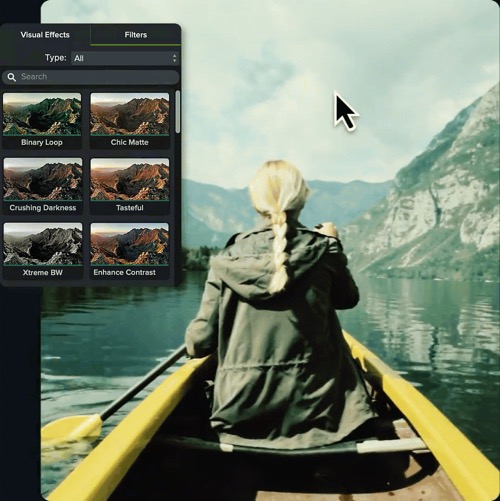
The best instructional videos are designed to be engaging and visually appealing through the use of visual effects, text, and audio. An instructional video might also feature several animations, graphics, and on-screen annotations.
Once you start creating your instructional videos, you might also find that they can help simplify your concepts, ideas, and processes while making both the teaching and learning process much more personal.
“Camtasia is incredibly versatile, yet easy to learn, set up, and use. I use Camtasia to edit nearly all of my instructional videos.”
The most common types of instructional videos
The great thing about instructional videos is that there is no limit to the topics they can cover. Let’s take a closer look at some of the most common types of instructional videos.
Make great tutorial videos
Camtasia makes it ridiculously easy to make tutorial videos that keep your viewers engaged.
Free Download
1. Microvideos
Microvideos are brief and concentrated instructional videos that center on teaching a specific and narrow topic without going into too much depth.
The term “microvideo” is just a different word for “short video.” They’re designed to be concise and are typically less than one minute long.
Microvideos can deliver a targeted message without an overwhelming amount of information. By focusing on one particular topic, microvideos help viewers quickly learn a new skill or gain knowledge on a specific subject quickly.
Use a microvideo to teach or explain a simple concept in a few steps. For example, a microvideo could be perfect for explaining how to use a new software feature. On the other hand, more complex concepts could be broken down into several logical steps with a series of microvideos for each one. Some instructors shy away from long-form videos as many argue that microvideos offer the same outcomes but with better audience engagement. This strategy also allows for more control over the pace of learning and makes the content easier to consume.
2. Tutorial videos
Usually between two and 10 minutes long, video tutorials are the go-to instructional method for teaching a process or giving step-by-step instructions.
Unlike microvideos, tutorial videos typically explain more complex processes and will often give direct instructions and follow-along guidance. Sometimes, what makes the best tutorial videos are interactive elements, such as quizzes, which help captivate the viewer’s attention.
As with all video content, understanding its purpose and the people who will be viewing it is key to knowing how polished it needs to be.
For example, if you’re making a tutorial video for an audience outside your organization, such as customers or clients, you’ll probably want more professional polish. On the other hand, if it’s a tutorial video for staff training or internal communication then it can be as formal or informal as you need it to be.
Essentially, if there’s ever a time that you need to teach a process or share valuable information on how to improve a skill, a tutorial video will always be useful.
3. Training videos
Training videos are a more specific type of instructional video than those that we’ve covered so far. They are a powerful tool for improving employees’ workplace skills and addressing topics that are important for maintaining a healthy work environment.
Training videos are more focused on improving job-specific skills and covering work-related topics such as compliance and health & safety training.
Visual aids such as animations and graphics are useful for creating engaging and informative training videos. The most important thing to remember is that the best training videos will help businesses improve employee knowledge and performance while promoting a positive culture of learning and development.
Employers, trainers, and HR teams might use training videos when onboarding new staff, introducing new processes or technology, and providing refresher training.
Businesses can use training videos to teach employees about any subject or process. This type of instructional video is used a lot in situations that lend themselves to live video, where the human connection can enhance knowledge retention.
Make great training videos
Camtasia is the best way to make training and instructional videos that keep your viewers engaged.
Learn More
4. Explainer videos
An explainer video is like a modern-day elevator pitch. They’re also designed to quickly capture the viewer’s attention and simplify ideas, products, and services.
These videos are a popular way for businesses to introduce and explain complex (and sometimes even simple!) concepts in an entertaining and visually engaging format.
One of the primary advantages of explainer videos is their ability to communicate information in a way that’s concise, engaging, and entertaining. By using a combination of storytelling, animation, and visuals, explainer videos can help to establish a clear and memorable message.
Additionally, explainer videos can be easily shared on social media platforms and be featured on the website, making them a cost-effective and efficient way to reach large audiences.
Businesses use explainer videos to introduce a new product or service to prospective customers to help them understand how it works and why it’s valuable. It’s a simple idea but once you’ve got a well-polished explainer video ready, there are many different ways it can be used and shared.
5. Lectures or presentations
A recording of your lecture or presentation is an effective way to expand the reach of your content and offer viewers the flexibility to learn at their own pace.
This type of instructional video also doesn’t need to be complicated to create. You could, for example, create a simple visual and audio presentation featuring just your slides and your voice. Or, for something more professional, you could set up a camera to complement your presentation.
There are a few reasons why you might want to record a lecture or presentation. First, you might want to make it available to a wider audience or be able to share it with people who couldn’t attend the live event. Second, you might want to review your content and presenting style later.
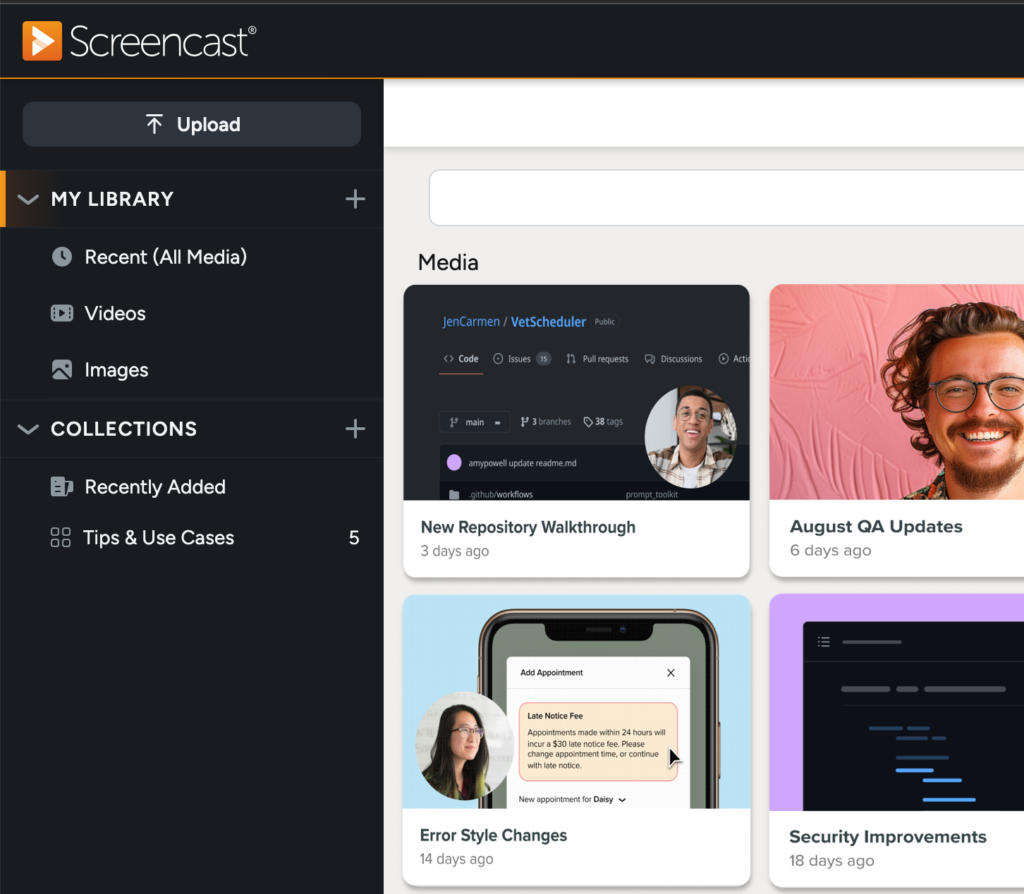
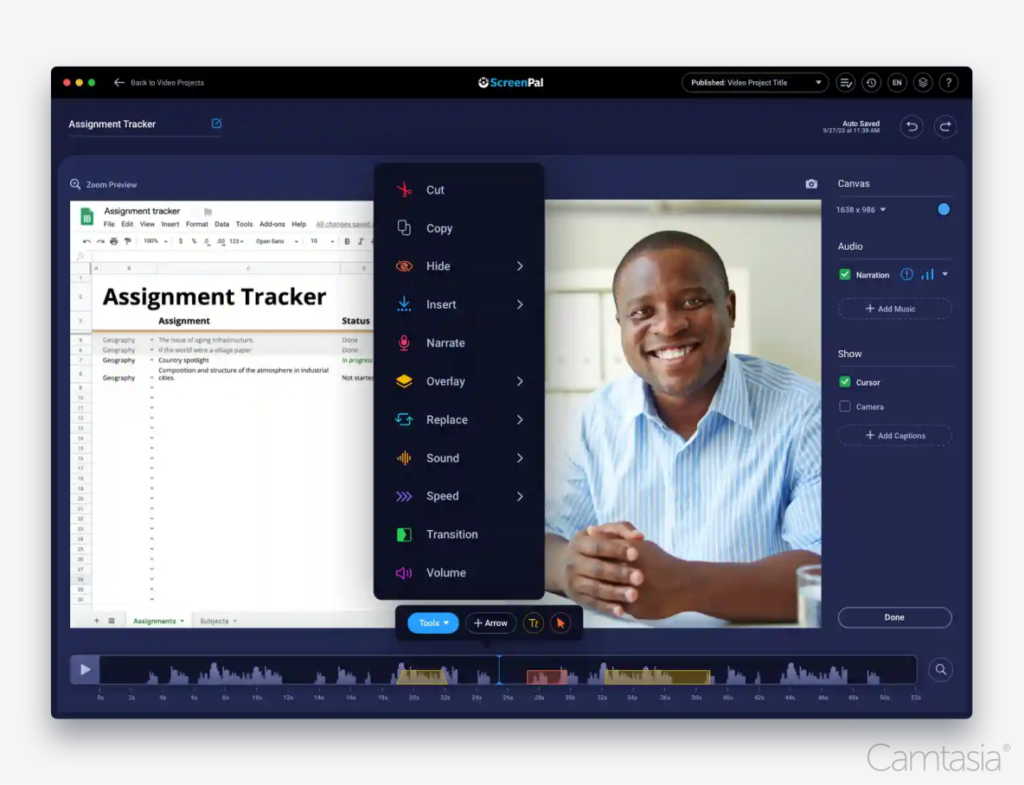
6. Screencasts
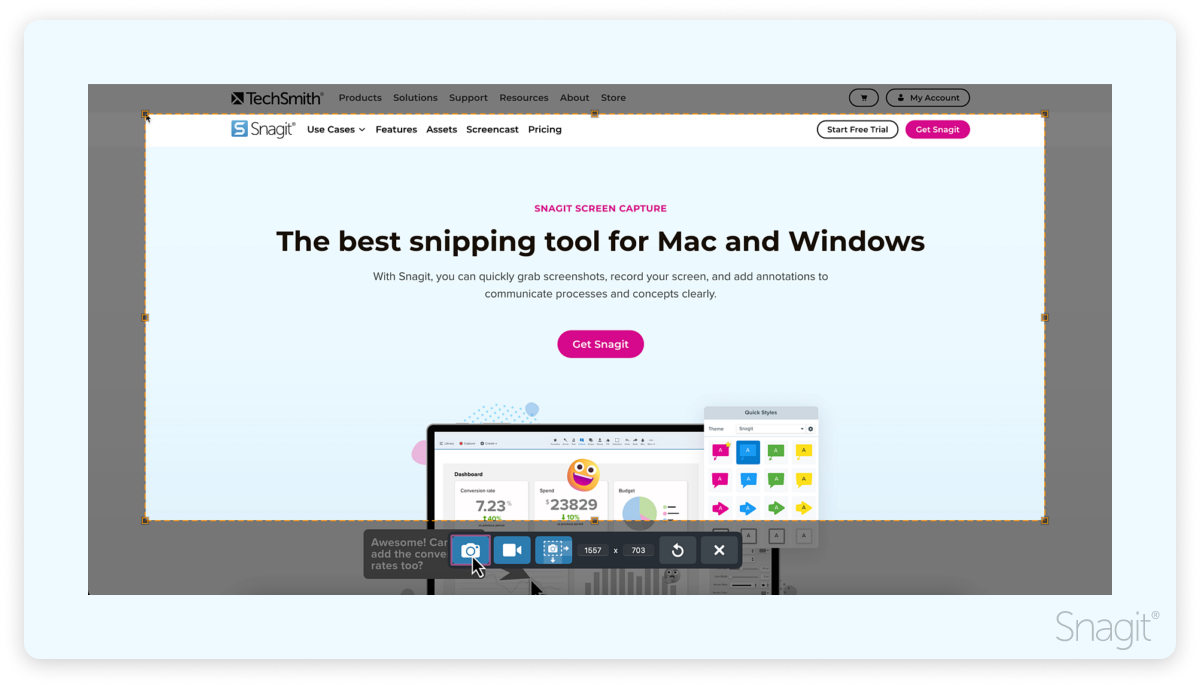
Screencasts are videos created primarily from screen recordings that aim to teach someone how to complete a task or share knowledge. For example, you could even create a screencast demonstrating how to make an instructional video with a screen recording.
While screencasts aren’t a specific type of instructional video, they can be used to create all the videos mentioned in this article. Generally speaking, they’re usually quick, informal, and intended for smaller audiences than tutorial videos.
The beauty of screencasts is that they allow the instructor to quickly grab information from their screen to answer a question or clarify a concept. Because they can be produced so easily, with minimal production value, many screencasts tend to be considered “disposable” videos, serving a specific purpose for a short time.
But that’s not to say that screencasts can’t also provide long-lasting value. For instance, a well-crafted software tutorial screencast may be useful for months (or even years!) and could be used to onboard new team members or educate customers.
Screencasts are great for sharing quick instructions in an informal format. For example, if you know your audience will be small and the stakes low, making a quick screencast is a great way to visually communicate an idea or help answer a question or solve a problem.
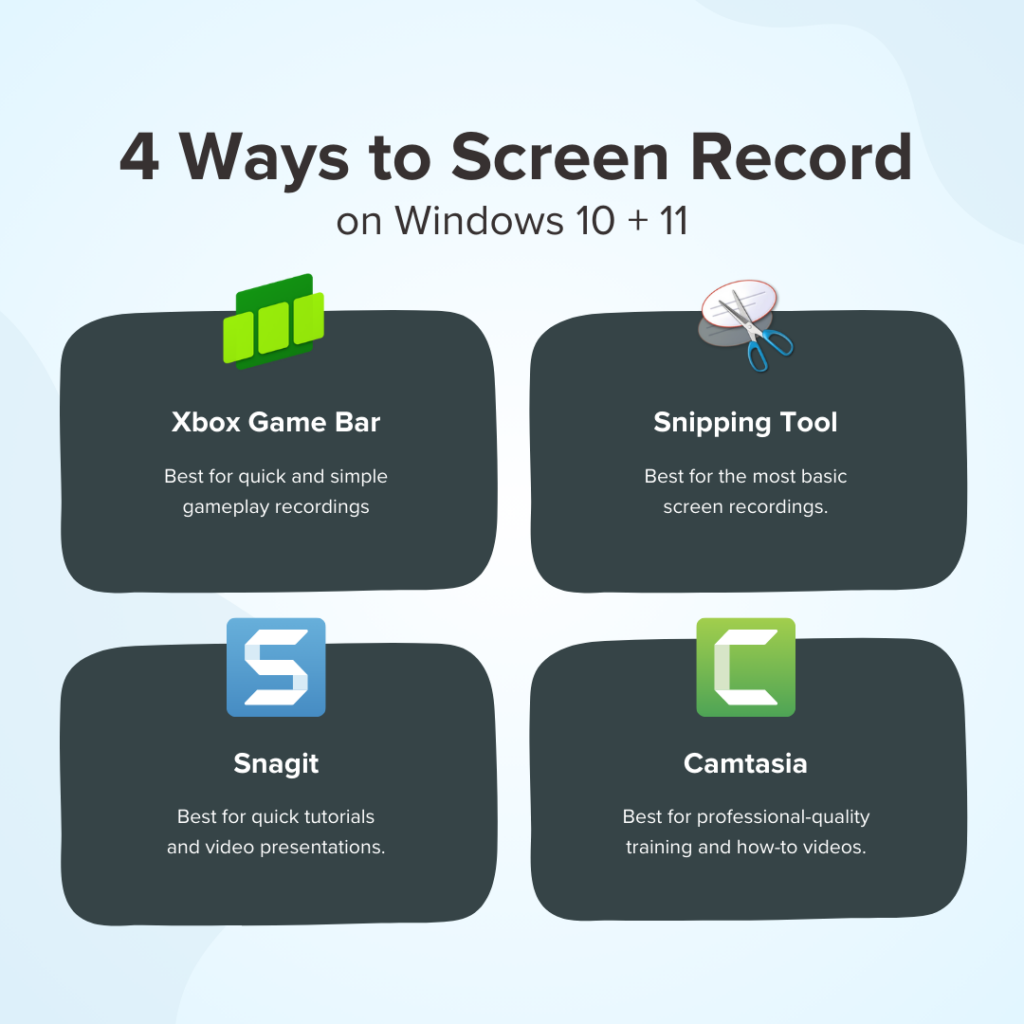
The best software for making instructional videos
Finding the right tool to capture your screen and edit your videos can be a daunting and difficult task, especially if you’re new to creating instructional videos.
Tools like TechSmith Camtasia are perfect for beginners and professionals alike as it’s easy to use and provide a range of advanced recording and editing tools.
With Camtasia, you don’t need any advanced video editing skills, but if you want to learn how to edit like a pro, we’ve got plenty of helpful tutorials to get you started. You can download a free trial of Camtasia to start recording & editing and get a feel for the software.
“Camtasia solves the problem of recording class videos efficiently, benefiting educators by enabling them to create engaging and high-quality instructional content for students.”
How to make an instructional video
If you’re wondering how to make an instructional video, there’s one thing you need to remember: Always have a video plan.
As with any creative process, ensuring you have a well-thought-out plan for what and how you want to create a video is crucial to making a successful instructional video.
For a more in-depth analysis, check out this webinar on how to create successful video tutorials.
Taking the time to think about the purpose of your video, your audience, and the information you want to convey will help you get started, but let’s look at some of the other steps you should consider before recording your footage.
Step 1: Find the right software and equipment
First, ensure you have all the tools you need to record and edit your footage – this is an important step in making sure you’re happy with the final version of your instructional video.
Understanding your audience and the purpose of your video will help determine the hardware you need. For example, to film an hour-long presentation for hundreds of people, you might want to consider investing in more sophisticated recording equipment.
When it comes to the software you use to edit your video, Camtasia is great for recording and editing both short and long-form video content.
Step 2: Determine and get to know your target audience
The more you understand your audience, their needs, and their interests, the better equipped you’ll be to create an instructional video that engages and captivates their attention.
Things like age, interests, language, and even geographic location can all play a part in knowing how to best communicate with your audience. For example, an educational video about dinosaurs is different for a class of 10-year-olds than for a group of college students.
Step 3: Write a storyboard and script
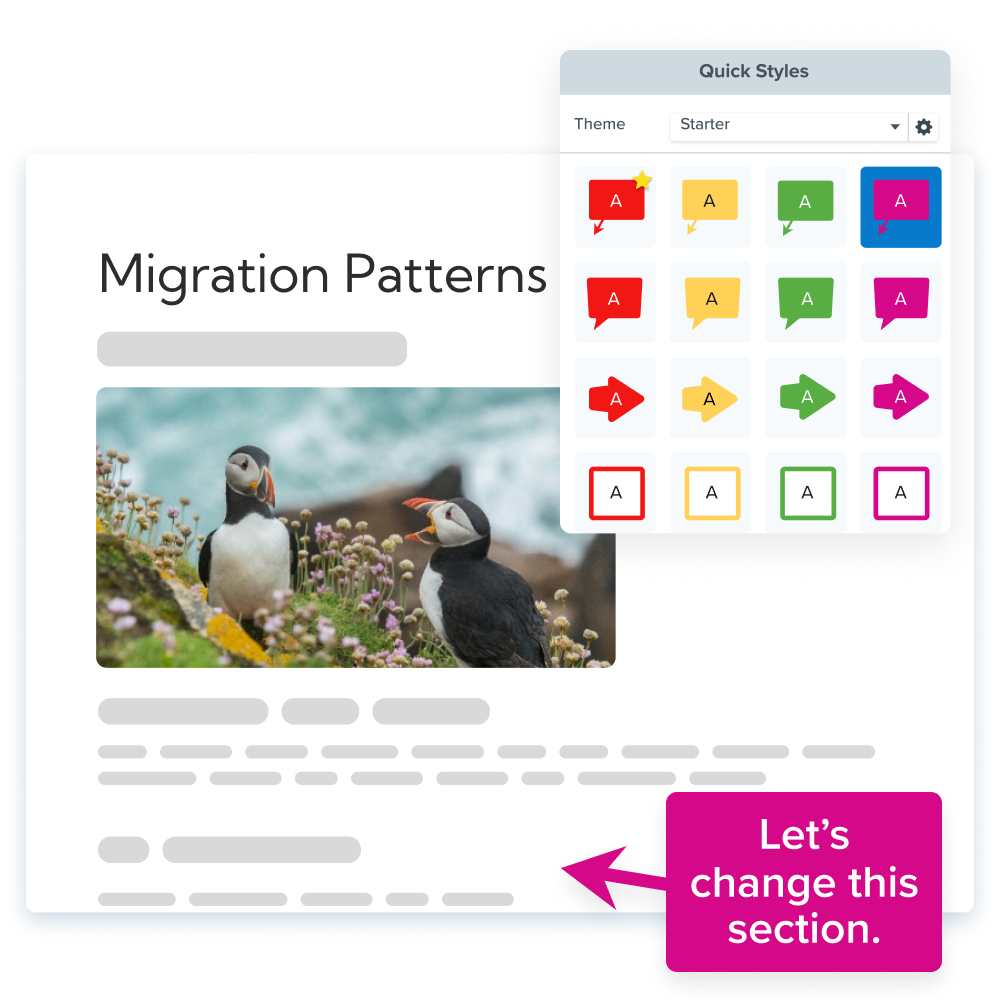
Once you have a topic and know your audience, create a storyboard to outline and visualize what you plan to show.
Creating a storyboard ahead of time will help you make an instructional video that is clear, concise, and interesting to your audience.
Some people get creative and draw detailed pictures, but you don’t have to be an artist. Your storyboard can be as simple as this:
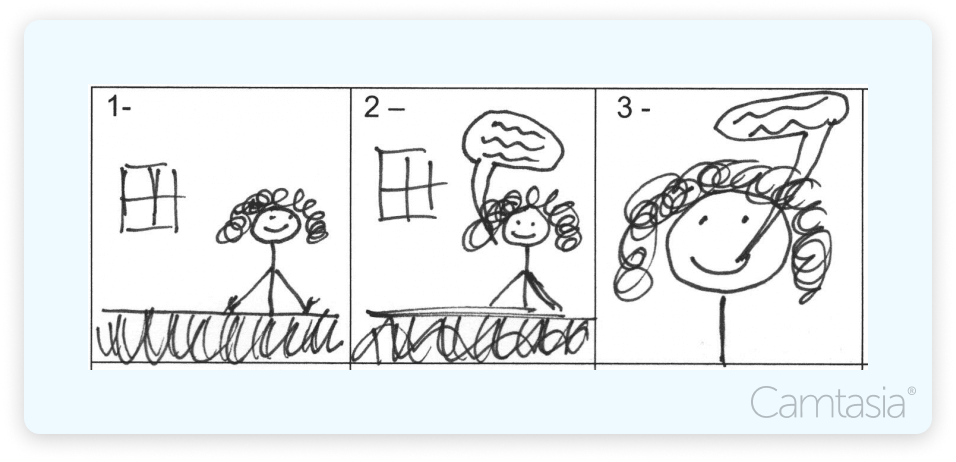
Quick sketches and stick figures are perfectly fine for live video. If you’ll be recording your screen to demonstrate a process, use a series of simple screenshots to show what you plan to display with the narration.
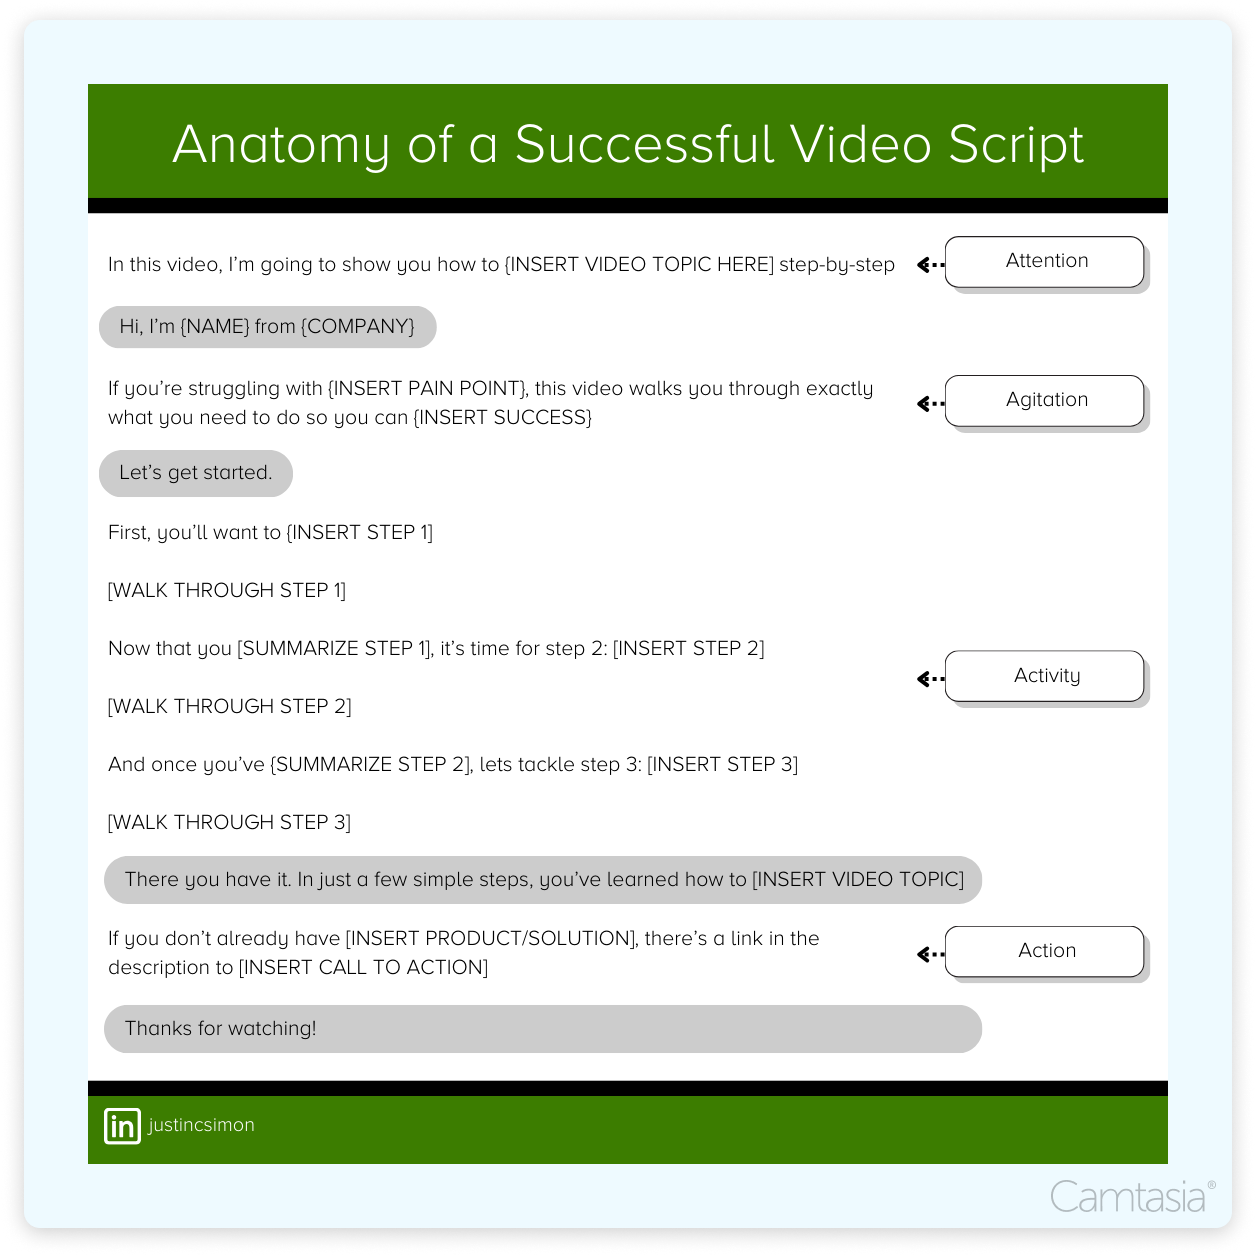
After storyboarding is done, it’s time to write a video script.
Even a simple script will help you be more efficient, saving both yourself and your viewers time. Plus, you’ll also be far less likely to forget something. You don’t need to start with a blank page. Using a general script template can help you write a successful script in less than 10 minutes.
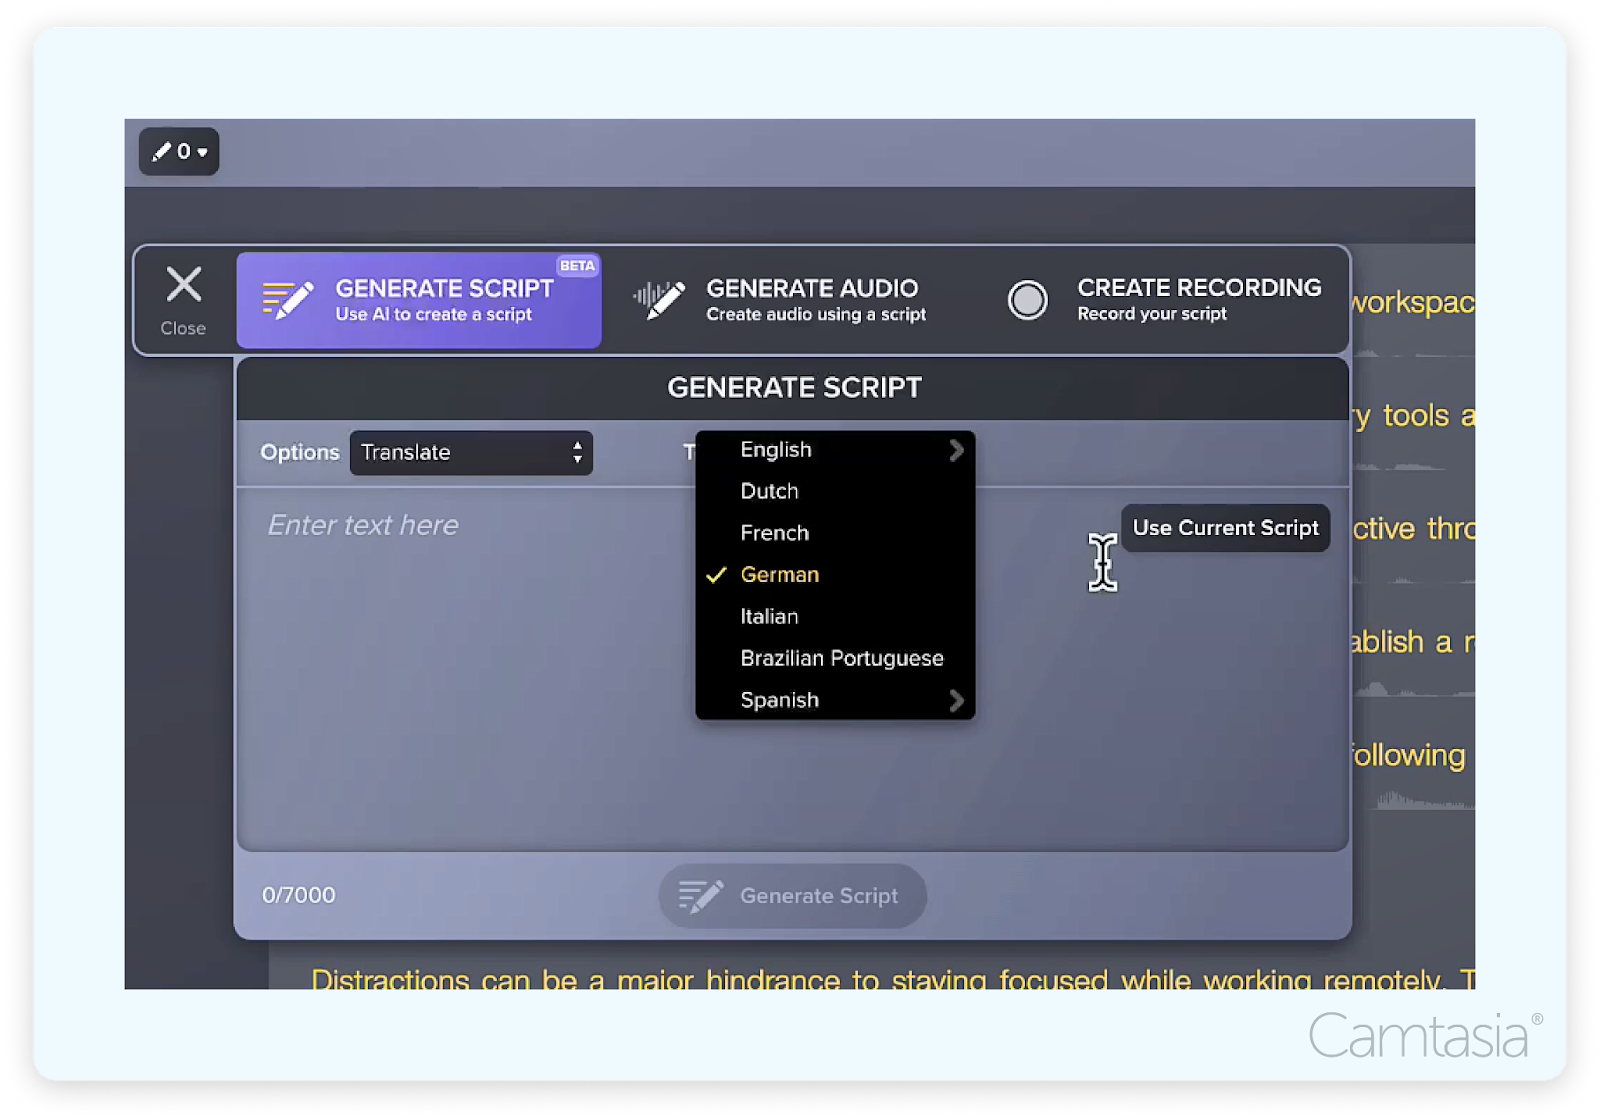
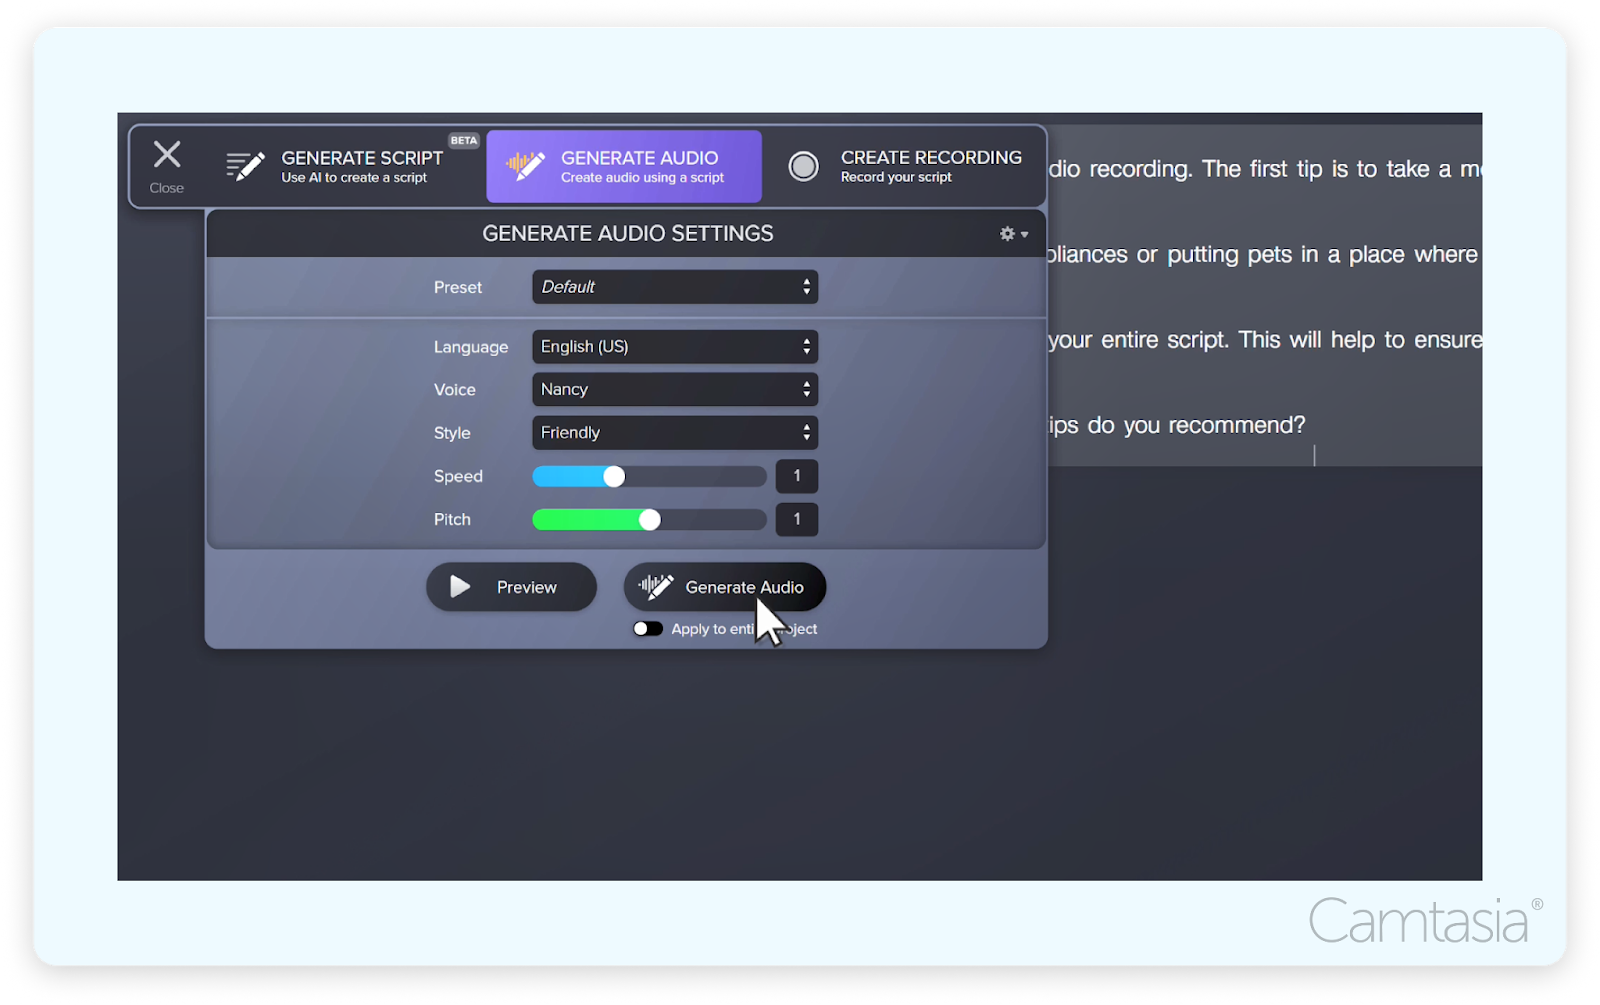
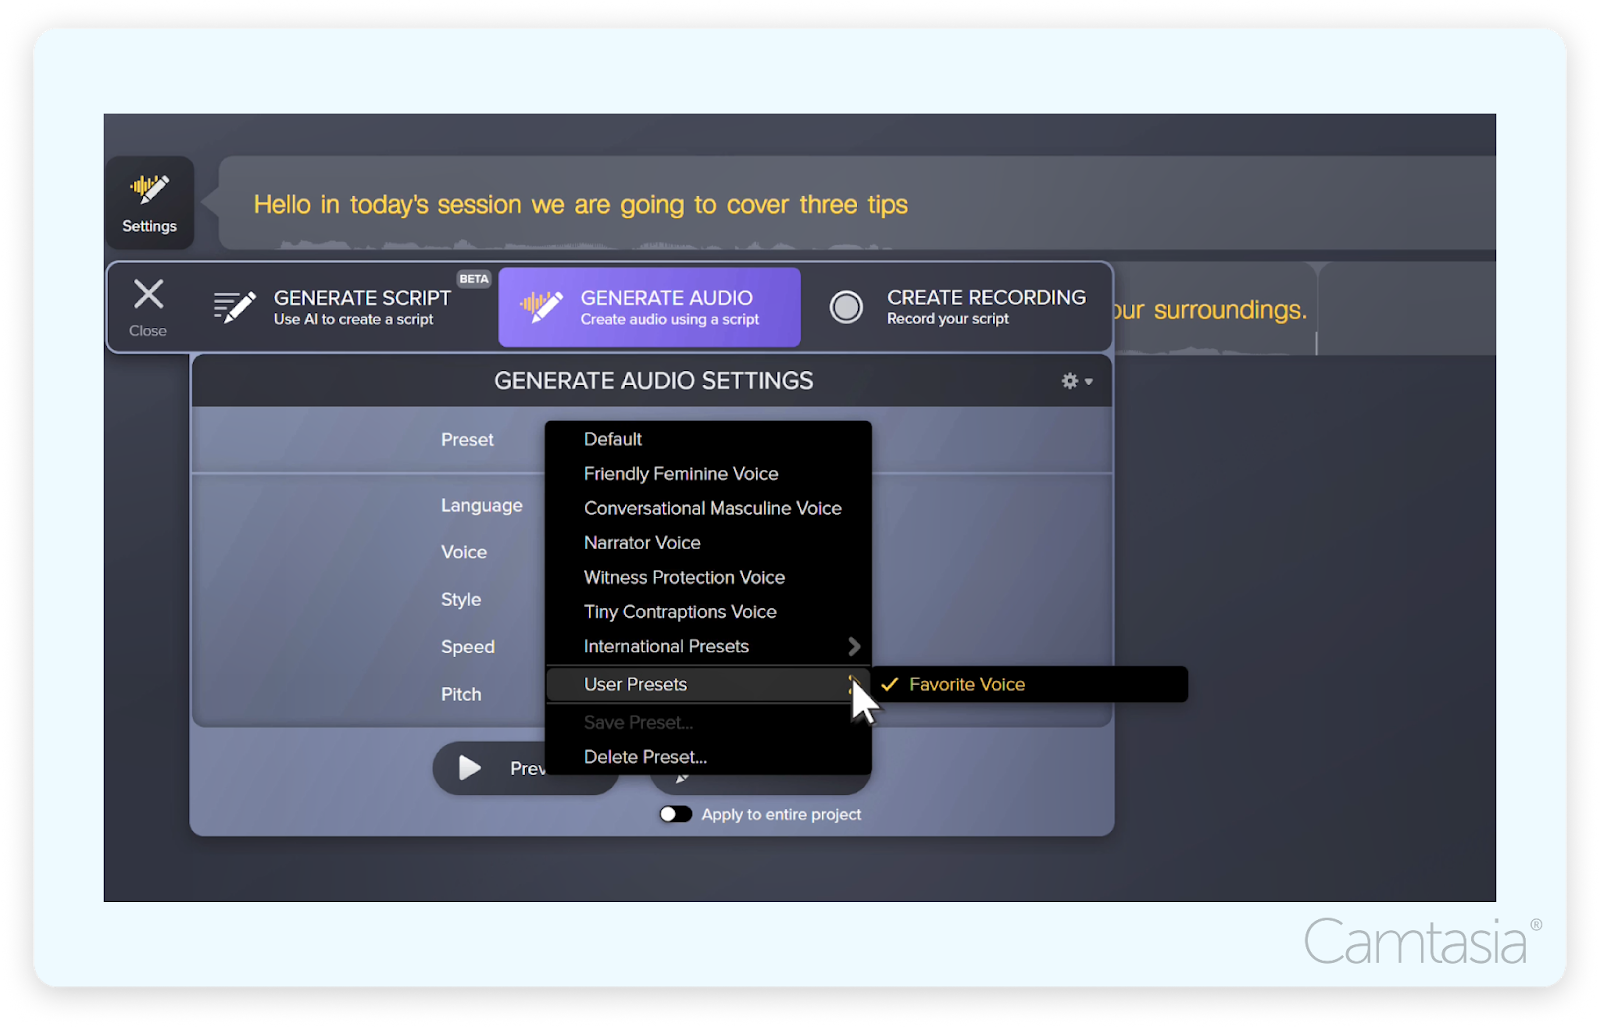
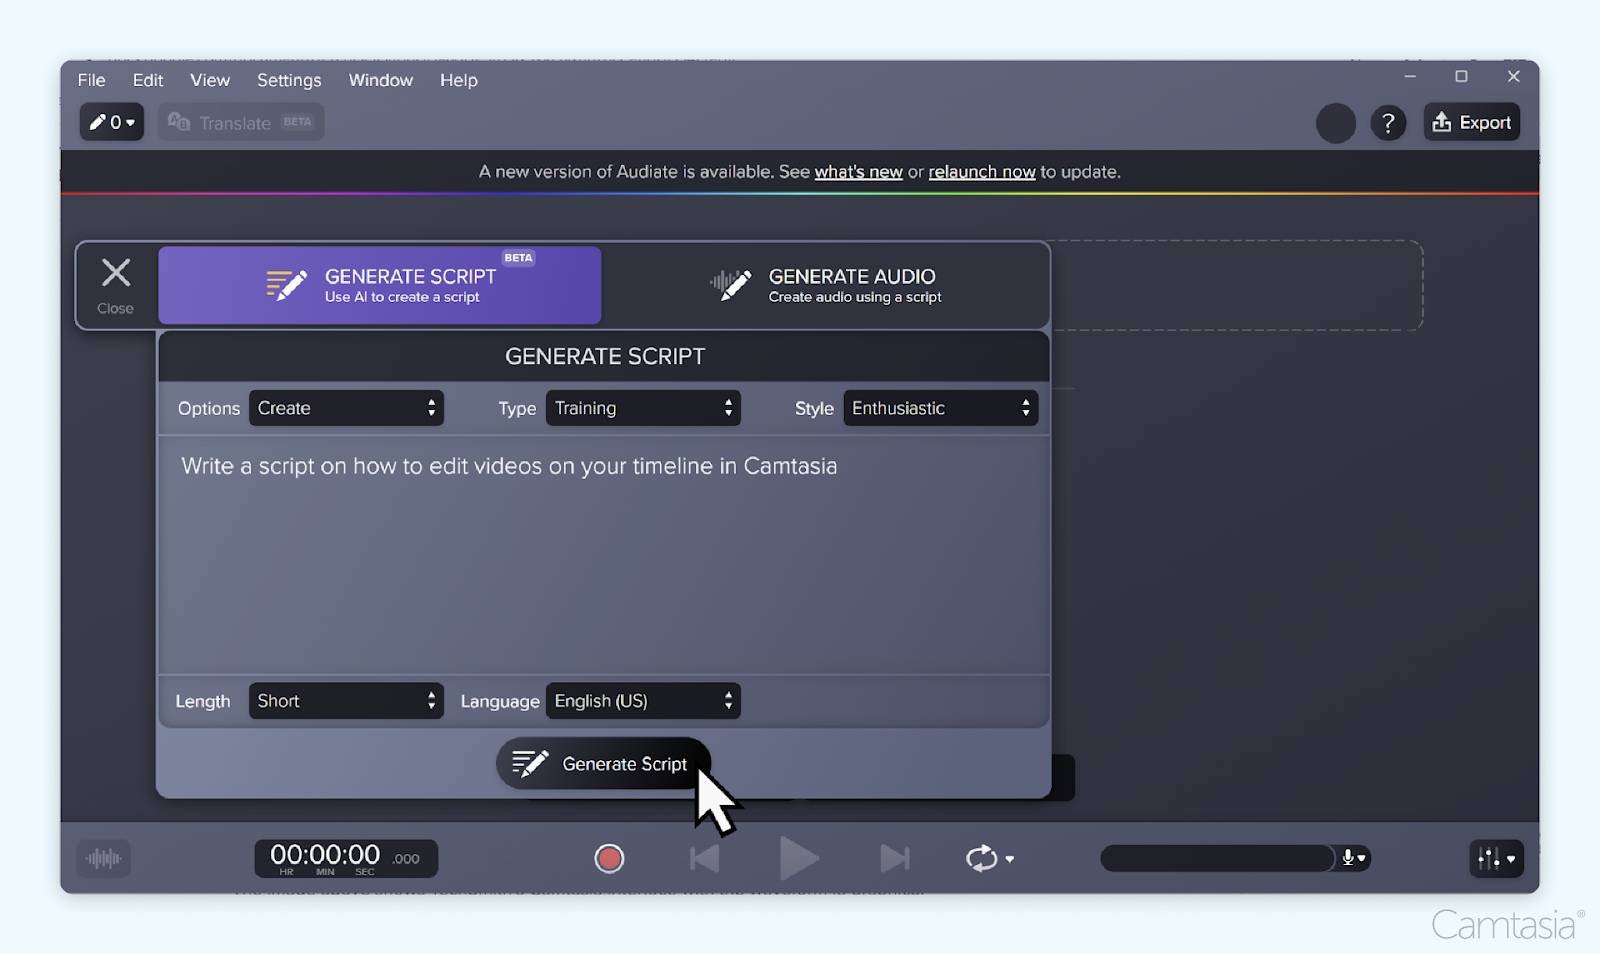
Or, use an AI script generator to help you get started. Simply enter your prompt, desired length, and tone to render a script for your video. You can use it as a general outline or build on it to develop your script further. The possibilities are endless with the help of AI!
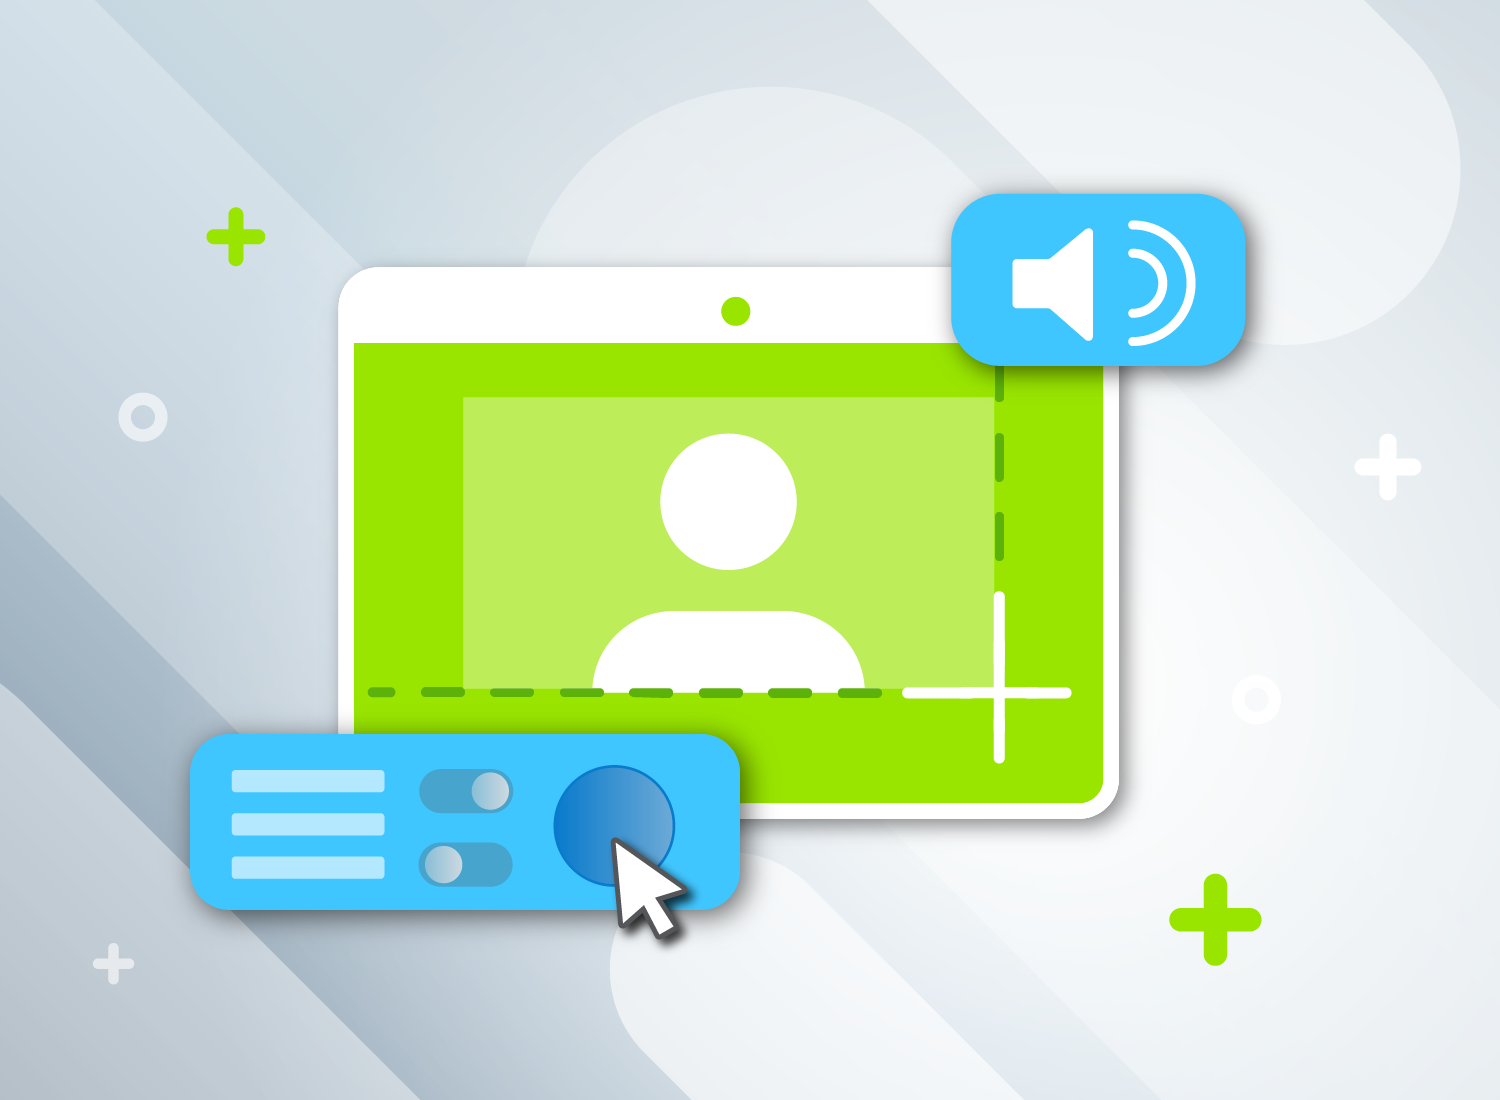
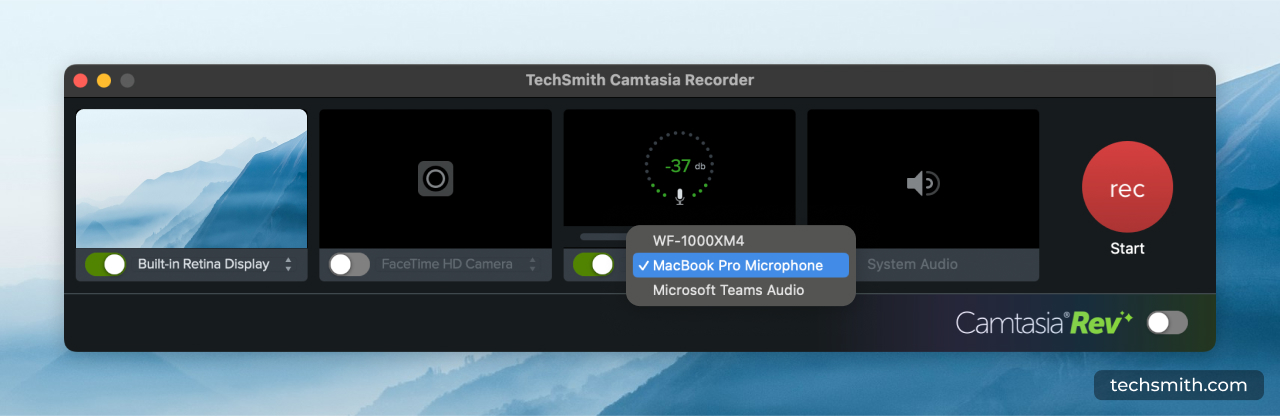
Step 4: Record your narration
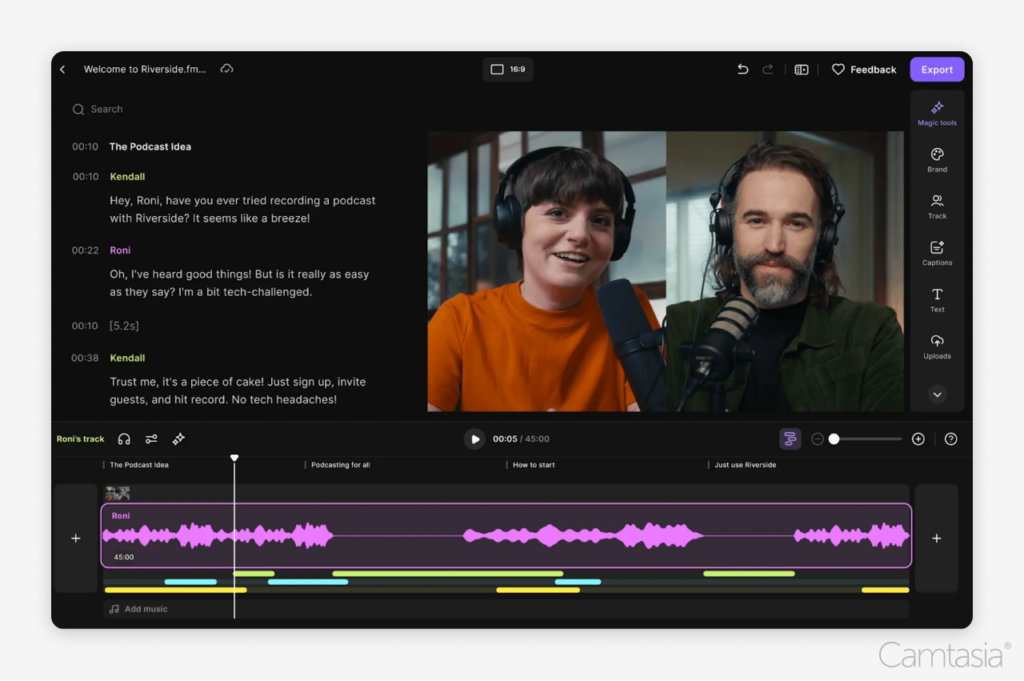
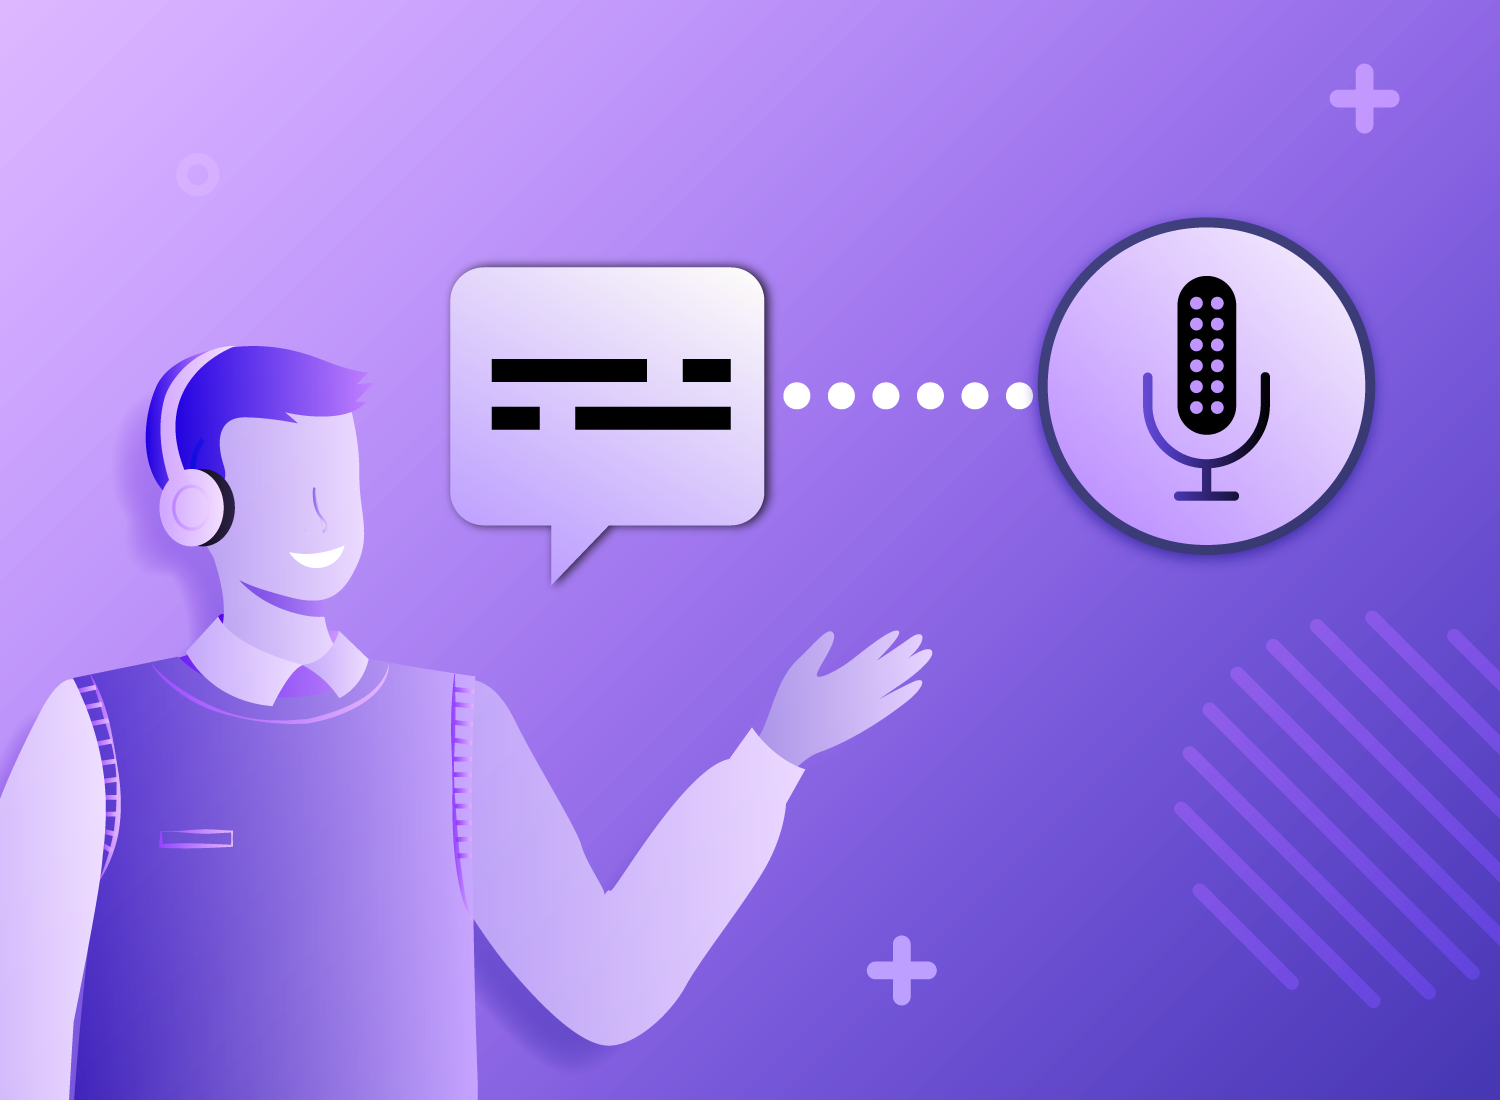
With your script in hand, it’s time to record the narration. Camtasia comes with a built-in, easy-to-use voice recording feature that is a great option. Still, you can take your voiceover and narration recording to the next level with Camtasia Audiate.
Audiate transcribes your voice in real-time – as you record. This means you can edit your audio just as you edit the text in a document. Already have a voiceover recorded? Import it into Audiate, and the program will transcribe it for you.
Next, get your hands on the best microphone you can find. Even a middle-of-the-road mic (like the one connected to your headphones) will provide much better sound quality than the one built into your computer.
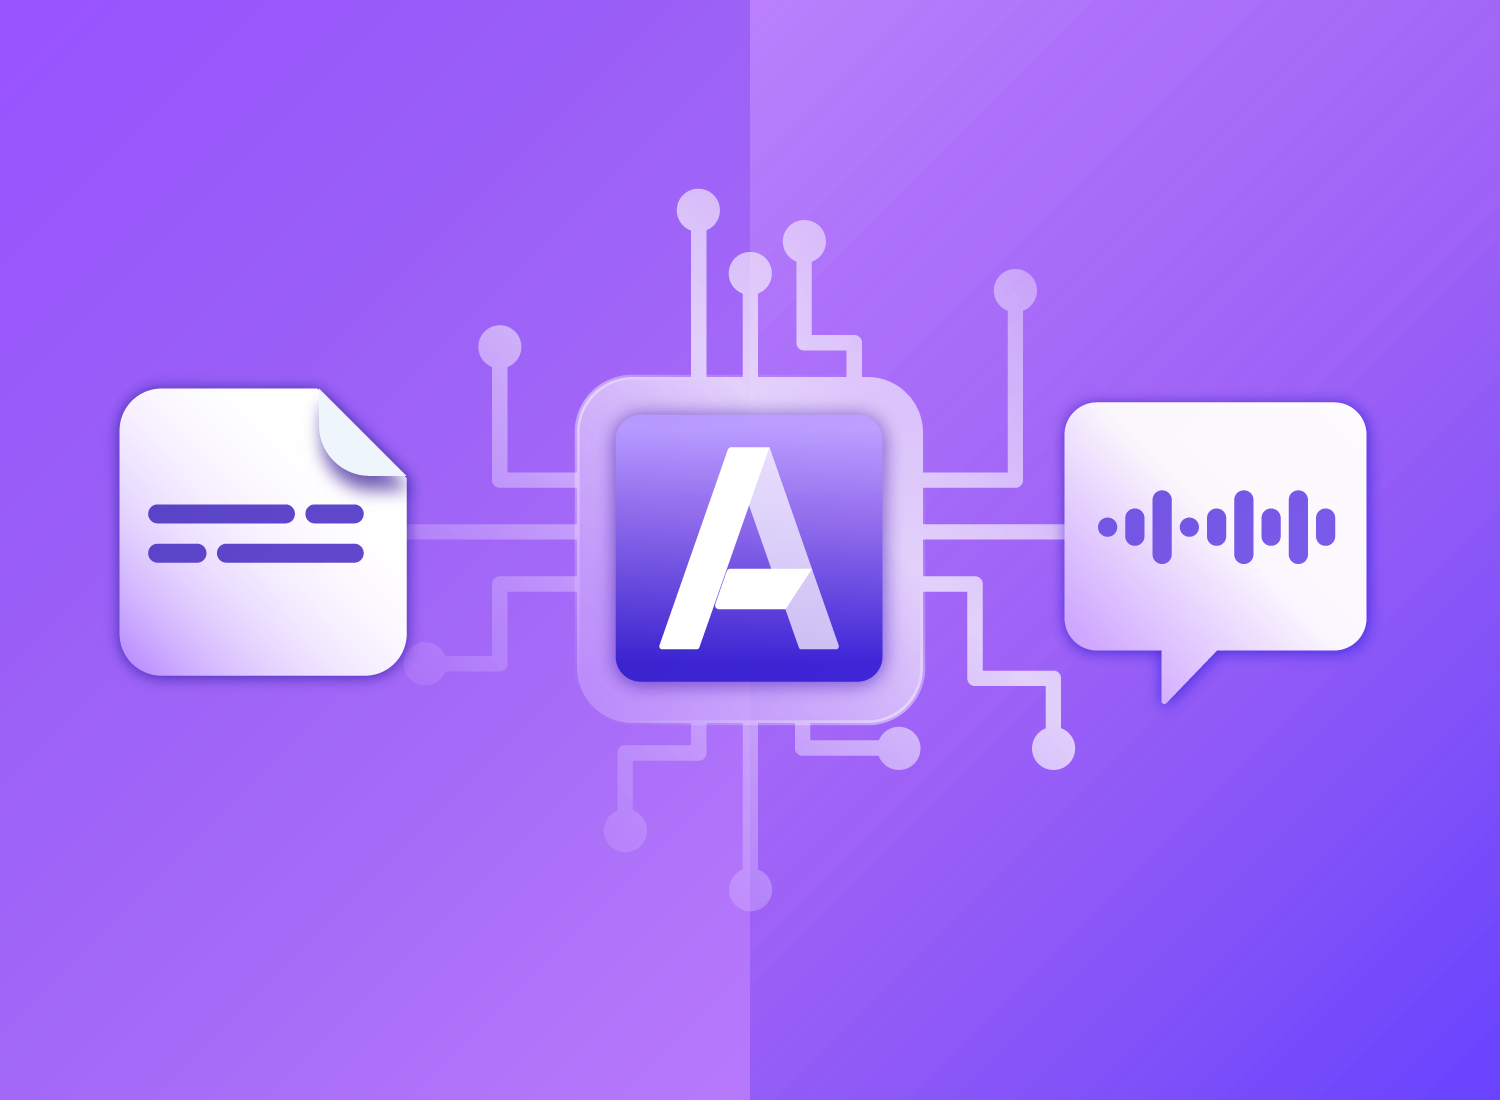
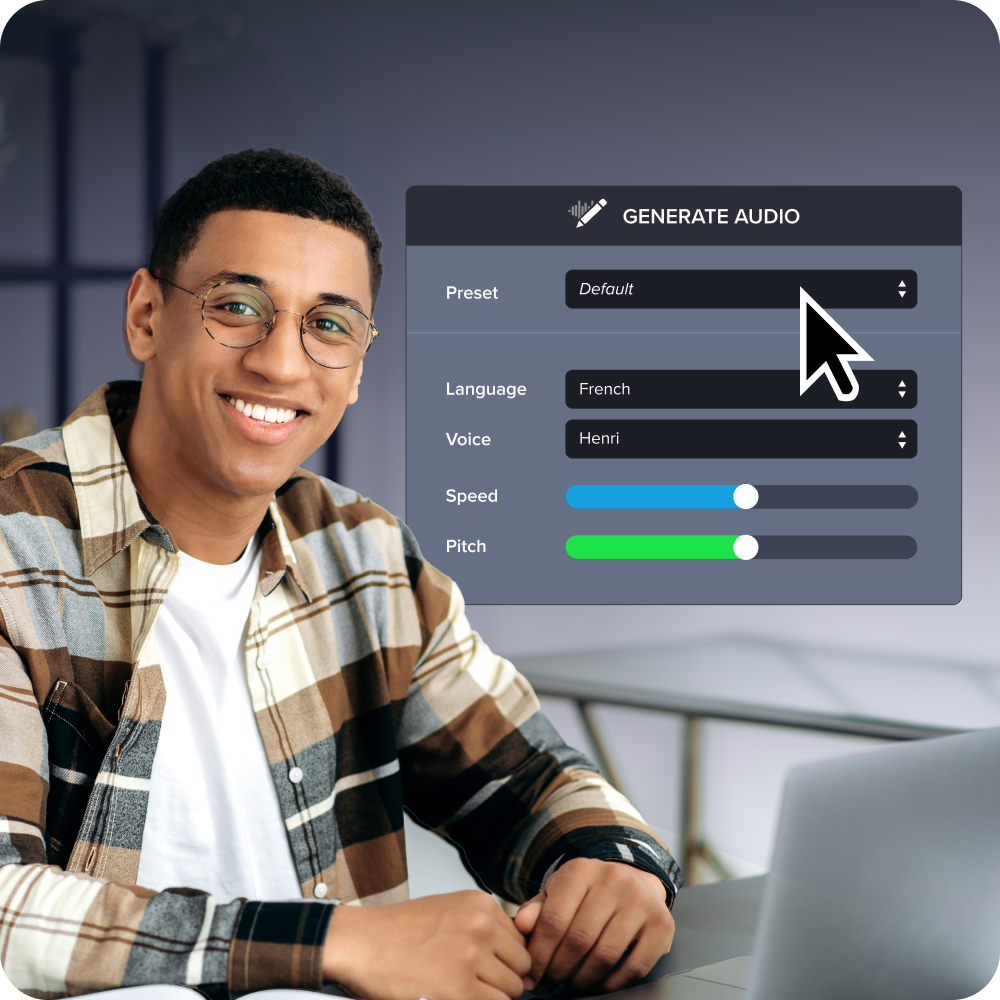
If all that sounds too complex, don’t worry. Even if you don’t want to record your narration you can still get a high-quality narration. Audiate lets you go from text to studio-quality audio within seconds. You can type or import a script, and generate audio in a variety of customizable AI voices and languages.
Step 5: Record your video
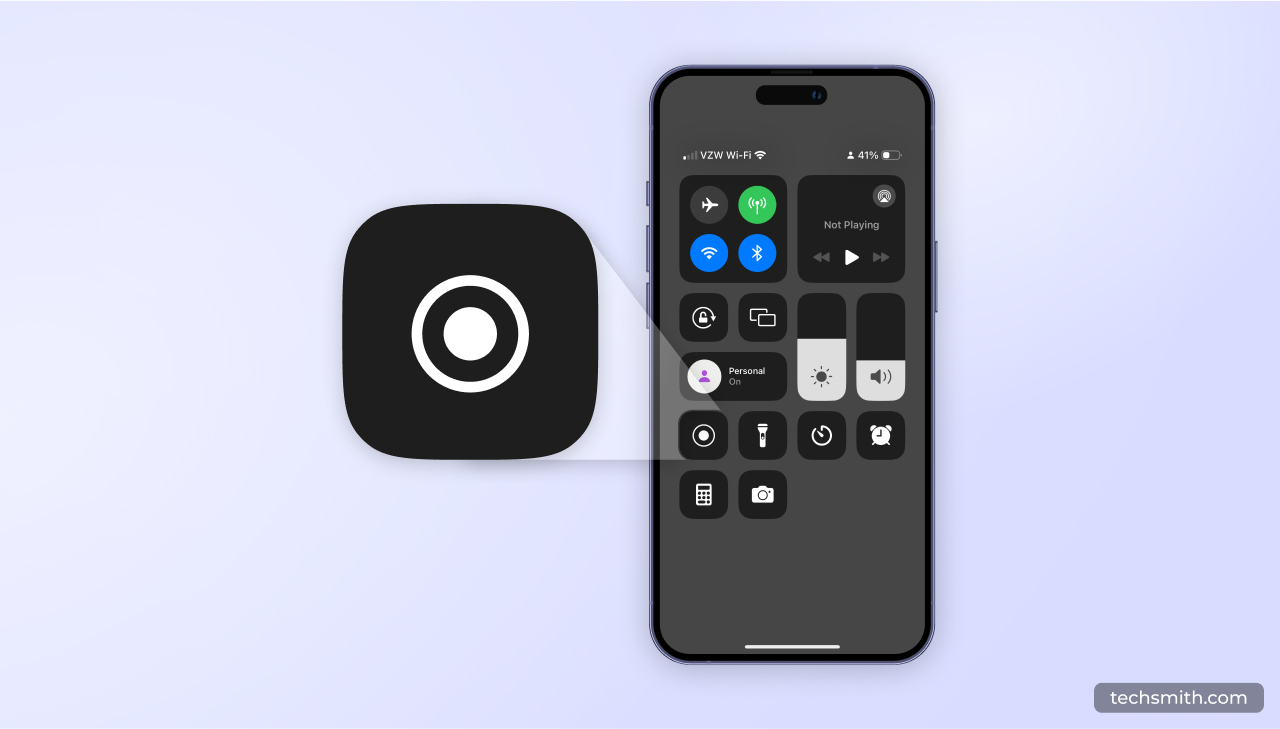
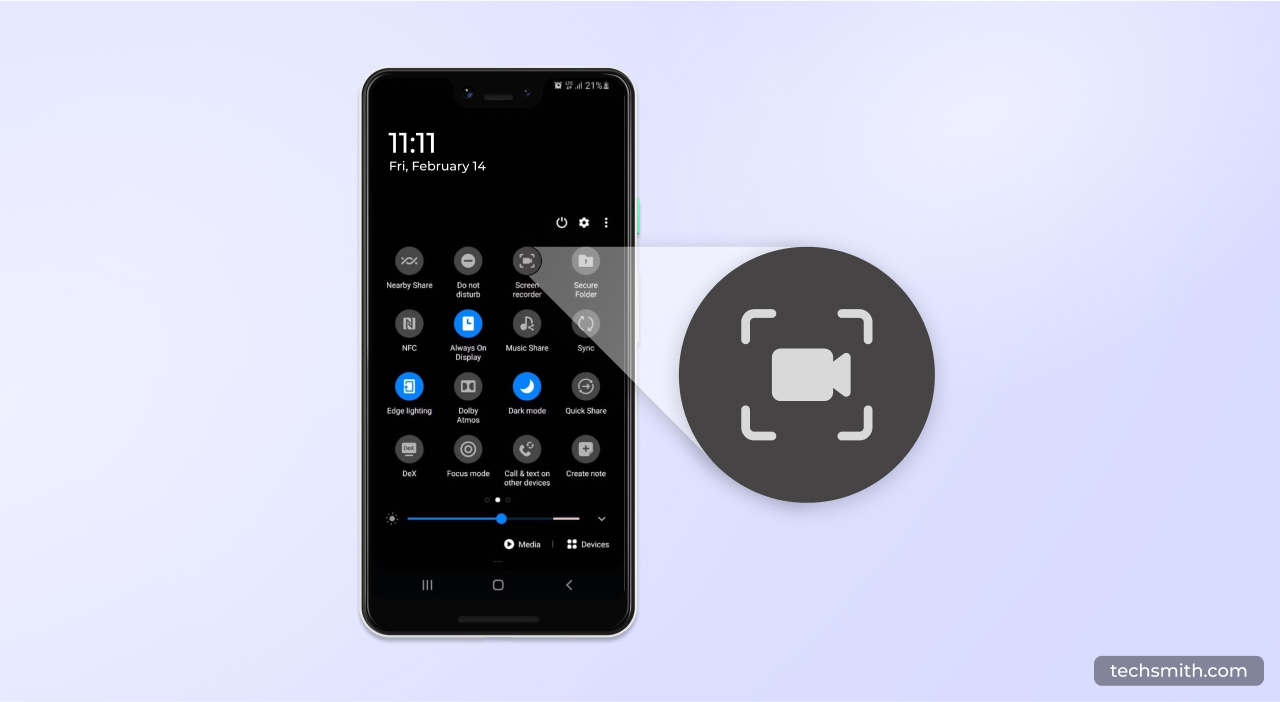
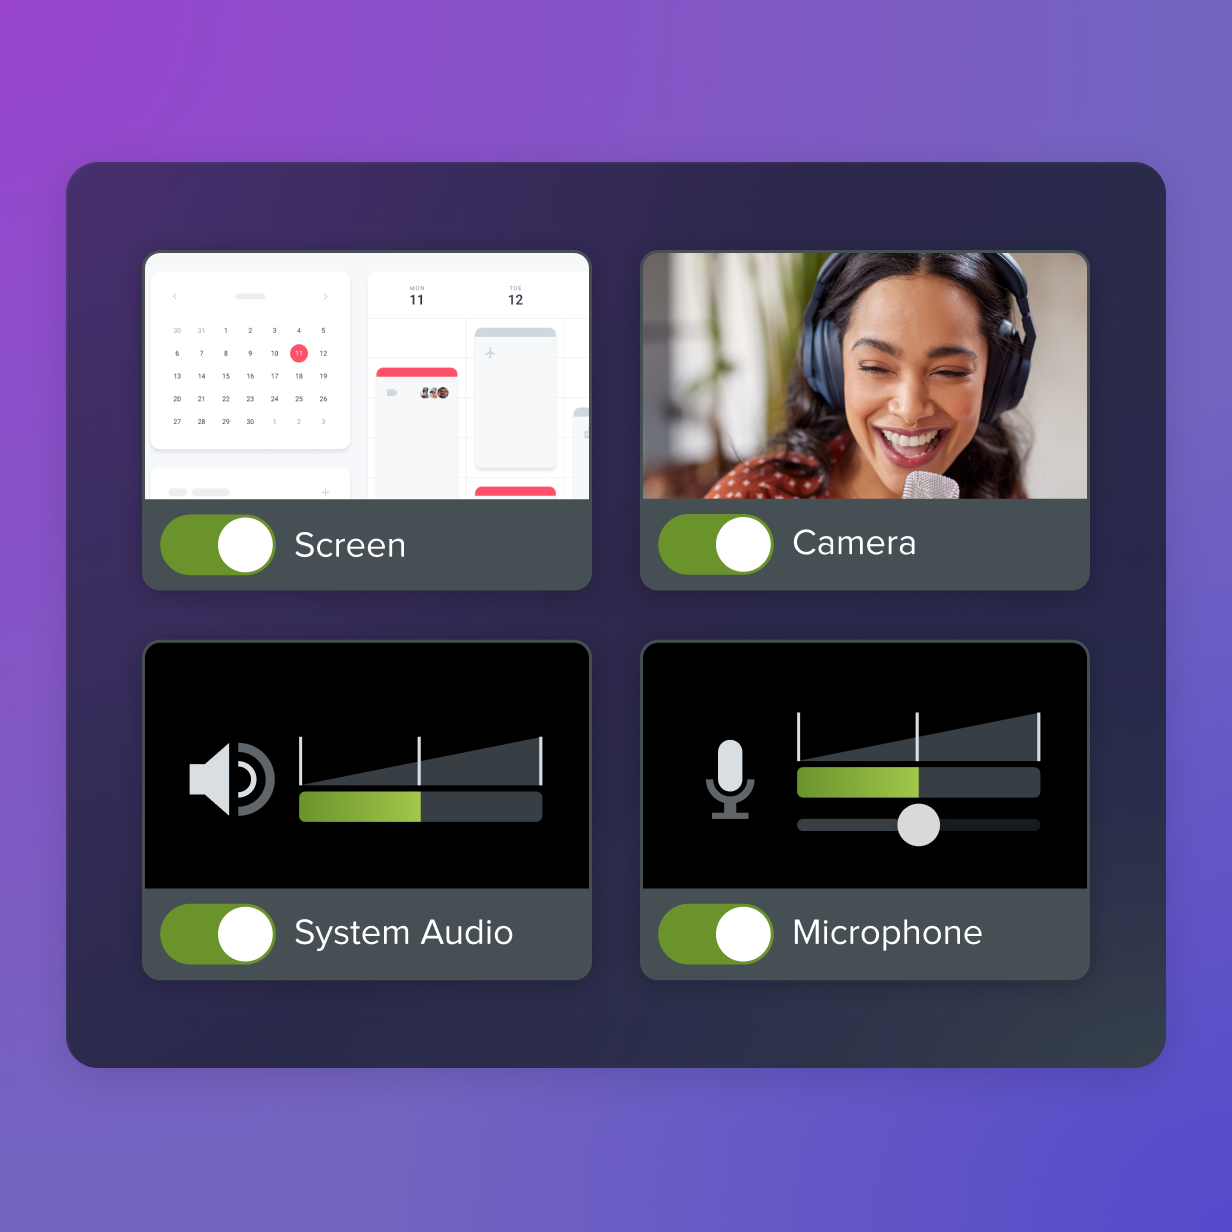
Depending on your instructional video’s topic, you might need to capture a recording of a process happening on your screen, demonstrate something in real life, or both.
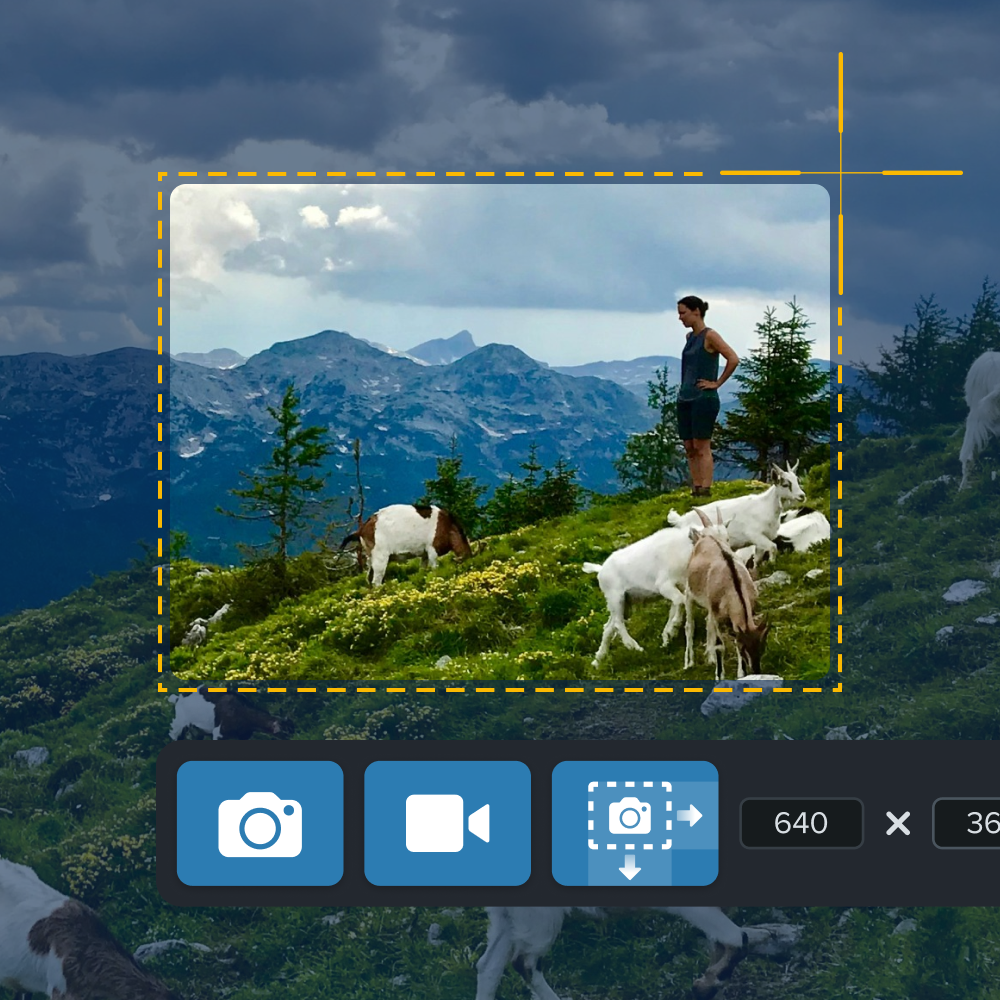
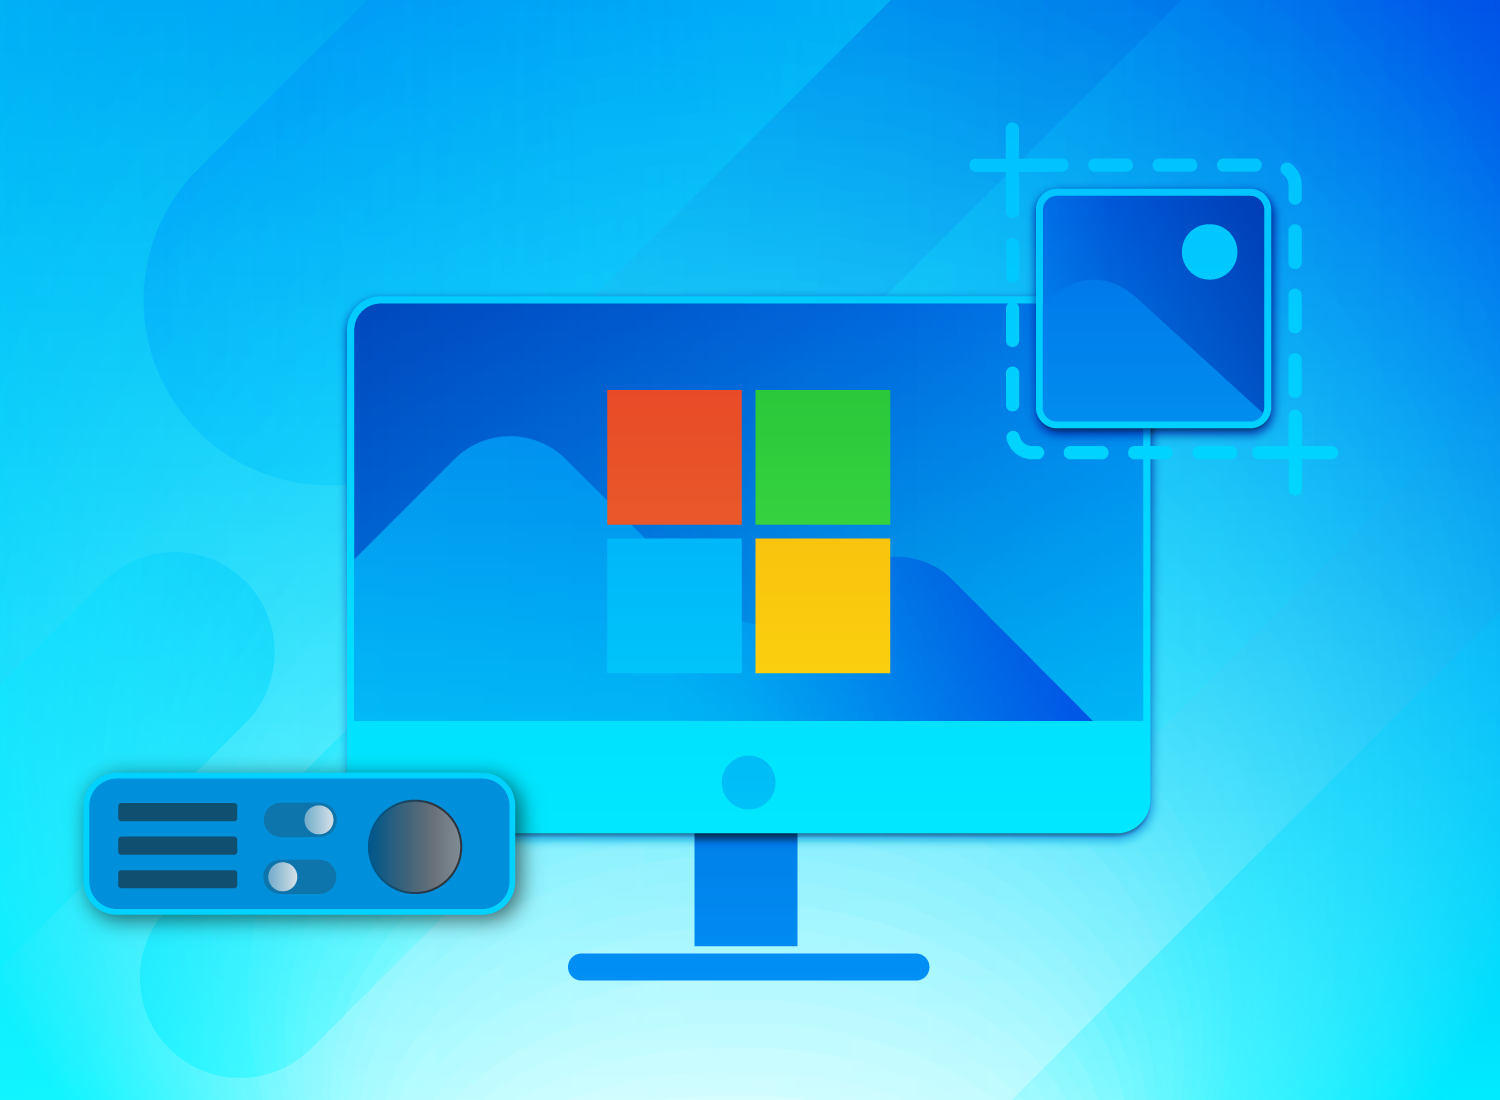
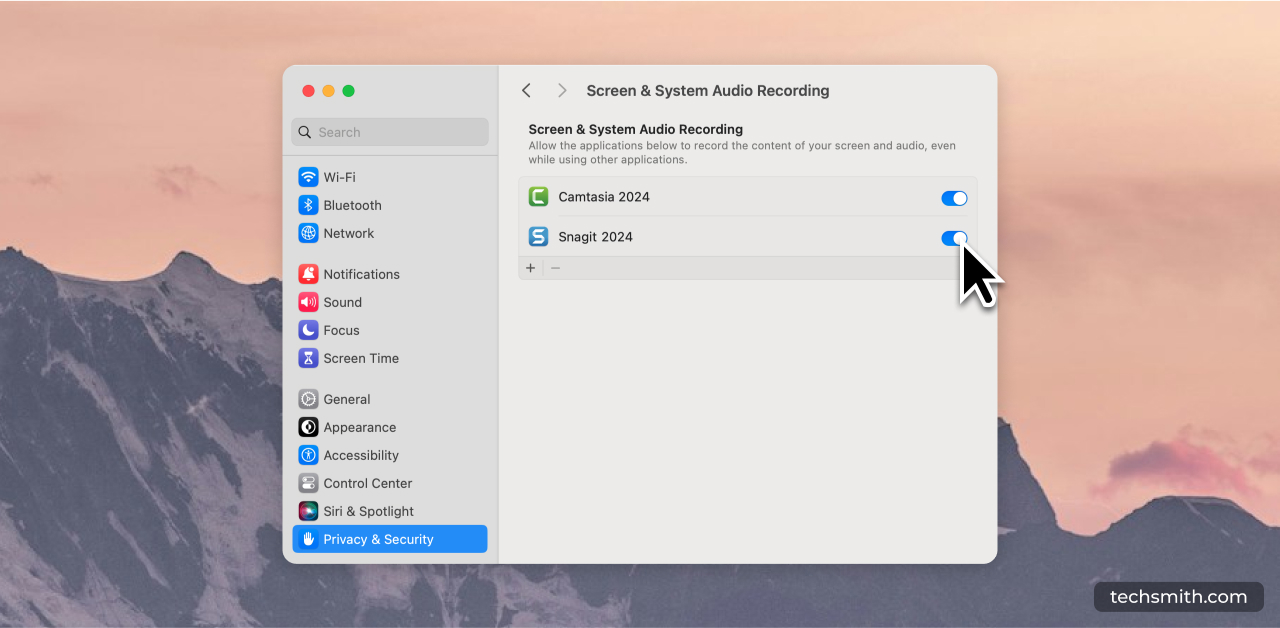
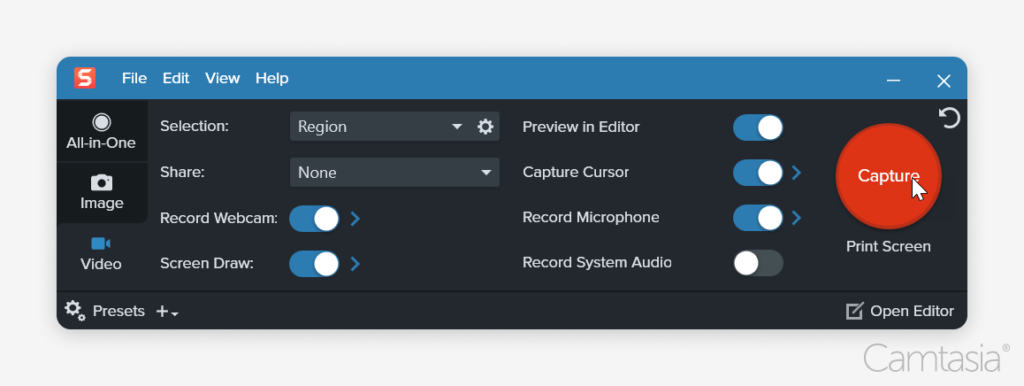
Crystal-clear screen recording
Why settle for blurry screen content? Camtasia’s screen recorder captures everything at up to 4K!
Free Download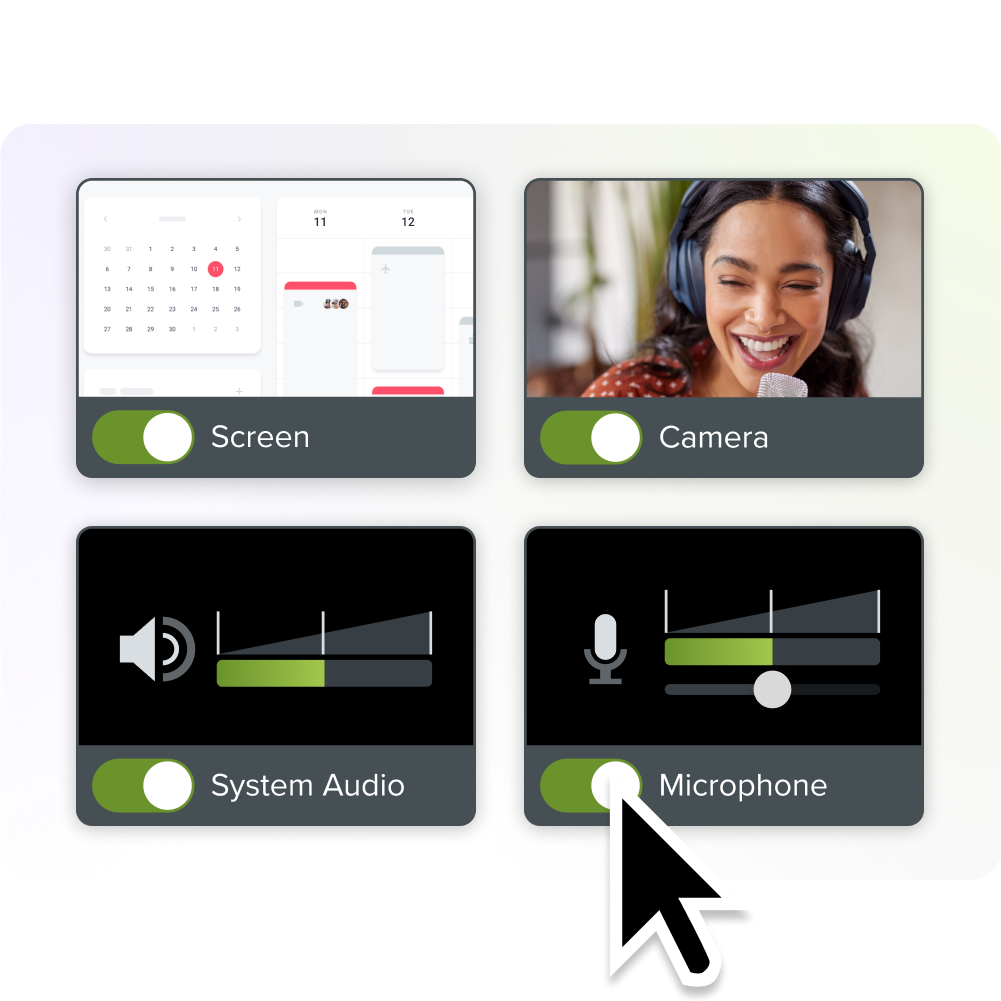
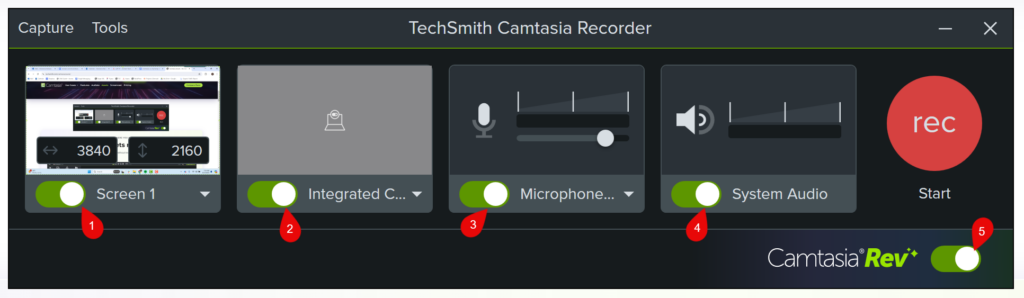
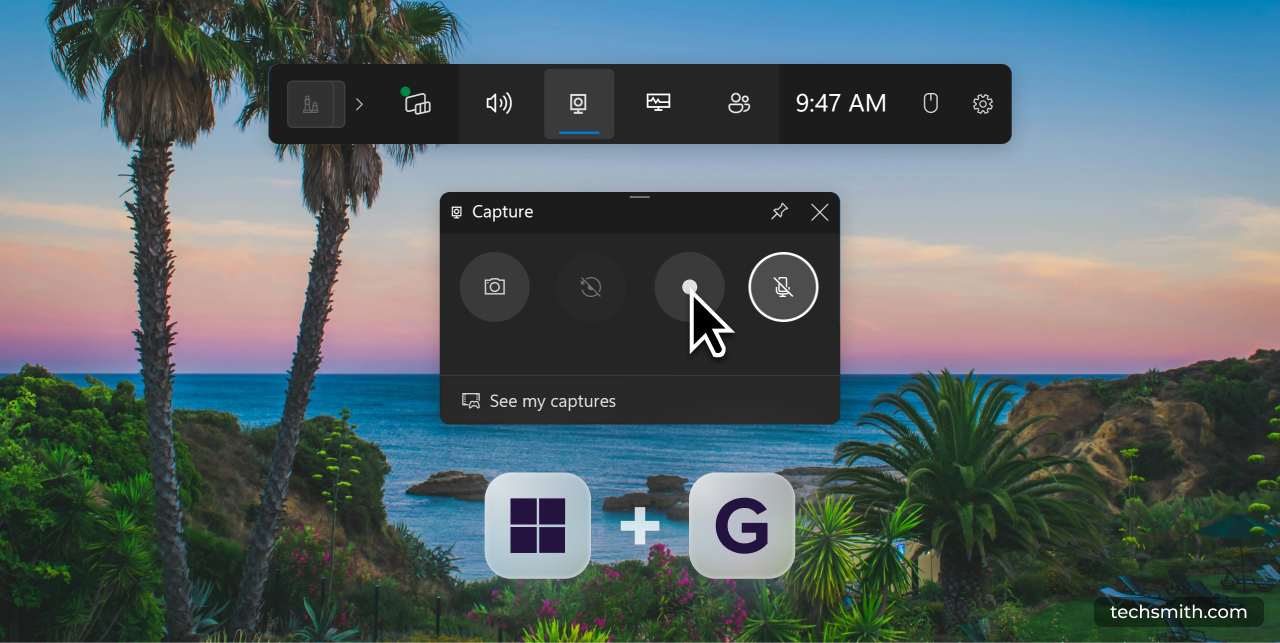
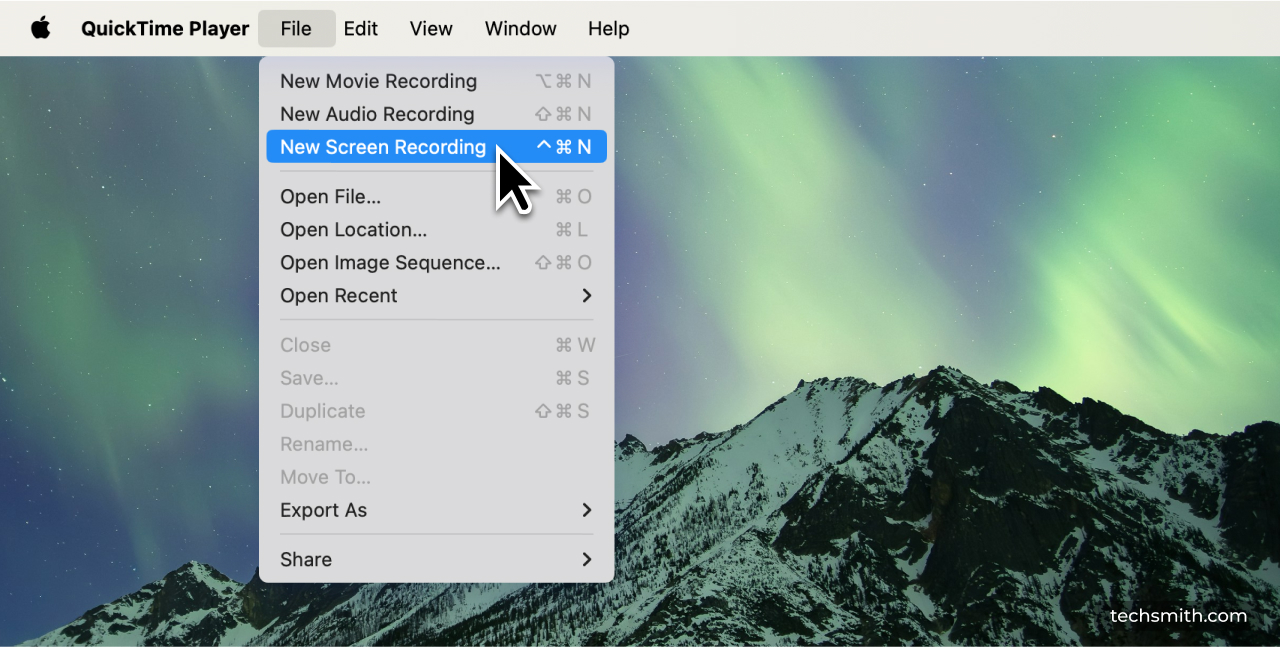
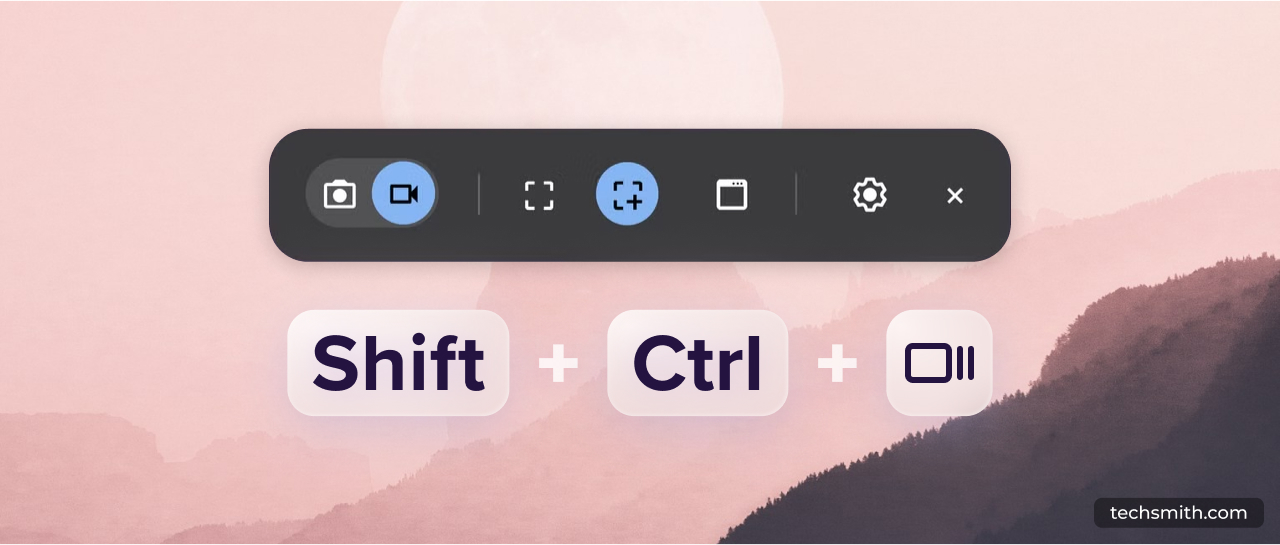
Recording your screen for an instructional video
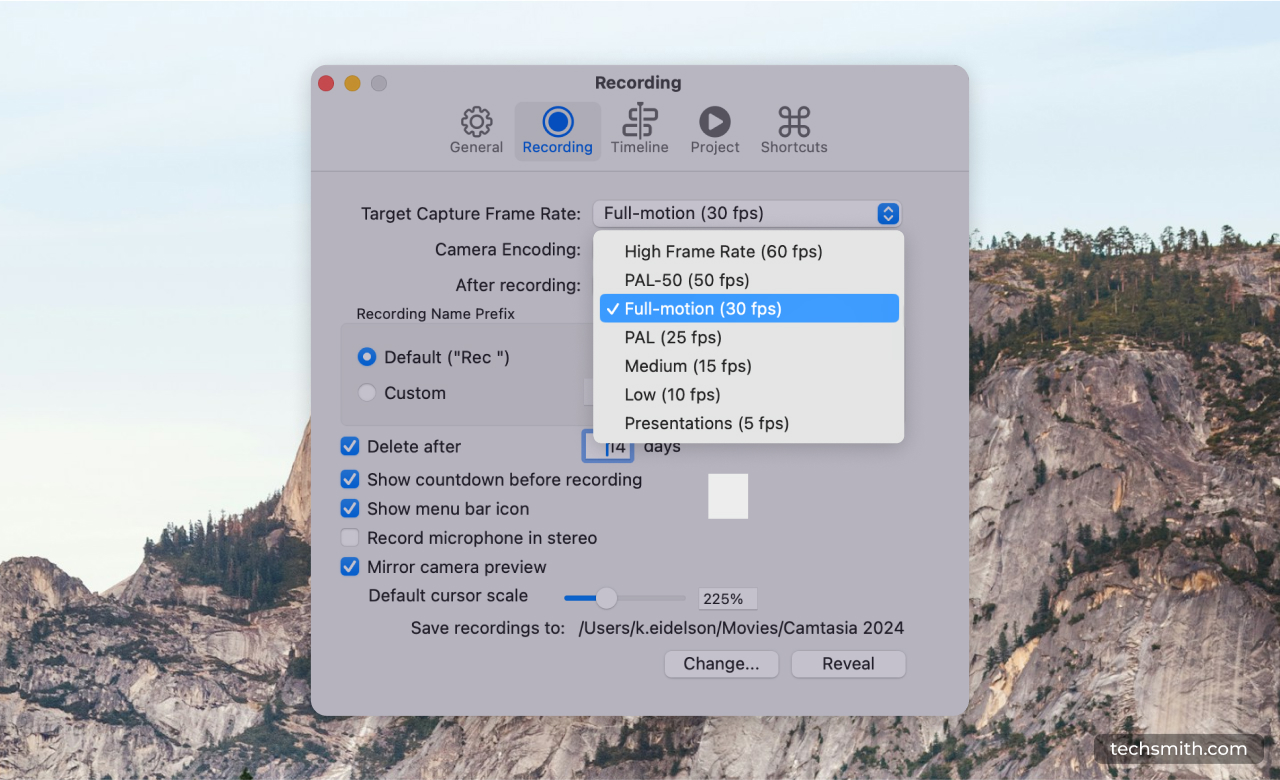
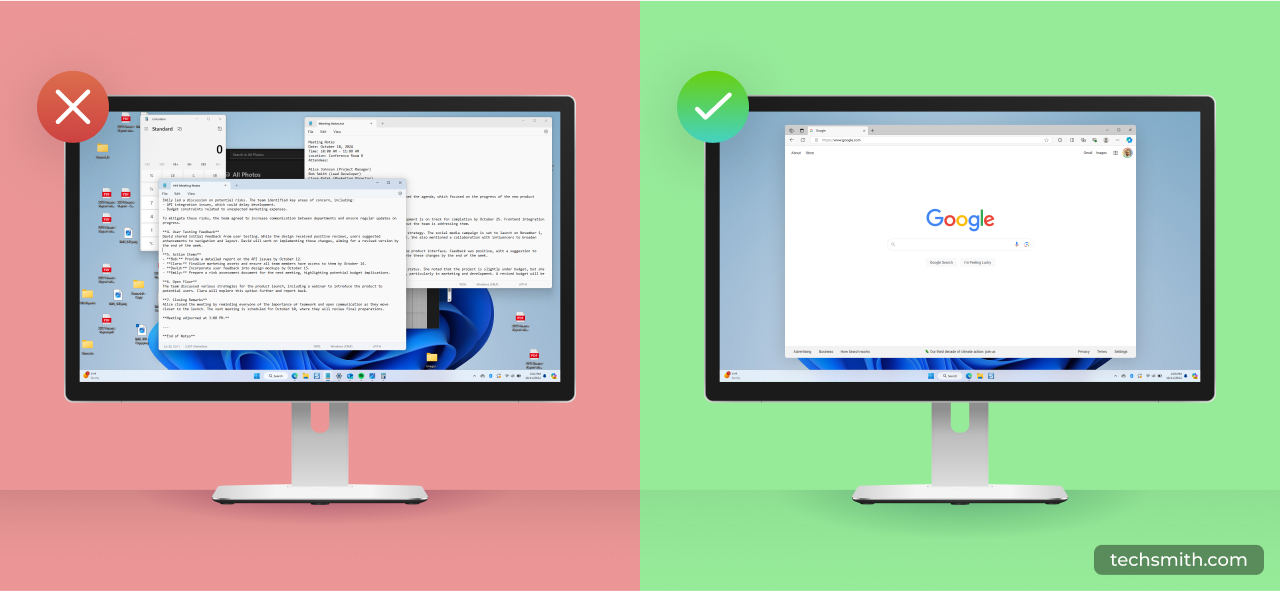
First, clean up your computer screen and close any unnecessary applications. Turn off notifications that might pop up before you start recording. Follow these directions to get a crisp screen video.
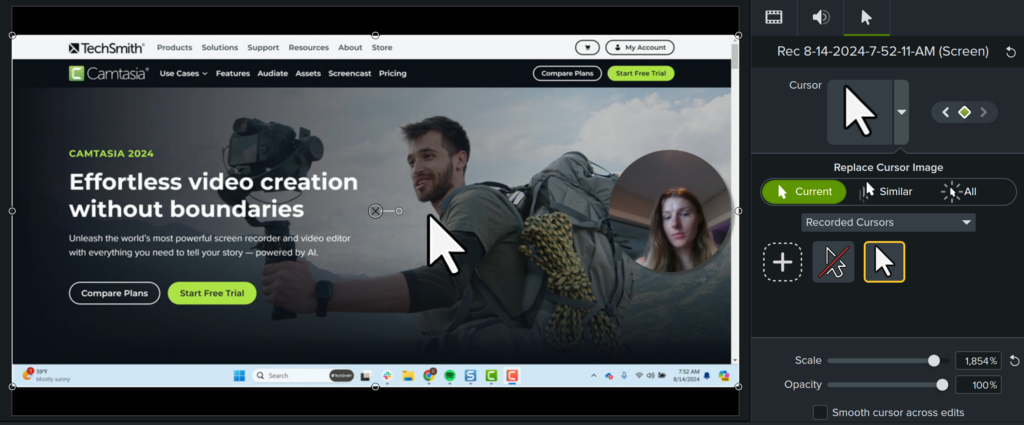
Then, open the application you want to record and conduct a few practice walkthroughs of exactly what you want to show your viewers. This practice will help you get smooth cursor motions, and you’ll have less editing to do in the end.
After a few run-throughs, open the Camtasia recorder and capture your screen just as you practiced. Remember, if you make a mistake, pause and start again from that point. You’ll be able to smooth things out when editing later on.
A simple way to increase engagement and help viewers connect with your content is to try adding a camera recording to your screencast.
“Camtasia is the ultimate in screen-recording software. This allows me to create instructional videos, not only for my YouTube And TikTok accounts, but also for my students when creating explainer videos.”
Recording an instructional video with a camera
Screen recordings and training videos with a camera are similar practices. For either, you’ll need a plan, a script, and the right tools, but stepping in front of the camera brings new challenges.
Here are a few things to consider when creating an instructional video that includes camera video:
- Don’t get overwhelmed by equipment. Usually, you can get away with the basics: a tripod, a smartphone, a phone clip, a clean backdrop, and lights.
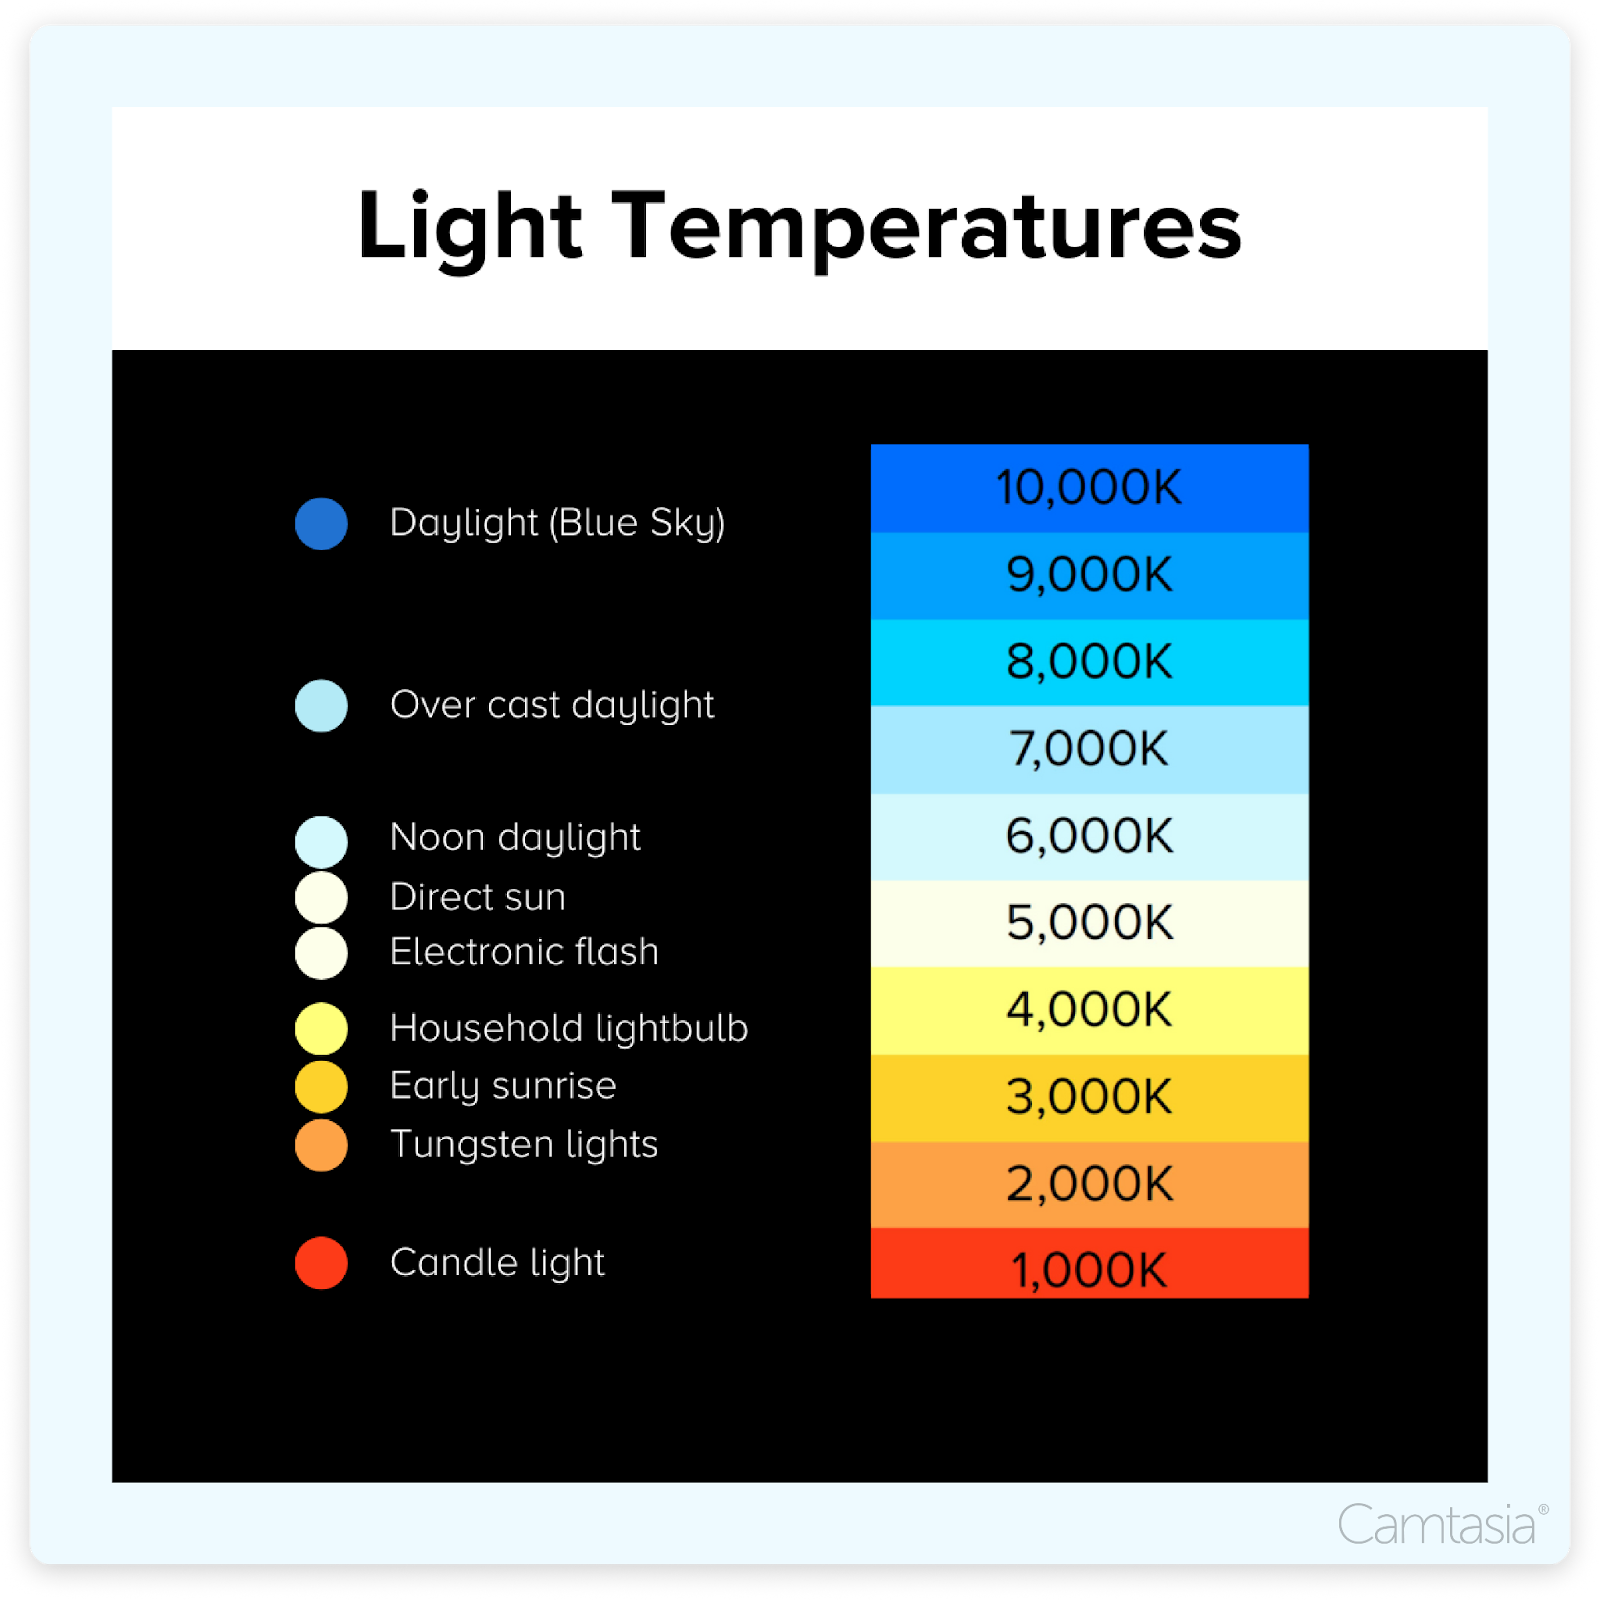
- Make sure your recording space is well-lit. You’ll want to record in an area with a lot of natural light or add some video lighting to your equipment list.
- Place your camera on a tripod, and position it as close to your subject as possible while still getting everything you need in the shot. Being close to the subject will help you get the best possible audio when recording with a smartphone camera.
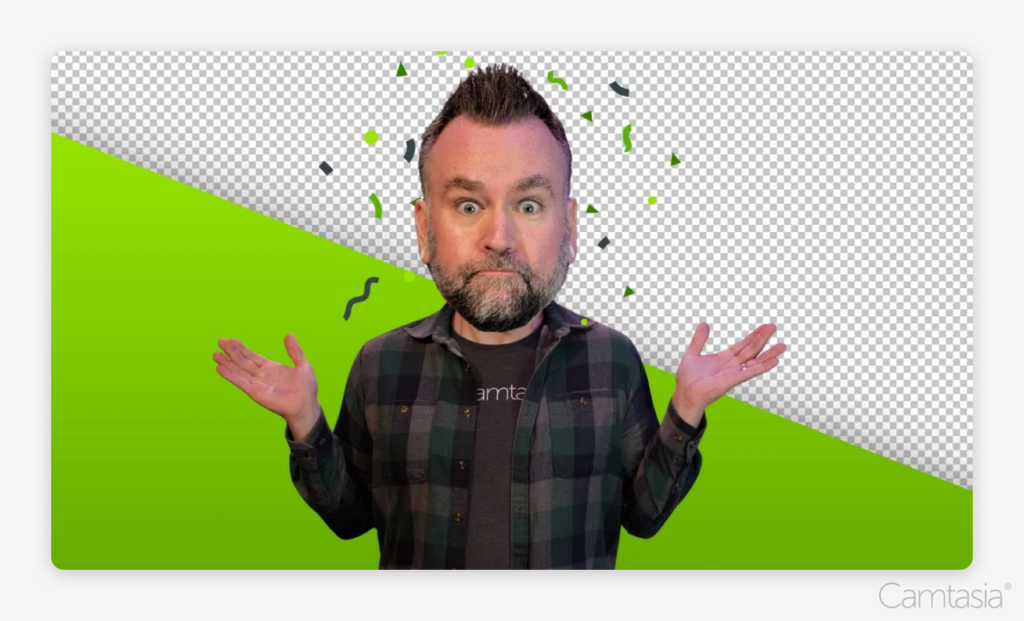
- Sometimes you don’t want to be on camera, and that’s okay. We all have bad hair days. Simply use life-like AI avatars to replace your presence on screen.
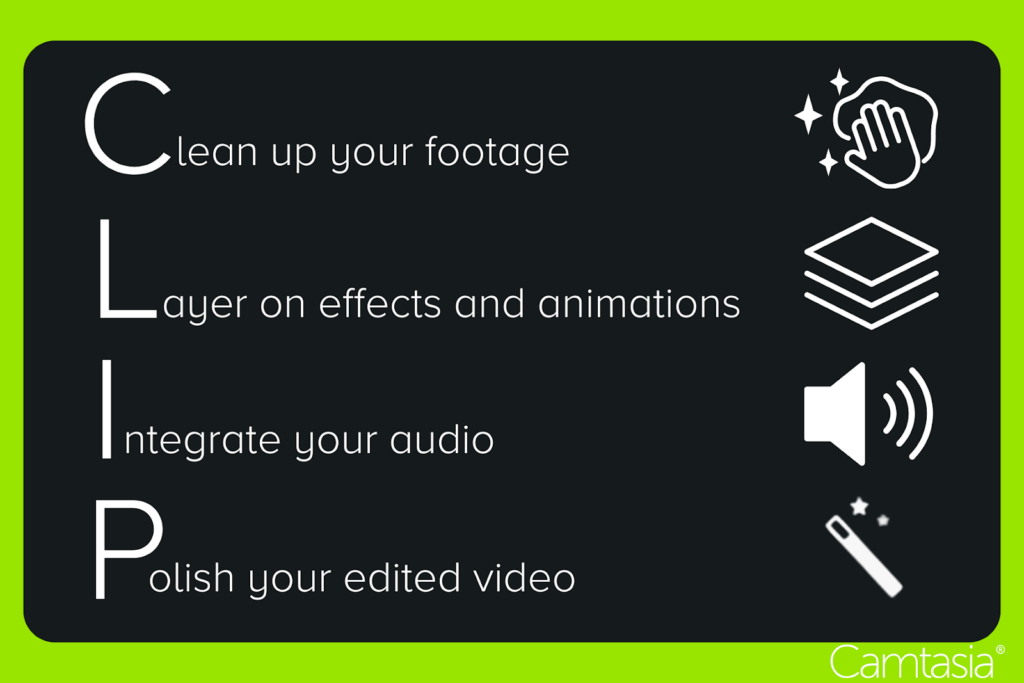
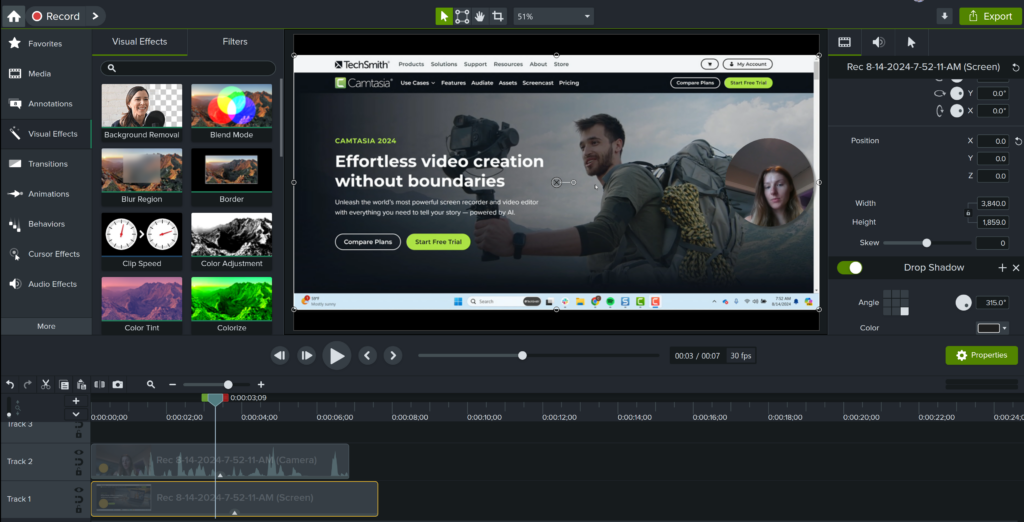
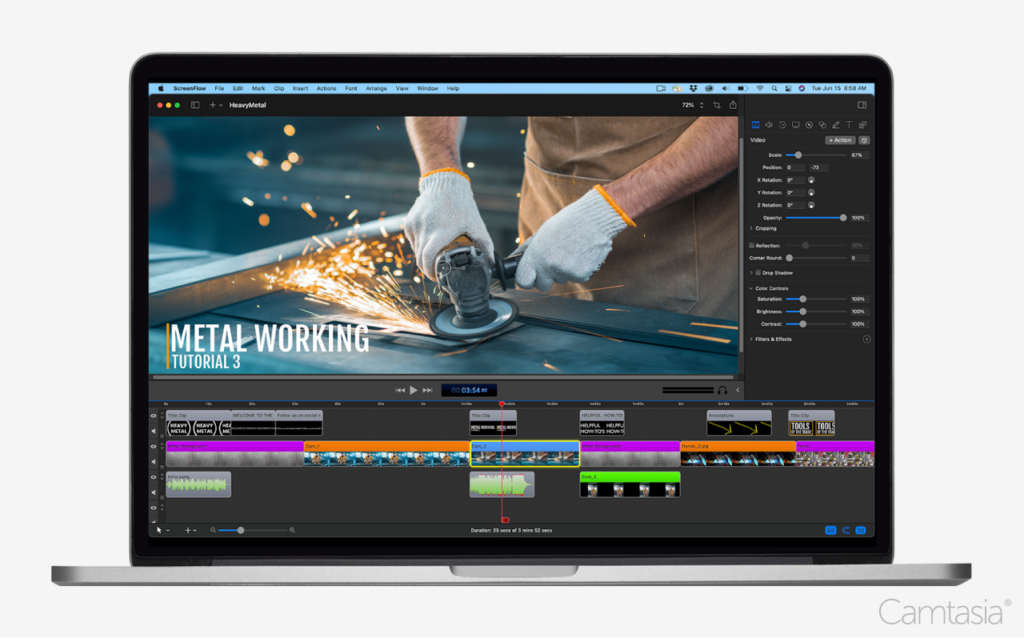
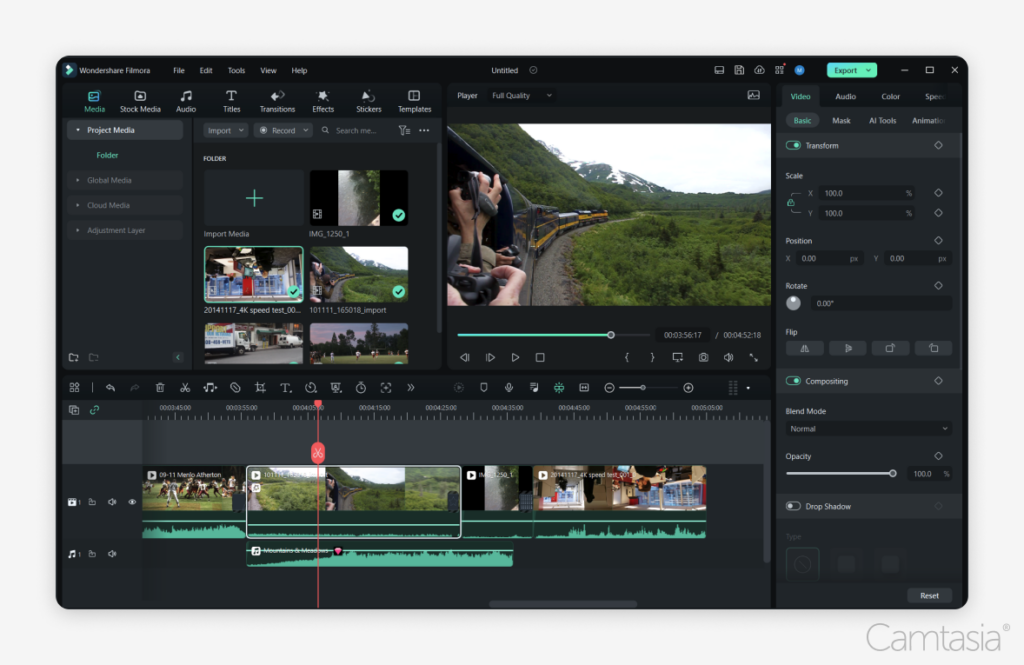
Step 6: Edit your video
Most people feel like they need to be a professional video editor to make a nice-looking video, but the truth is that you don’t need expensive editing tools or a lot of knowledge to get started.
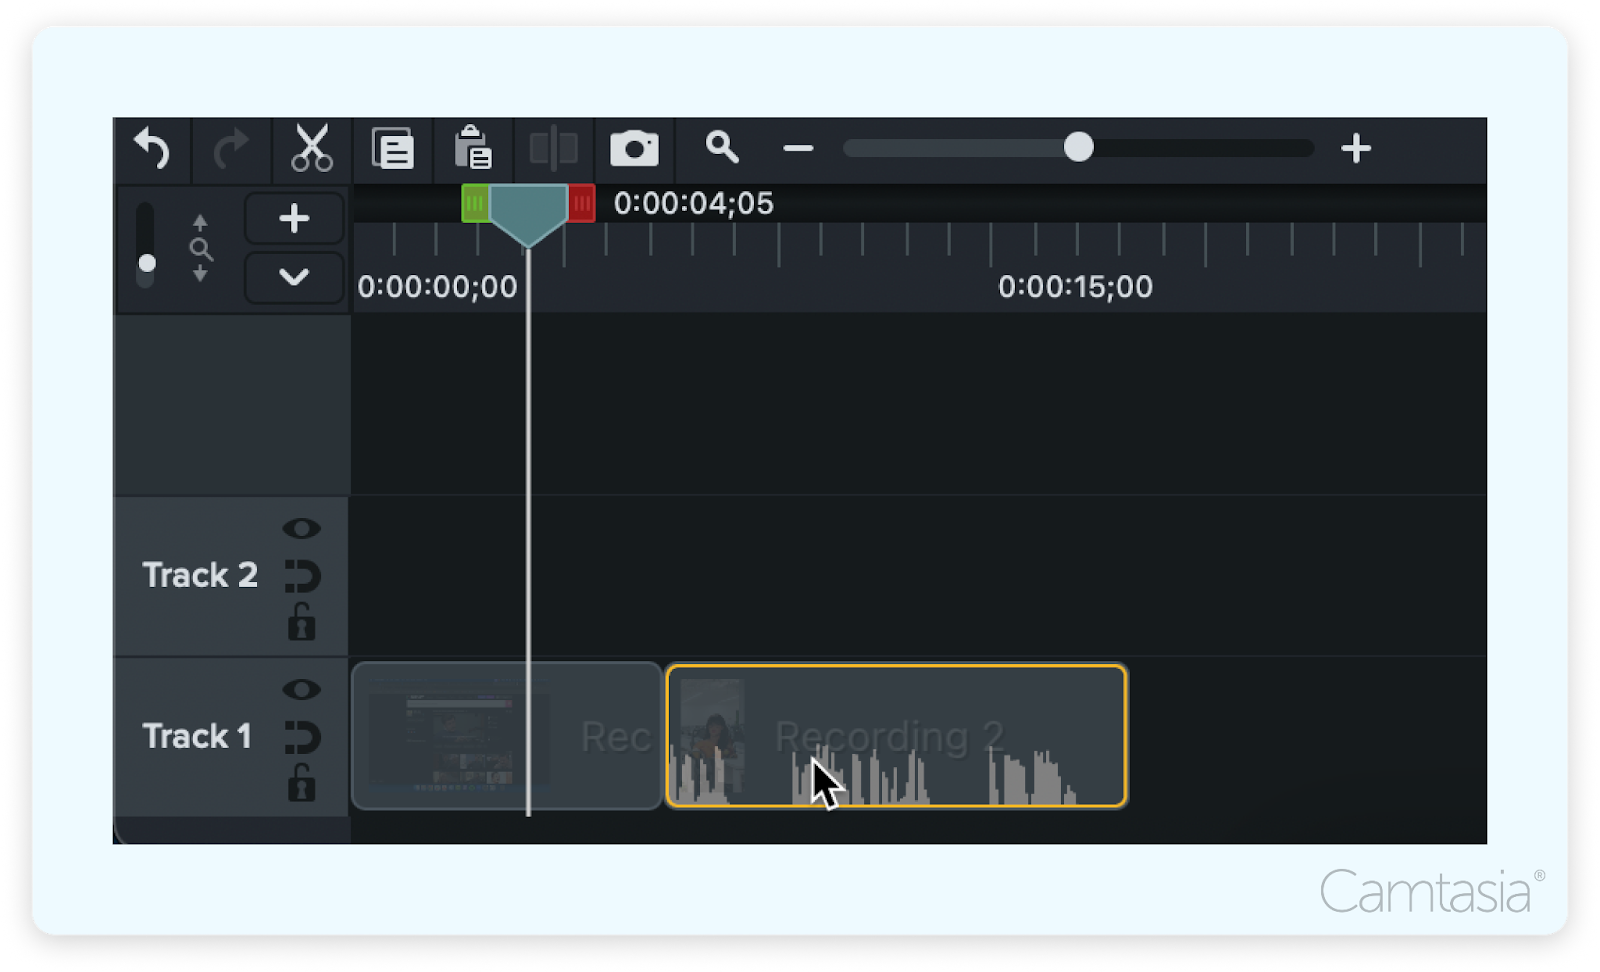
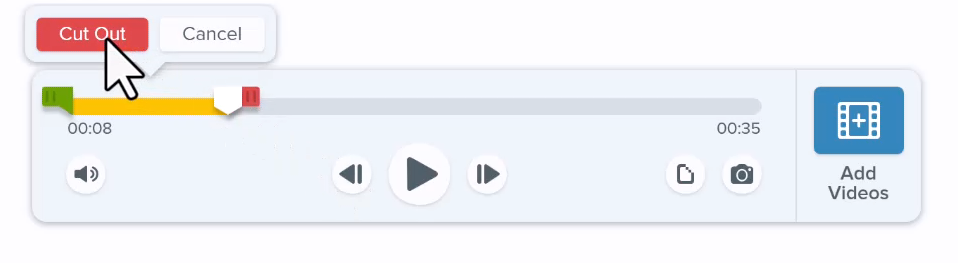
In Camtasia, you can cut out mistakes by selecting them with the play head and then clicking cut. To trim extra footage from the ends of your recording, drag the end of the clip in.
Add your audio narration to the timeline when you finish editing your video. You can use clip speed and extend the frame to sync the audio and video in your project.
Here are some simple video editing tips to improve your instructional videos:
- If you need more time explaining a concept, split the clip and use extended frames to freeze the video.
- To speed up a boring part of your recording, add clip speed, then drag the handles to speed it up.
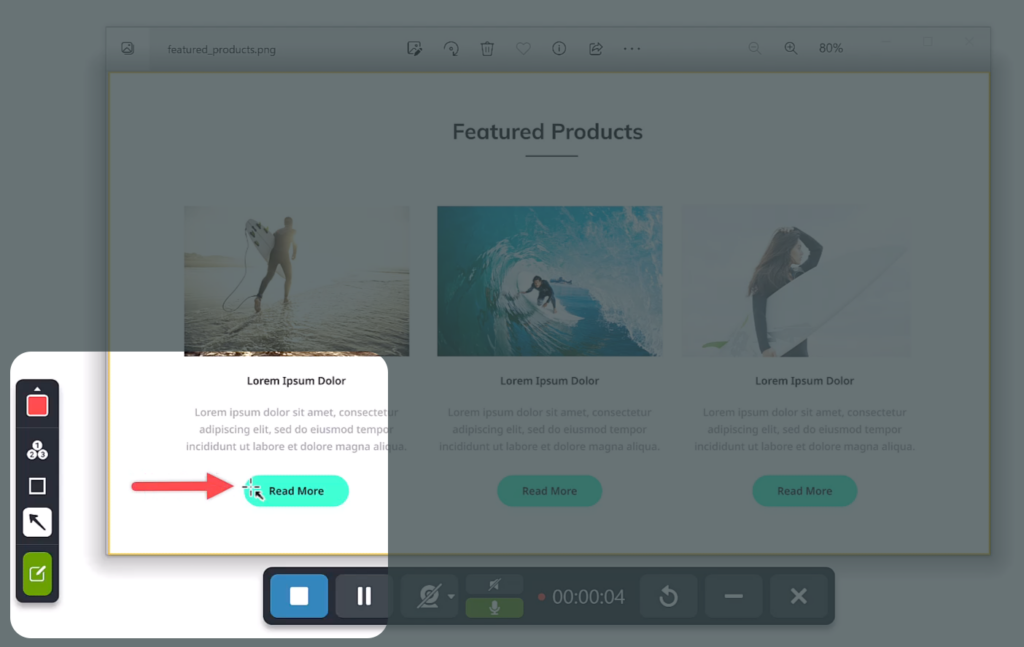
- Add interactive elements like callouts, arrows, shapes, lower thirds, or sketch motions to highlight key points in your video.
The easiest way to edit videos
Stop wasting time and discover how Camtasia makes creating incredible videos easier than ever.
Free Download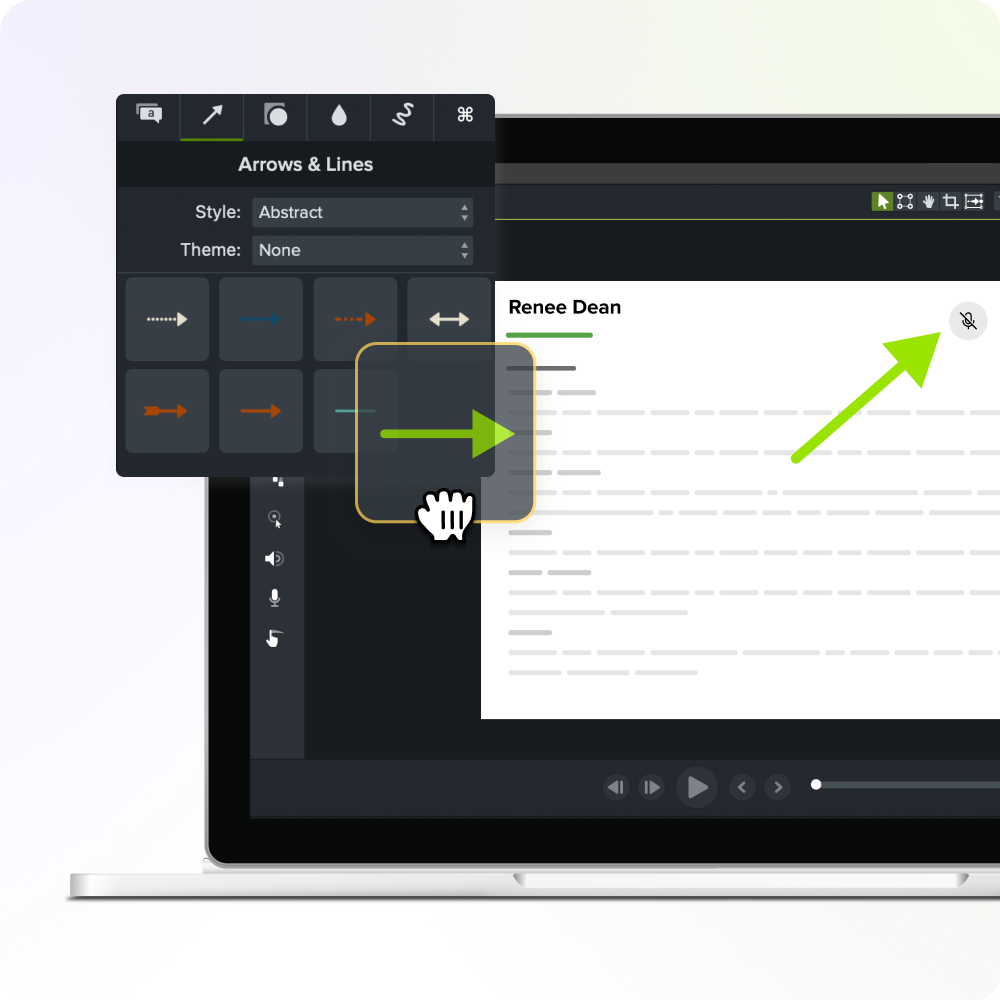
Step 7: Add a video intro
Use a video intro to lead viewers into your content, but don’t get too crazy. Keep your opening simple and to the point.
Viewers want to get to the substance of your video. They don’t care about anything other than what you promised to teach them.
A good intro lays out the topic and quickly explains what viewers can expect to learn.
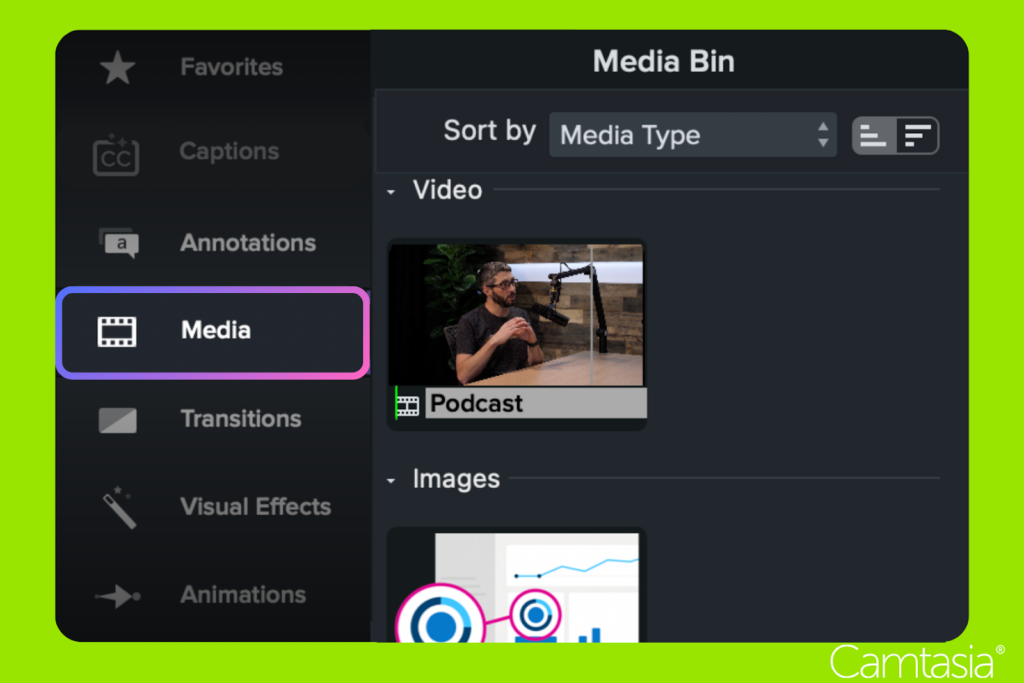
To create your video intro in Camtasia, add space at the beginning of your video. Hold the shift key on your keyboard and drag the play head to the right.
Then, open the media bin and select the Library tab. From the “Motion Graphics – Intro Clips” folder, drag the intro you like onto the timeline.
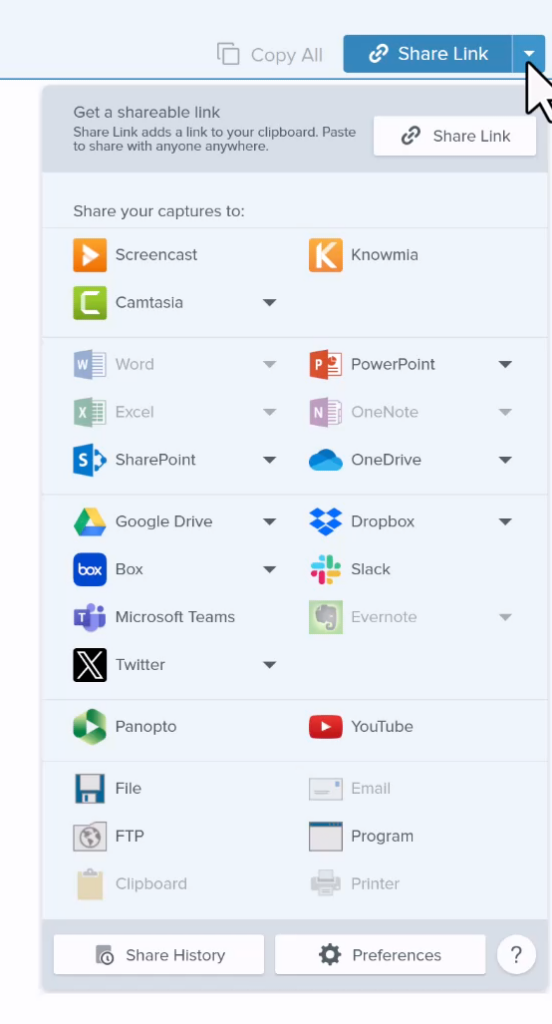
Step 8: Promote your video
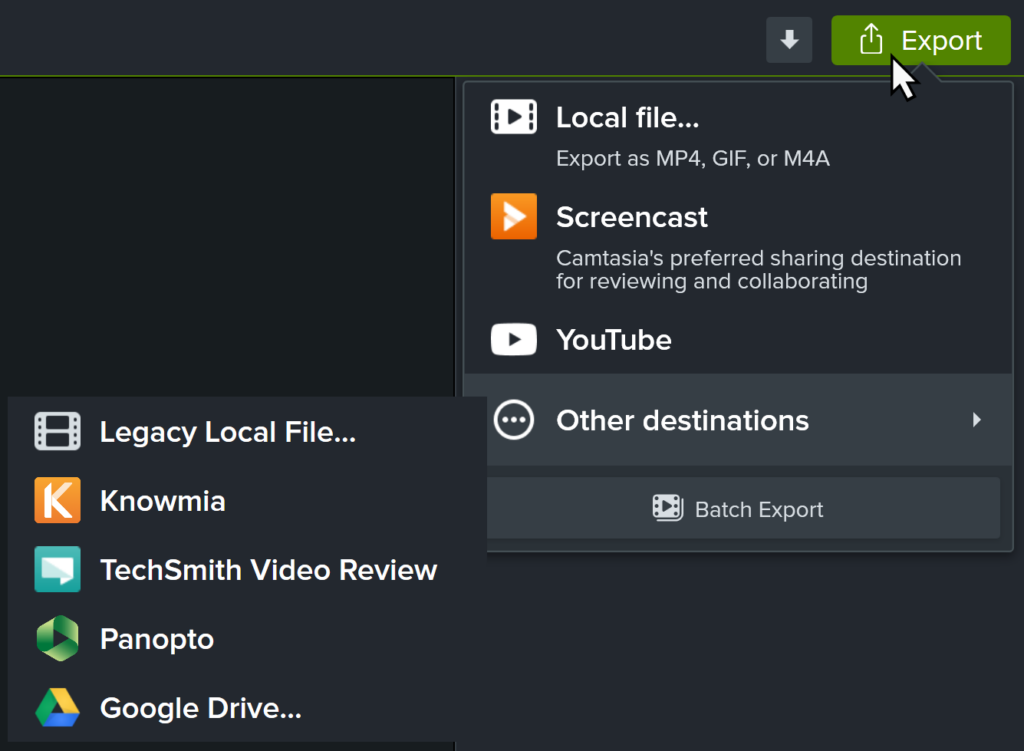
After you’ve spent all that time preparing, recording, and editing your video, you’re probably going to want to share it with the world – and you should!
Posting your videos online, sharing them on social media, and sending them to your friends, family, and colleagues are all great ways to promote your instructional video. However, there are other ways to expand the reach of your videos and grow your audience.
Here’s a quick round-up of just some of the ways you can promote your instructional video:
Promote the video on your social media with links and short clips.
Share the video in forums related to your video’s topic, but be sure to explain why it’s relevant in your comment.
Share the video with your email list and give some insight as to what went on behind the scenes.
Include links to your new video in your past videos, both in the old video descriptions and on the videos themselves.
Embed the video on your website or blog and write a post that either summarizes or expands on the topic.
Tell people about it! Sometimes the best way to promote your content is with some good old word-of-mouth, so share it with your friends and family, and encourage them to share it within their own circles.
By following these steps, you’ll be sure to maximize the reach of your video content. Who knows, your next video might become a viral sensation and people might start coming to you for the best instructional video examples.
Instructional video mistakes to avoid
While creating videos is, in many ways, easy, it’s still possible to make mistakes. If you’ve read this far you should be more than ready to go and make your first instructional video, but you should also consider the most common mistakes people make so that you know how to avoid them.
- Focusing on equipment: Don’t get distracted or overwhelmed by fancy equipment if you’re just starting. Instead, master the basics and focus on developing your video creation skills.
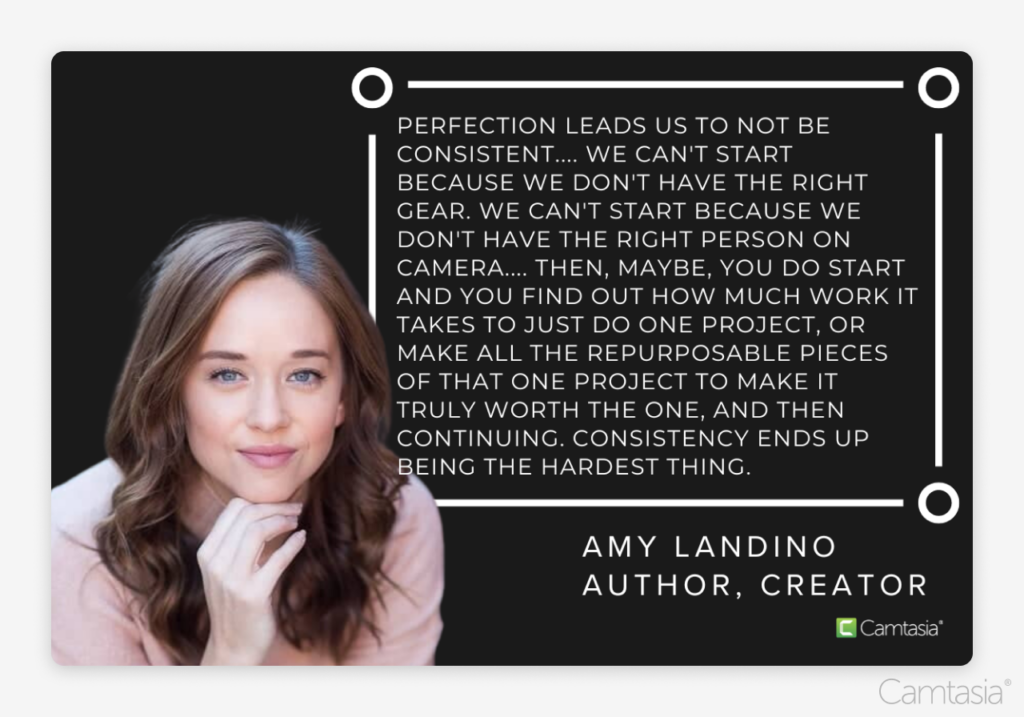
- Striving for perfection: While it can be hard to let go of your need to perfect every little detail, being a perfectionist can also cost you a lot of time and we believe it’s much better to release a video that’s engaging and creative than to spend an unnecessary amount of time on things most people probably won’t notice.
- Targeting the wrong audience: Make sure you know your audience and create your video with them in mind.
- Explaining steps too broadly: The point of an instructional video is to provide clear, concise, and specific instructions. So be sure to thoroughly explain each step and include visuals to make everything easier to understand.
Now that you know the most common mistakes to avoid, you are ready to start creating successful instructional videos. Have fun!
Crystal-clear screen recording
Why settle for blurry screen content? Camtasia’s screen recorder captures everything at up to 4K!
Free Download


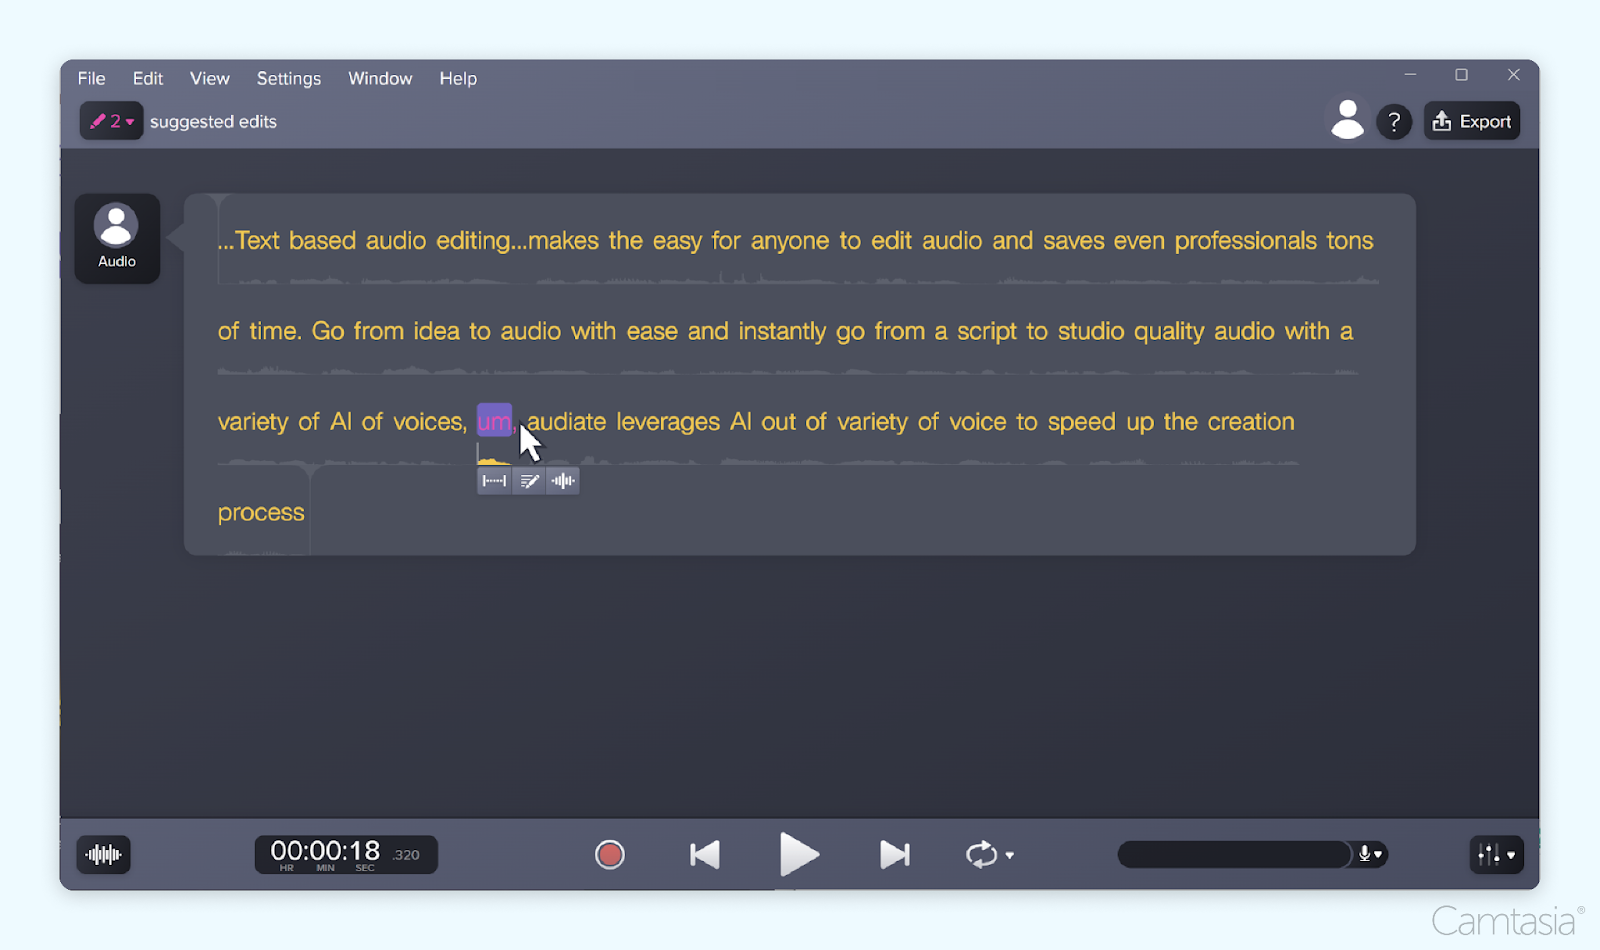
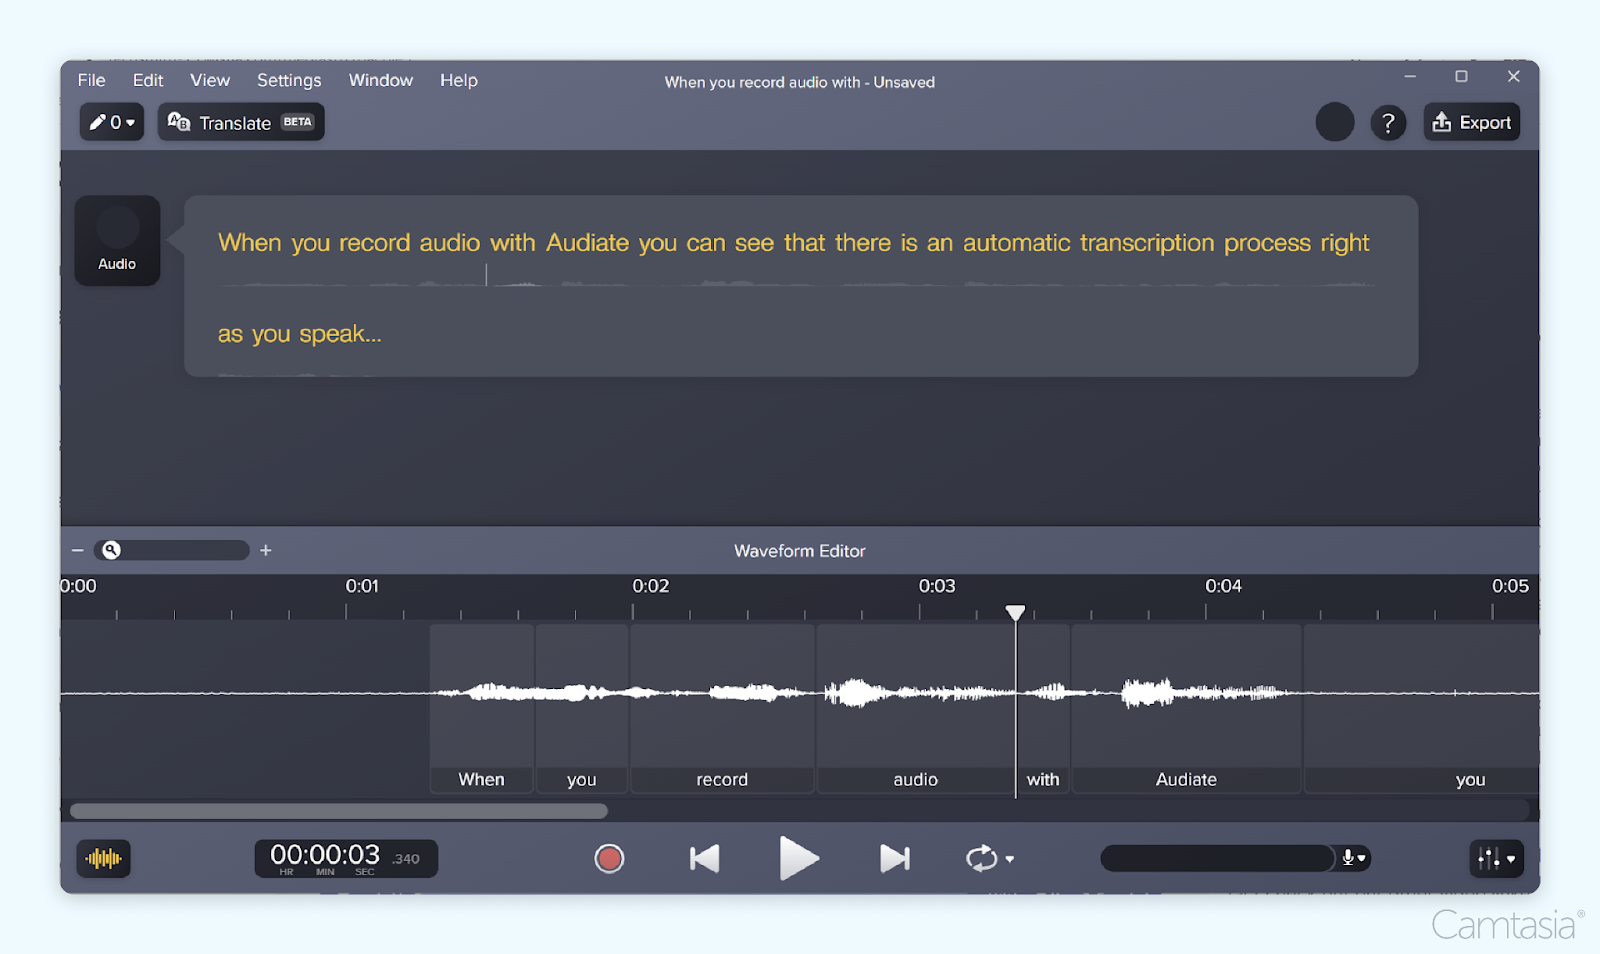 With Audiate, you can still edit with the waveform if you like but you can see that the text is displayed, allowing you to more easily see where to make your edits.