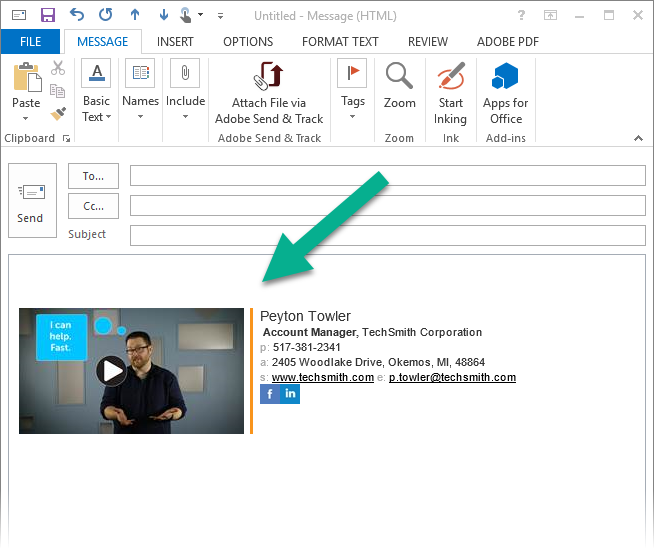
If you’re on a customer-facing team like sales or customer success, a video email signature can help you connect with your customers on a more human level. Peyton Towler, one of our sales associates, incorporates personalized video into his email signatures as a pattern breaker–a way to make his recipient pause and interact with his message instead of sending it straight to the trash bin.
What is a video email signature?
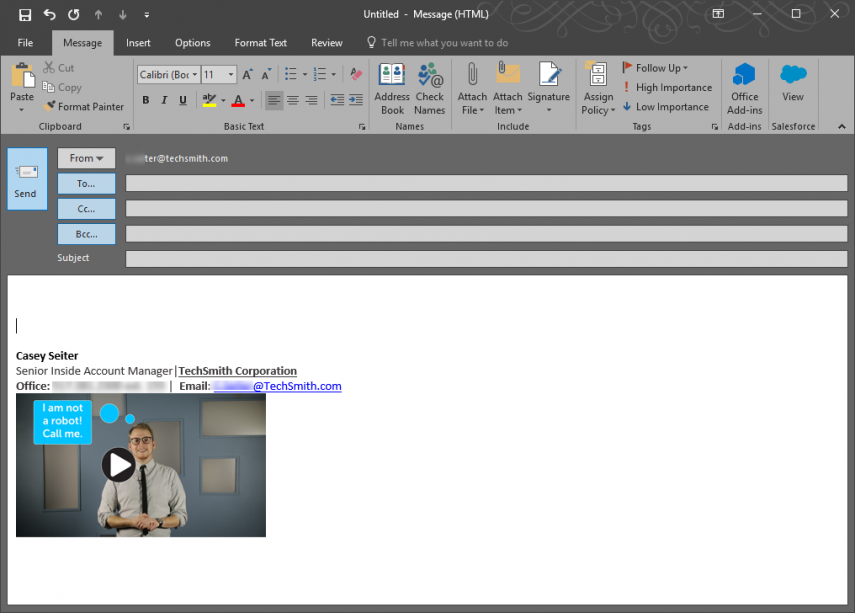
It’s basically a video placed in the body of your email message alongside your signature that communicates more about you, your role, or what you have to offer.

How to create an email video signature
There are three parts to making a video signature: making a personalized video, creating a video thumbnail for your email signature, and then adding it to a signature option in your email application.
Step 1: Record a Personalized Video
You don’t need an expensive camera to record a personalized video. Mobile devices have pretty nice cameras on them, so if you have one of those, you can make a video. Spend a few minutes deciding what you want to talk about, then grab your camera or mobile device and mount it on a tripod to so that you have a stable recording.
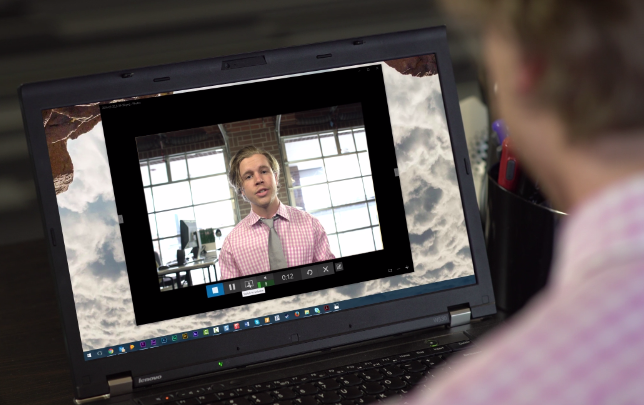
Another option for recording is to use a screen recorder like Snagit to record your webcam.

When you record your video, let your personality shine through. If you recite lines or over-rehearse, your video could come across as scripted and feel inauthentic. Avoid that. This is an opportunity to create a human connection with your customers, so while it’s important to represent your company culture in the way you present yourself, make sure you represent yourself, too.
Choose a recording space that’s well lit and comfortable, and stand or sit close enough to your microphone or recording device that it picks up your voice clearly.
As far as video length goes, anything more than a minute starts to feel long, so keep your video focused on a few key points. Kim is another member of the TechSmith sales team, and she does a great job staying friendly and focused in her video below:
When you finish recording your video, you’ll need to decide where to host it. Popular video hosting sites include Wistia, YouTube, Vimeo, and Screencast.com. Once you upload your video there and make it public, you’re ready to make your video thumbnail.
Step 2: Create a Video Thumbnail
Depending on where you host your video, you may need to create a thumbnail to link to your video. This way, your email recipient will be enticed to click the thumbnail and watch your video. If you’re a Wistia customer, then you can skip this step altogether and just have your video playback in your email next to your signature.
To create a video thumbnail (pictured below), take a screenshot of a frame in your video and resize it to thumbnail size. If your video is hosted on a platform that doesn’t show a play button, I’d recommend that you place one on it.
How to create a thumbnail:
1) Take a screen capture of your video using a screen capture tool like Snagit.
2) Resize your image to an appropriate thumbnail size.
3) Place a play button on your image. (In Snagit, it’s easy with the Stamp tool. There’s a play button stamp in the Business collection.)
4) Save your image as a JPG. Here’s why.
Step 3: Add Your Personalized Video to Your Email Signature
With your video ready, all that remains is to add your video to your email signature.
In Outlook, go to File > Options, and then under the Mail tab, click Signatures…
Select a signature to edit, or create a new signature, and then in the Edit field add the text you want to appear. Click the Insert Image icon to add your video thumbnail. Highlight the image in the Edit field and then click the link icon to paste in your video URL from your host site. Click OK to save your settings.
If Google is your email client, edit your signature by going to the gear icon. Under Settings, find the Signature line, and then insert the thumbnail image you made for your video. Finally, highlight the image and click the link button to change the URL to your video URL.
Now whenever you send an email, you can connect a little better and increase customer engagement using video.
Are you planning to create your own video signature? We’d love to hear about your experience! Find us on Facebook or Twitter.


Share