

Have you ever wished you could magically remove the background from your video and replace it with something more appealing? Whether you’re looking to create more professional-looking presentations or more interesting social media posts, removing the background from a video is easier than you think!
In this guide, we’ll walk you through the process of removing backgrounds from your videos step-by-step with different tools and techniques.
Why remove backgrounds from videos?
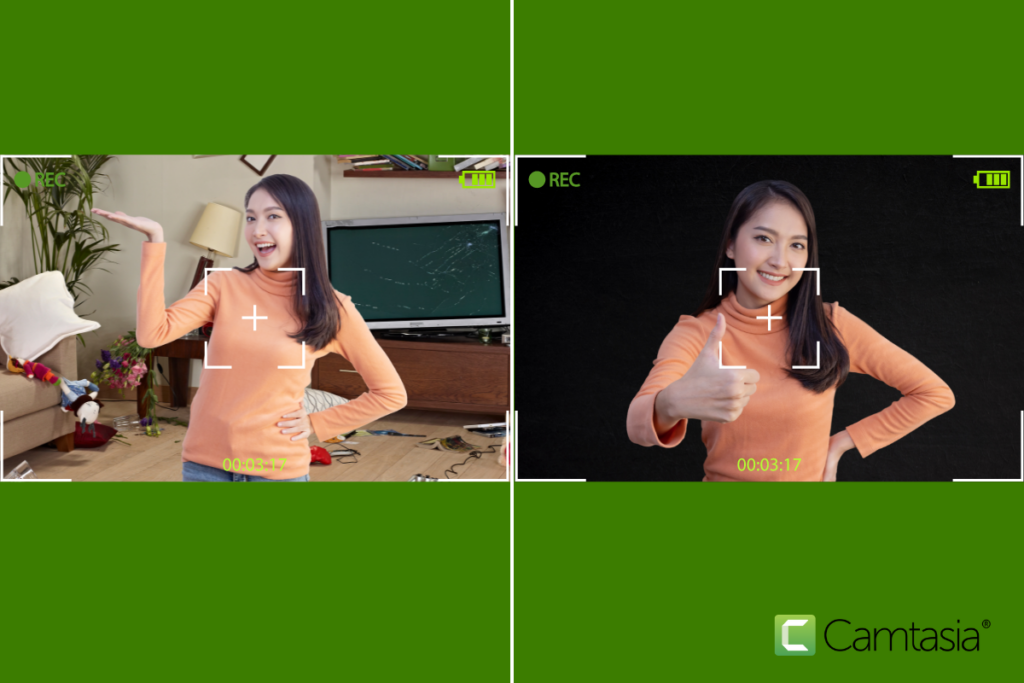
A cluttered or distracting background can detract from your message and make your video look a little unprofessional. By removing the background, you create a clean, visually appealing aesthetic that focuses attention on the subject matter. Editing software also lets you remove the background and keep the same quality and aesthetic.
When the background is removed, the focus is naturally drawn to the subject, whether it’s a person, a product, or making a specific point. This can be particularly effective in instructional videos, where viewers need to focus to learn. (Studies even support this point!)
Removing the background can create a sense of closeness, which draws in viewers. Different backgrounds can also be used creatively to transport to different locations, add visual effects, or create imaginative scenes.
Ways to remove background from videos
You can work with backgrounds in several ways. First, you can use video editing software. Many video editors offer built-in background removal tools to separate the subject from the background.
Or, you can use green screens and chroma keying. Filming your subject in front of a green screen allows you to isolate them using video editing software, replacing the green with transparency or a new background. You can even make a DIY green screen at home.No matter if you’re a veteran video editor or new to it, there are a variety of tools to simplify removing backgrounds from videos. Your options include:
- Video editing software: Camtasia, the all-in-one screen recorder and video editor, offers an easy-to-use background removal tool powered by AI.
- Online video background removers: Several popular online tools use AI to automatically remove backgrounds from videos, making it a quick option for simple projects. While the basic features are free, higher resolutions and longer videos usually need a subscription.
Camtasia makes removing your background simple!
Download Camtasia to seamlessly remove your backgrounds on pre-existing or newly recored footage. Start with our free trial to see if it’s right for you.
Download Camtasia Free Trial
How to remove backgrounds from videos: step-by-step using desktop software
Step 1: Choose the right software
The first step in removing the background from your video is selecting the right software. Look for a tool that has the editing functionality you’re looking for, while still being user-friendly.
For this post, we’ll use Camtasia, which makes it super easy to remove and replace your video’s background, even if you’re new to video editing.
Step 2: Import your video
First, import your video into the editor by selecting File from the Camtasia menu, then Import.
Step 3: Remove the background
There are two ways to do this in Camtasia, and we’ll cover both of them.
Option 1: Remove a background in Camtasia Editor
- In Camtasia Editor, select the Visual Effects tab.
- Drag the Background Removal effect onto media on the timeline.
- In the Properties panel, edit the settings to customize the effect.
It is really that easy! You can even replace your background with customizable looping animations called Dynamic Backgrounds.
Option 2: Removing a background with other software (chroma key/masking):
Use chroma key effects or masking tools to isolate the subject and remove the background. Directions will be specific to each software platform. See how it works in Camtasia.
Step 4: Refine edges
After removing the background, you might notice some rough edges around your subject. To refine these edges and make the subject stand out clearly:
- Camtasia (remove a color):
- Experiment with the “Edge Feather” slider to smooth out the edges.
- Use the “Spill Suppression” slider to remove any color spill from the background onto the subject.
Step 5: Export Your Video
Once you’re satisfied with the background removal and edge refinement, it’s time to export your video.
- Camtasia: Click the “Share” button and choose your desired format and resolution. Customize any additional settings, such as frame rate or bitrate. Click “Export” to save your video.
Camtasia makes removing your background simple!
Download Camtasia to seamlessly remove your backgrounds on pre-existing or newly recored footage. Start with our free trial to see if it’s right for you.
Download Camtasia Free Trial
How to remove background from video using an online service
For really basic video projects, an online tool might do the trick. While they may not provide the same level of control as professional editing software, they are a workable option for simple projects.
Step 1: Choose a service.
Several reliable online services (like Unscreen, CapCut, and OpenShot) can help you remove backgrounds from videos.
Step 2: Upload your video
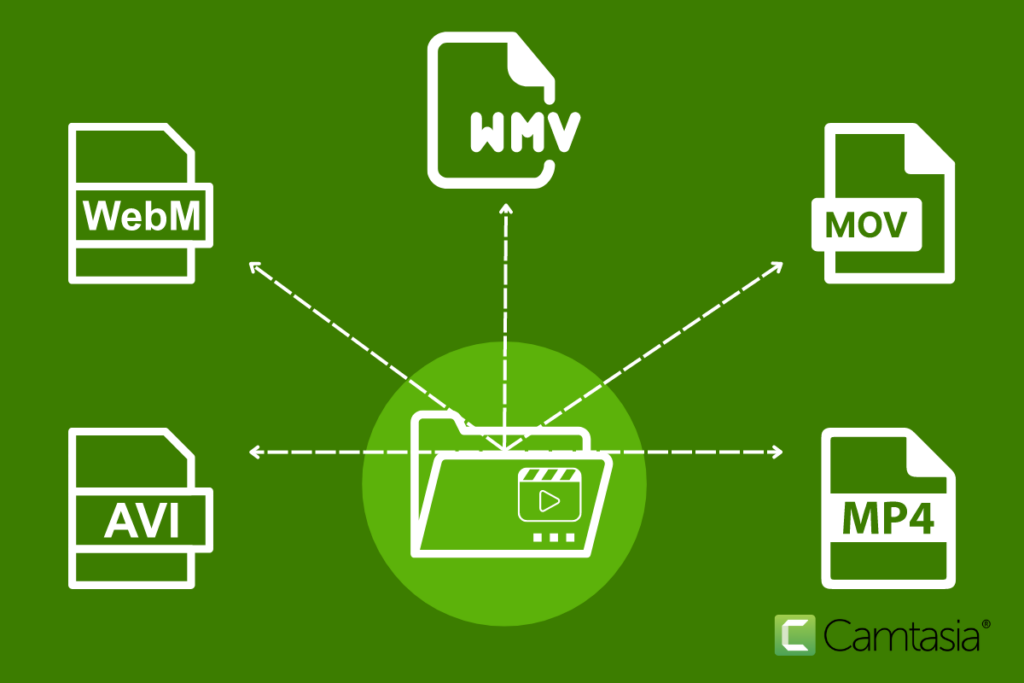
Once you’ve chosen a service, locate the “Upload Video” button or drag-and-drop your video file onto the designated area. Most platforms accept common video formats like MP4, MOV, or AVI.
Step 3: Automated background removal
These online tools typically use AI to detect and isolate the subject in your video, automatically removing the background.
Step 4: Make adjustments
After the background is removed, most platforms allow you to fine-tune the results. You might be able to adjust the cropping, refine the edges, or add a new background. Often you can choose from a variety of background colors or images provided, or even upload your own. For instance, Unscreen focuses on a specific background removal, and OpenShot is comprehensive video editing software with a variety of features. If you simply need to remove the background from a video, Unscreen is a great option. However, if you need to do more extensive video editing, OpenShot is a better choice.
Step 5: Download the final video
Once you’re happy with the results, simply click the “Download” button to save the video to your device. The platform may offer various quality and format options, depending on your needs and the platform’s capabilities.
What are some background removal recording tips?
Follow these tips during recording to achieve the best results for the background removal effect:
Use good lighting
Be well-lit with even lighting to minimize shadows. If possible, use a three-point lighting setup (key light, fill light, and backlight) to create a clear separation between the person and the background.
Choose the right clothes
When your clothes blend in with your background, it can confuse background removal tools, making it difficult to separate. Try to choose a clothing color that stands out.
“During your recording, use good lighting, especially on the person being recorded. Choose clothing that doesn’t blend in with your background, and avoid fast movements during your recording. Use a chair with a lower back if possible. Have fun creating!”
Avoid fast movements
Rapid movements can blur your edges, making it difficult for background removal tools to tell where you begin and the background ends. While recording, try to move less or slower to remain in focus.
Use a chair with a lower back
High-backed chairs can blend into the background, making it harder to isolate the person. Use a chair with a lower back or no back at all to create a visual separation.
Common pitfalls when removing a background and how to avoid them:
Blurry edges
This often occurs when the subject’s edges are not well-defined due to poor lighting or low-resolution footage. To fix this, try adjusting the edge feathering or tolerance settings in your background removal tool, or use masking techniques for more control.
Leftover shadows
Shadows cast by the subject can be difficult to completely remove. Experiment with lighting to minimize shadows during filming, or use masking tools to remove them in post-production.
Color spill
This happens when the background color reflects onto the subject, creating a halo effect. Adjust the color correction settings in your video editor to neutralize it, or use chroma key tools to refine the selection.
Hair and fine details
Fine details like hair can be difficult to separate from the background. Consider using specialized tools like the ‘refine edge’ feature or similar options in your video editor.
Practice and experimentation aren’t only fun…they’re educational! You’ll get the results you want after trying a few adjustments.
That’s it! Backgrounds don’t have to be virtually shoved behind the scenes anymore…you’re ready to get started working on making your backgrounds more professional, more visually appealing, and better than ever before.
Share