Video transcripts may not seem like a vital part of your content creation process, but they are incredibly important to make your video content more accessible for everyone watching.
Accessibility is important for individuals who need to read along with your videos, such as those with hearing impairments. However, it is also important to include a transcript for people who would just rather watch the video on mute – we don’t judge!
Having a full video transcript can also save time when analyzing or repurposing video content on other platforms. YouTube makes it easy to copy and paste the transcript from one document to another, like Microsoft Word or Google Docs.
Learning how to get a transcript of a YouTube video is super easy, and we’ve created this helpful guide to make it even easier for you to follow along.
Use YouTube’s built-in transcript feature
YouTube makes it easy to find a video’s transcript directly from the website. This tutorial is tailored toward people accessing videos from their computer device. Let’s see how it’s done.
Step 1: Open the video you want to transcribe
You can access a video’s transcript right from the YouTube website. To do so, open the video you want to transcribe by clicking on it. It’ll start playing.
Step 2: Click the “Show transcript” button
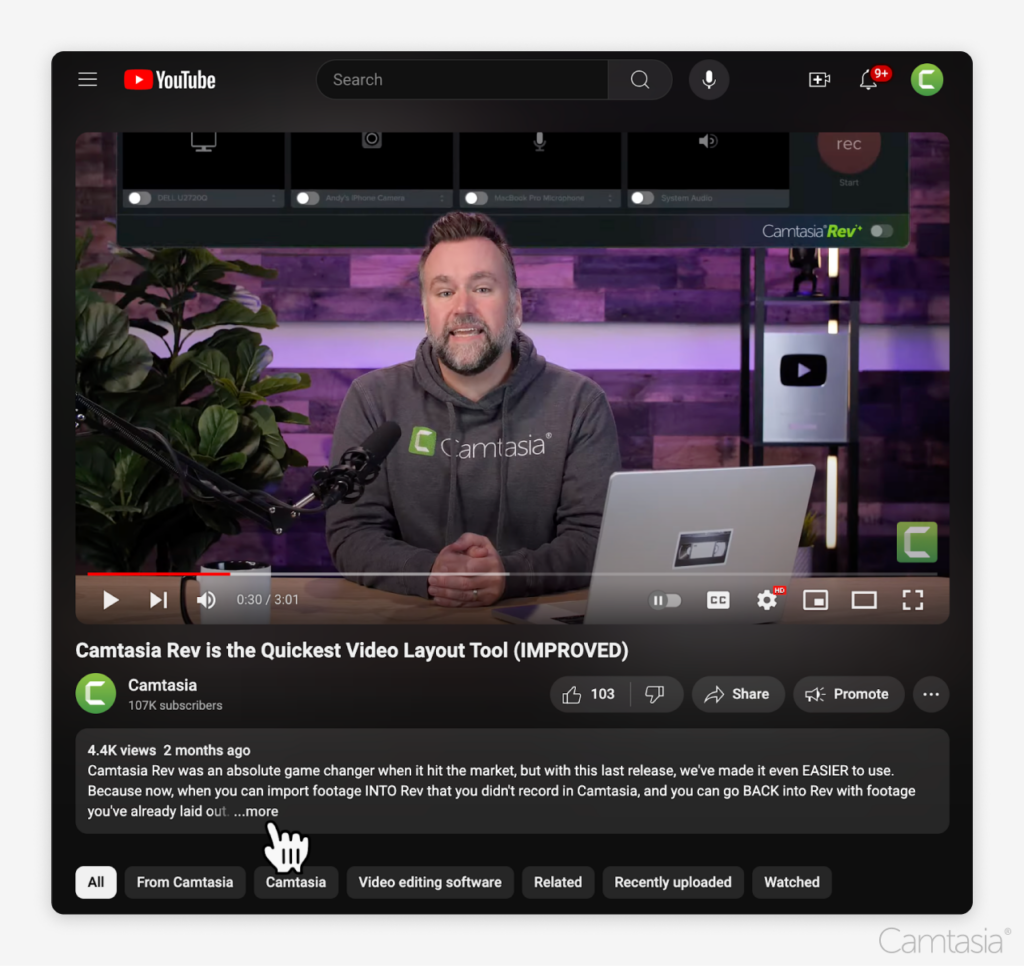
Locate the description box under the title. Click the “more” option to open the whole box.

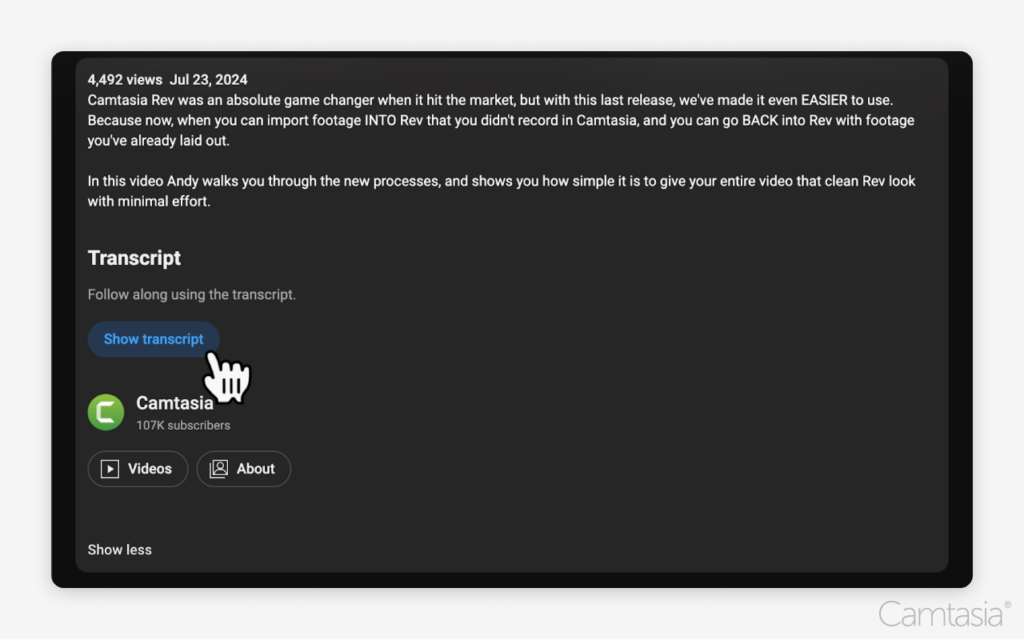
There, you will click the “Show transcript” button option, which will open the transcript box with the text inside.

Step 3: Copy and paste the transcript
Copy and paste the transcript where you need it. Highlight the text and right-click it.
Select the “Copy” option in the menu. Or, with the transcript highlighted, press Command+C keys on a Mac or Ctrl+C keys on Windows. This will automatically copy the text to your clipboard.
To paste, right-click where you want to place the text, for example Microsoft Word or Google Doc, and select the “Paste” option. Or use the Command+V keys on Mac or Ctrl+V keys on Windows.
Your transcript will appear in the new document. YouTube includes timestamps next to each section of text, allowing you to jump to specific parts of the video, making it easier to access. This is useful for identifying the key points of a video at a glance.
However, if you do not need the timestamps, you can easily remove them by deleting them from the document.
Automatically generate transcripts with Camtasia Audiate
Camtasia Audiate is a powerful tool for transcribing video content. With this tool, you can automatically generate transcripts from any video you upload. This is done with even greater accuracy than YouTube’s automated captions.
Plus, you can use this feature even if your video is not on YouTube, making it a versatile tool for every content creator. Let’s see how it’s done.
Step 1: Download the video from YouTube
To download videos from YouTube, select the video you want to download and hit “Download” from the menu.
Step 2: Import the YouTube video into Camtasia
Import the video into Camtasia by dragging and dropping the file into the media library or right-clicking on the library.
Once your video is imported, drag and drop it onto the editing timeline.
Step 3: Generate the transcript in Audiate
Right-click the video on the timeline and click “Edit in Audiate.” This will export the video’s audio, where it will be transcribed in real time.

Transcribing YouTube videos is all automatic with Audiate, making it an easy solution.
Step 4: Edit your transcript if needed
Audiate automatically generates an editable transcript, allowing you to correct any errors and polish the final text.
Although errors are rare, you can correct proper names and difficult-to-understand terms to reflect the true meaning. This editable option makes it easy to create a perfect transcript in no time.
Since the audio is transcribed in real-time, Audiate has the option to play the video’s sound over the transcript’s sound while you edit. This makes it easy to spot mistakes and correct them so you can ensure high-level accuracy every time.
Edit audio like text
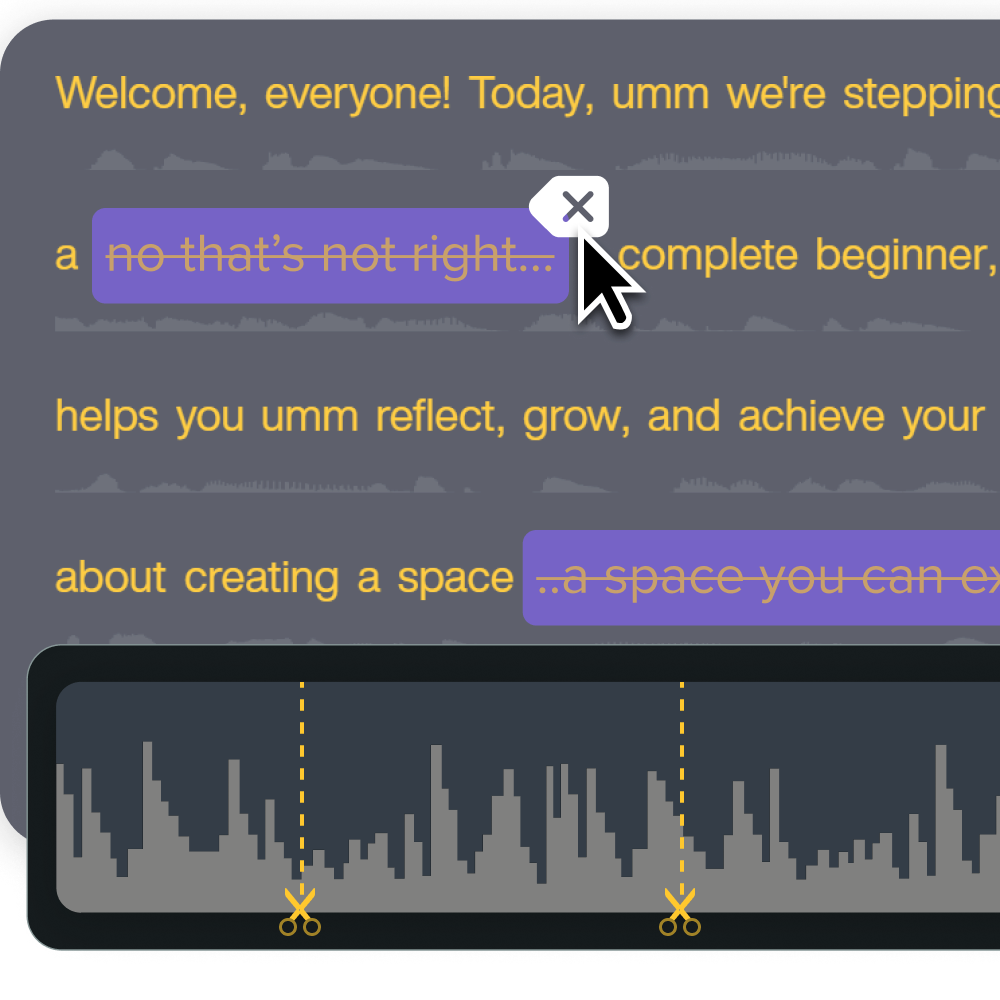
You don’t have to be a professional to record and edit audio. Audiate makes it as easy as editing a text document.
Get Audiate
Step 5: Export the transcript
To export the full transcript as a text file, select the File menu, then “Export”, then “Export Script.” You can also export this as an SRT file if needed for your video content.
To export a selection of the transcript, click and drag the desired portion of text from the transcript and follow the same instructions until you reach “Export Selection as Script.”
Get YouTube transcripts from a mobile device
To access the transcript from a mobile device, you can do so on the YouTube app. However, you can’t download the transcript on your mobile device.
Step 1: Open the video you want to transcribe
You can access a video’s transcript right from YouTube. To do so, open the YouTube app and access the video you want to transcribe by clicking on it.
Step 2: Access the transcript in a few clicks
Once your YouTube video is open, click on the downward pointing arrow on the right-hand side of the title. This will open the description box for the video with extra information.
Click on the “Show Transcript” button at the bottom of the page. As you play the video, the transcript will scroll along with you so you don’t lose your spot.
Again, you cannot download the transcript from your mobile device and will need to access the video from a computer to download a YouTube transcript.
Manually transcribe YouTube videos
If you prefer to manually transcribe YouTube videos, you can do that too. This option is not for the faint of heart. Although it gives you full control over the transcription, it is extremely time-consuming.
Step 1: Play the video and type the transcript
This method is pretty straightforward. Access the video of your choice and press play. Type along and pause at intervals so you can keep up with typing out the transcription. For easy edits, type the dialogue into a text document.
Step 2: Use timestamps for specific sections
YouTube adds handy timestamps so users can easily refer back to the most important parts of the video. You can also do that by manually adding timestamps to jump to specific parts of the video. This can be especially useful for creating more organized and searchable transcripts.
Plus, you can choose where those timestamps are, giving you ultimate control over what sections to highlight.
Instant video translation
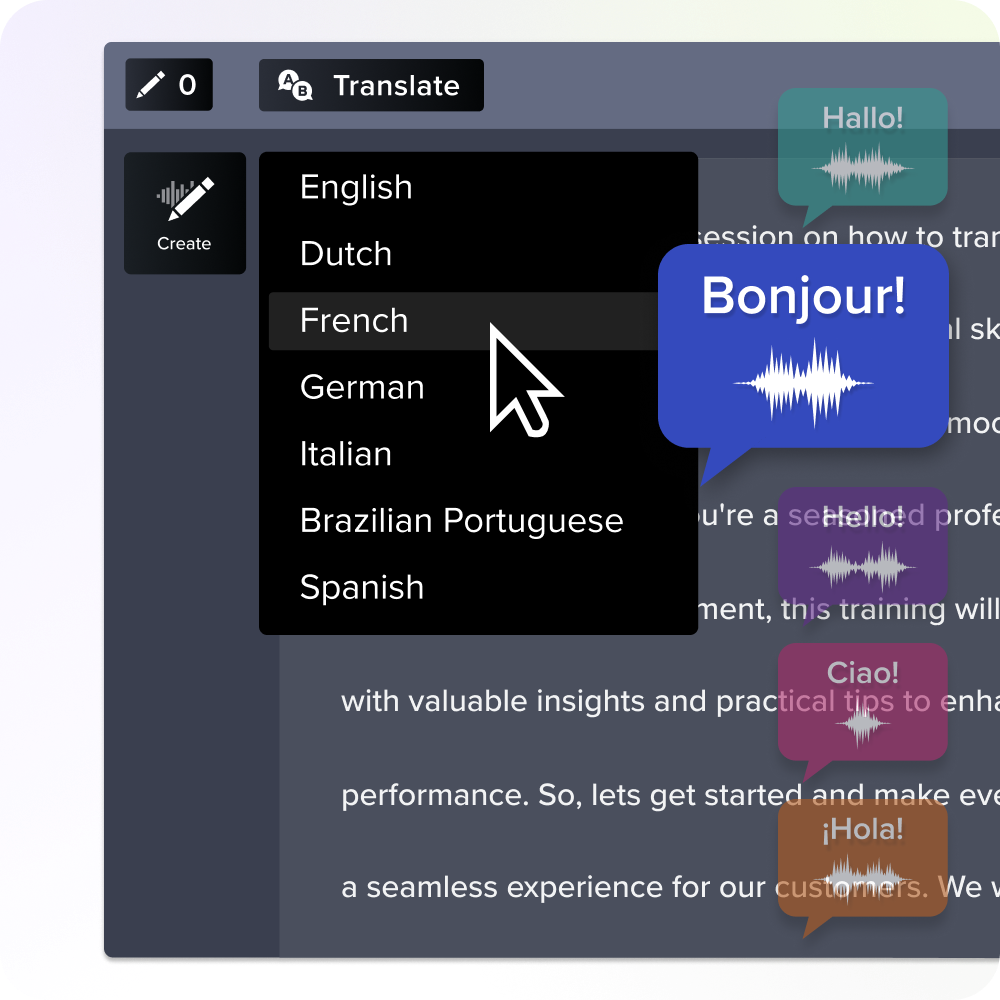
Easily translate your videos scripts and voice over into any of dozens of languages and dialects!
Get Audiate


Share