Eraser Tool
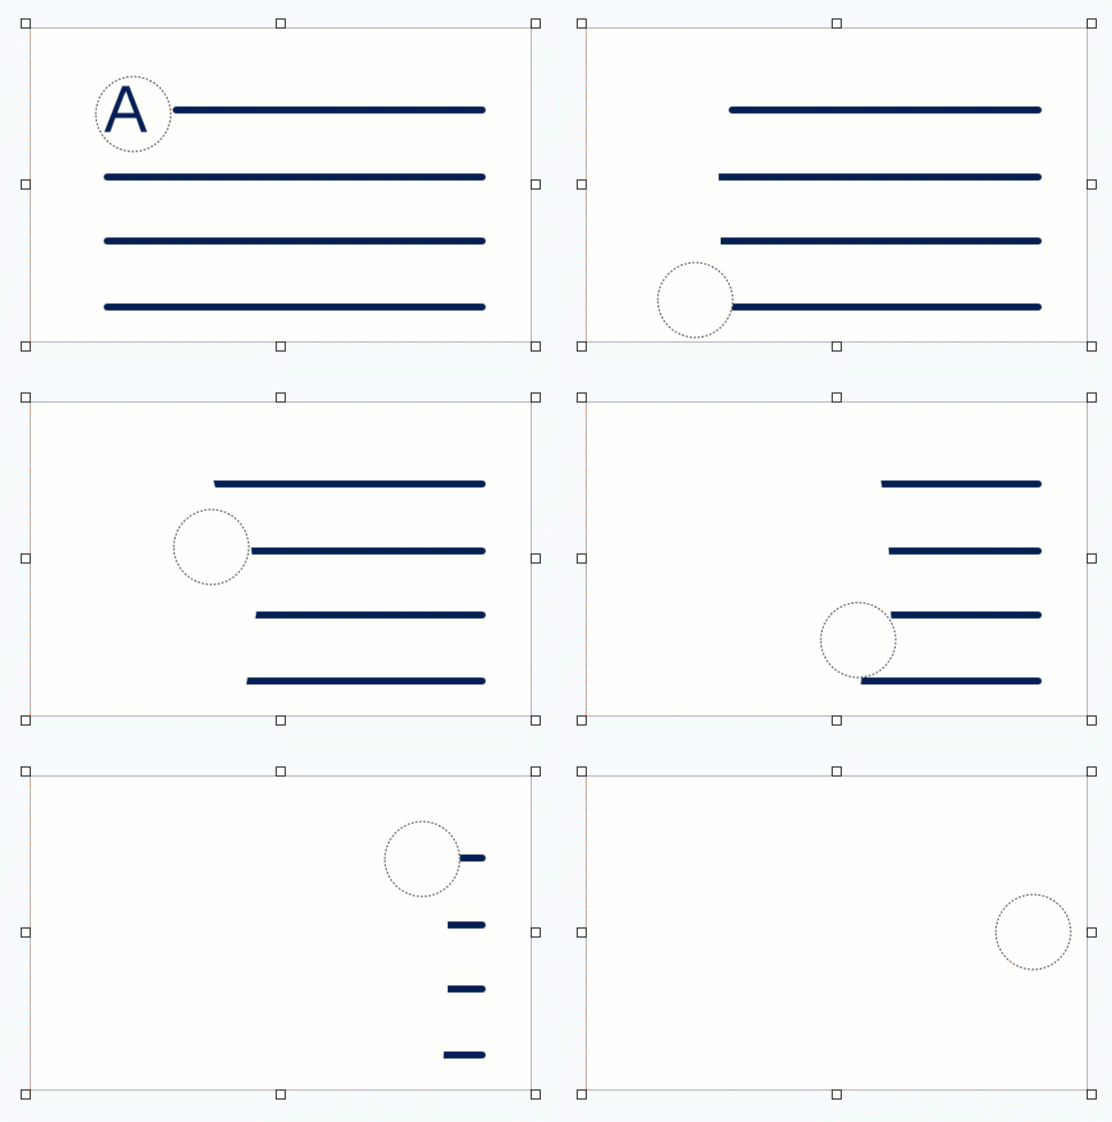
Erase flattened areas in an image to expose the Canvas.
Erase flattened areas in an image to expose the Canvas.
Note: Eraser and other tools in the Snagit Editor toolbar are available to edit images. To edit and enhance video captures, share your video to TechSmith Camtasia.
The Eraser tool completely removes parts of the image so the Canvas beneath is visible. To remove part of an image and replace it with the surrounding color, see Remove Parts of an Image.
Note: If the tool is not visible in the toolbar, click the More dropdown. To customize your toolbar, see Customize the Snagit Toolbar.

Tip: Erase with precision.
Select a smaller eraser width and zoom in on the Canvas to precisely erase parts of the image. On Mac, select the square option from the Shape dropdown to erase straight lines and individual pixels.
Note: Select Image > Canvas Color (Windows) or Image > Change Canvas Color (Mac) to change the eraser color. If the Canvas color is set to transparent, you will see a checkerboard pattern as you erase. For more information, see Remove a Background.
Edit the properties to customize the tool.
Tip: Save your customized tools.
Save your customized tools as a Quick Style for future use. See Quickly Access Favorite Styles and Tools.


Width
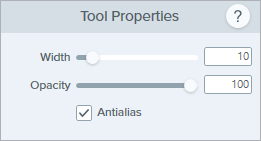
Drag the slider or enter a value to adjust the width of the eraser.![]()
Opacity (Windows only)
Drag the slider to adjust the transparency level.![]()
Antialias (Windows only)
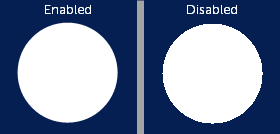
Enable this option to smooth the edges of the erased area.
Shape (Mac only)
Select circle or square eraser shape.
Note: This tutorial is for Snagit version 2025. Previous versions may look or function differently.